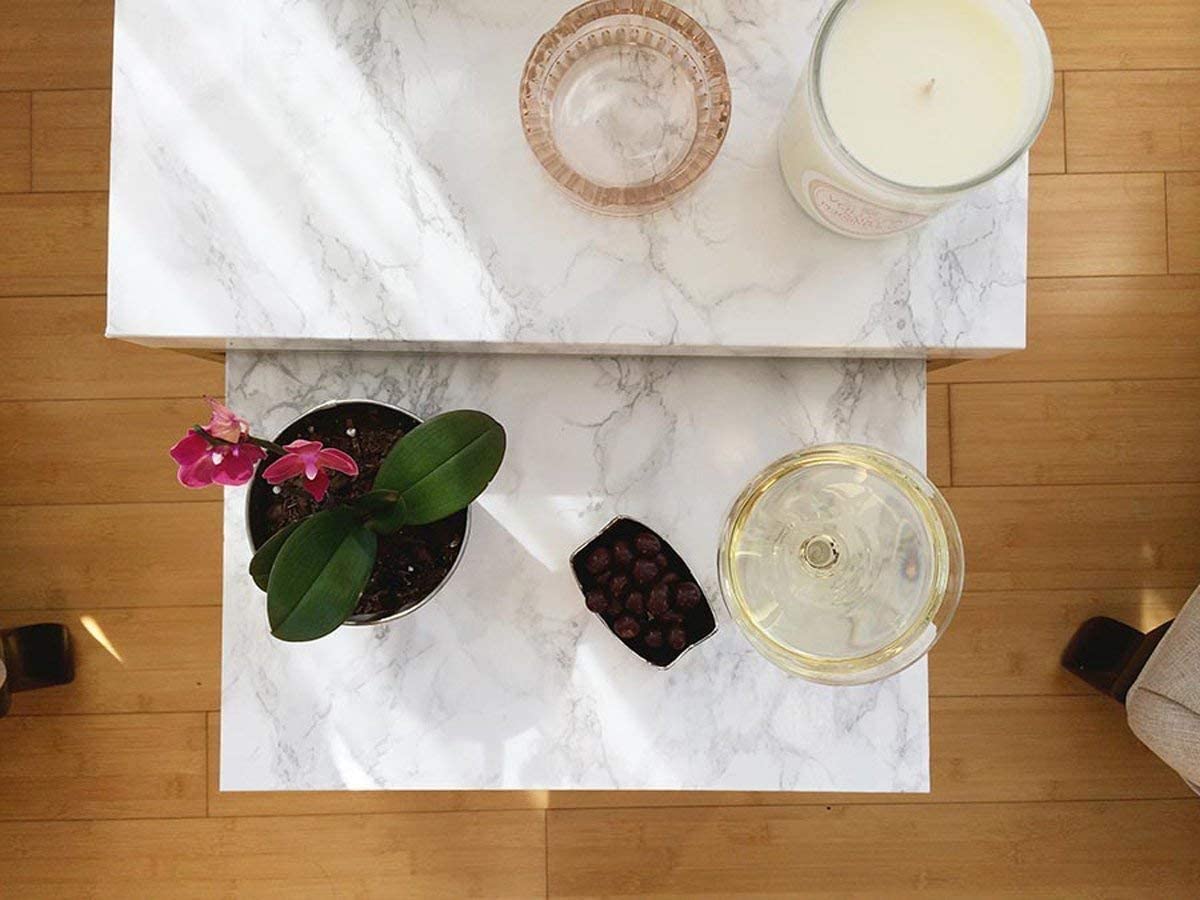
Finding yourself with more time on your hands for crafting?! Over the coming weeks, we’ll be featuring a bit more in the DIY department here at Decoist, as many of us are now working from home and spending our down time there as well. Today’s featured craft item of choice is contact paper. There are few things that yield such an immediate payoff. Peel and stick, and you can transform anything from countertops to small containers. One of the most popular contact paper patterns for design lovers is marble, so expect plenty of stylish veining in the roundup that follows. But you might be surprised by a few other contact paper options as well. Happy Crafting… [photo below via Amazon]


Big Transformations
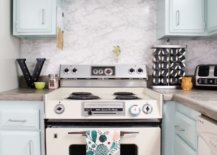
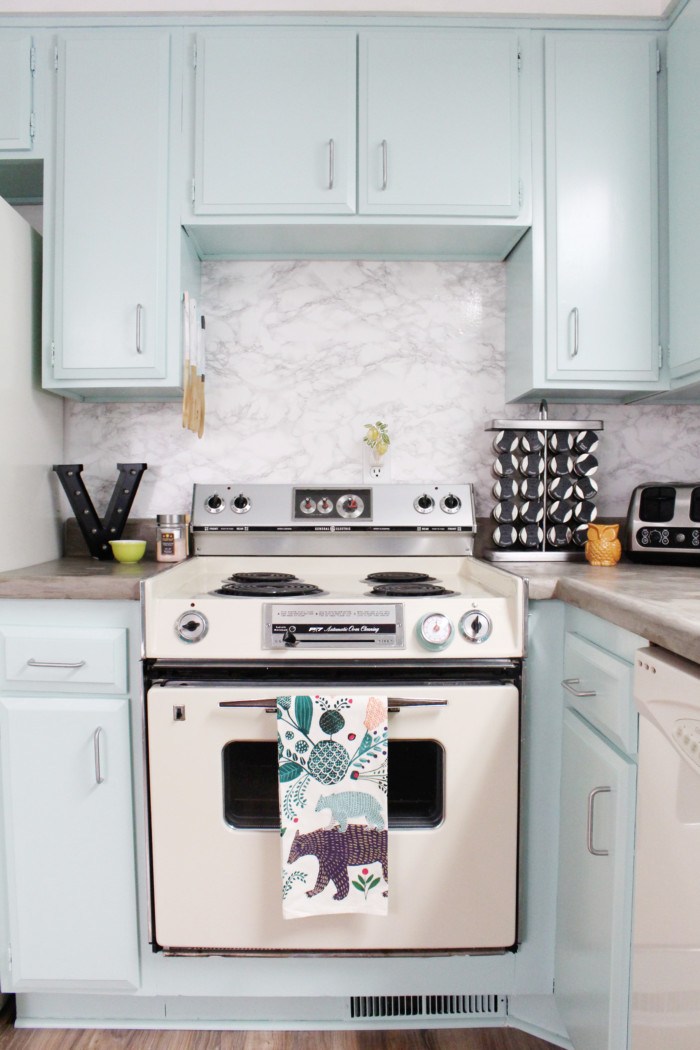
Let’s start with some big-time projects that have the power to transform large surfaces. Raise your hand if you’ve ever been stuck with a kitchen backsplash that was less than what you desired. If a remodel isn’t in your budget or design timeline, here’s a quick fix: marble contact paper! Machelle from A Joyful Riot used marble contact paper to create the perfect backsplash for her kitchen. The project wasn’t overly time consuming, and the results were everything she was hoping for. Plus, the look is bright and classic. Check out all of the project details here.
Vanessa from Pretty Little Ivy covered both her countertops and her backsplash in marble contact paper, as shown below. Helpful strategies such as using a credit card to smooth over the bubbles that can form during application can be found in the the post, along with additional photos of the lovely results. The end product is seamless and refreshing, a lovely contrast to the kitchen’s blue cabinetry:

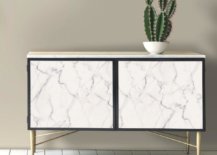
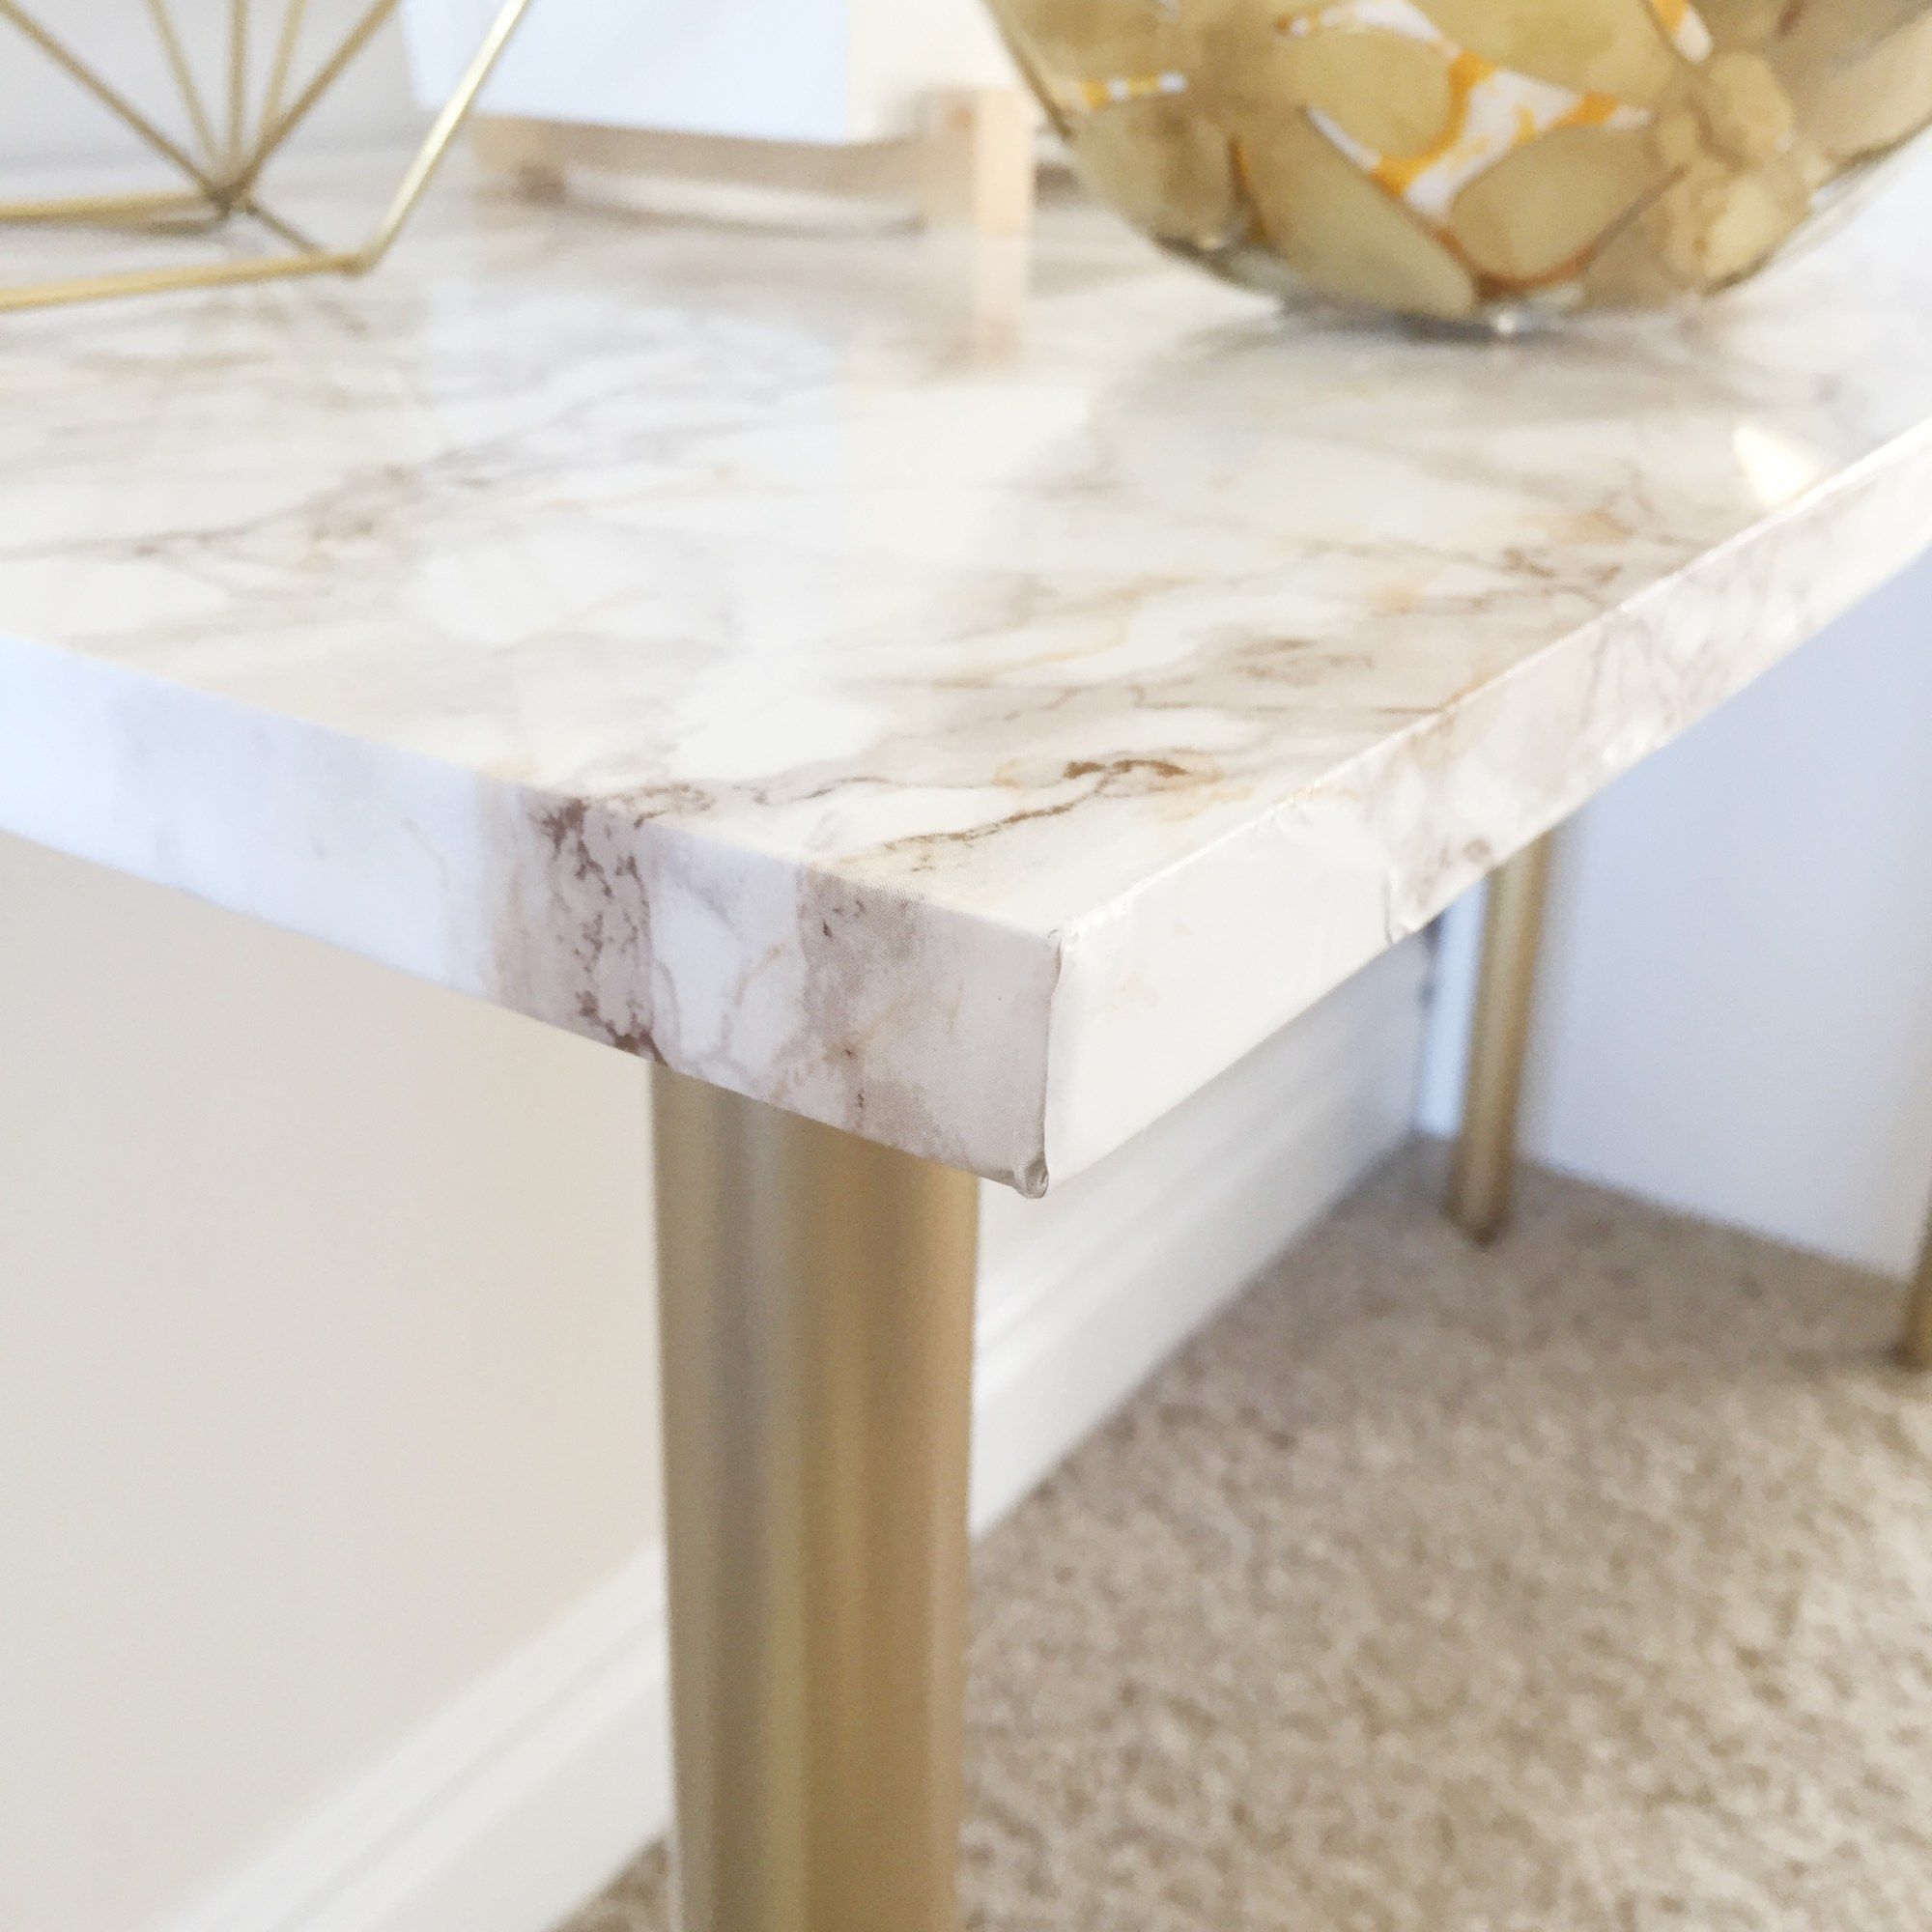
From kitchen surfaces to furnishings, this IKEA hack from The Glitzy Pear takes marble magic in a gold-toned direction. With some super-affordable IKEA table legs that were spray-painted gold, the piece really came together. Also note the warm-hued details in this marble pattern. So glam!
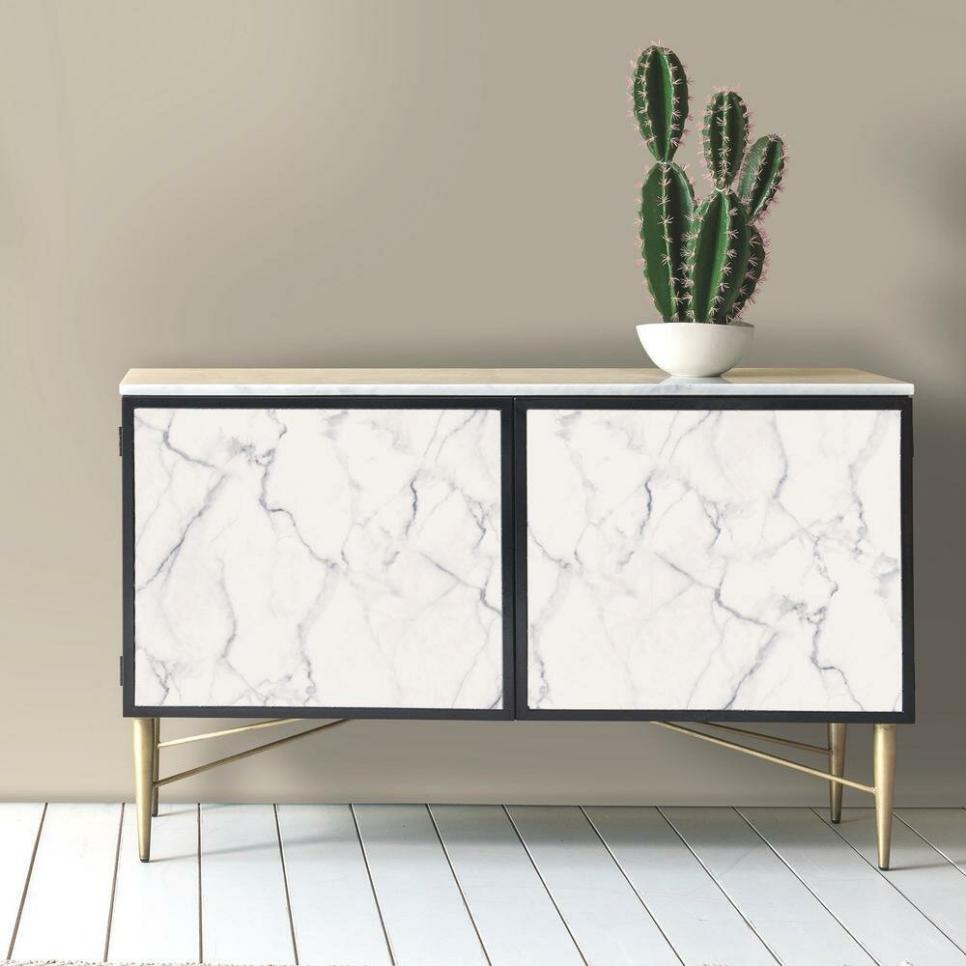
While this storage cabinet makeover featured at HGTV makes use of peel-and-stick wallpaper rather than contact paper, the basic idea holds true. Marble paper with adhesive backing is true magic for your DIY furnishing projects! Plus, the world of peel-and-stick wallpaper may give you more pattern options as you look to expand your creative endeavors.
Fun Embellishments
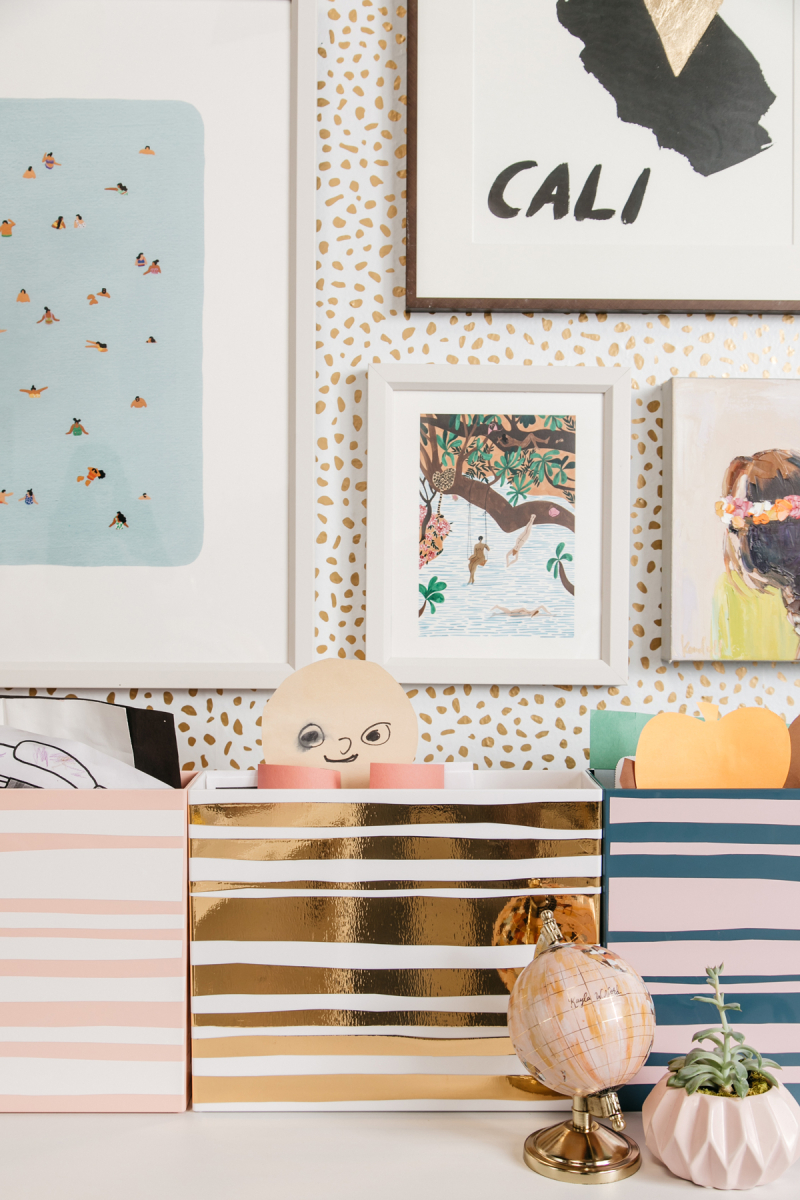
Even on a smaller scale, contact paper can make a big impact. Struggling with how to organize your paperwork? Below, Joy Cho shows us how to spruce up file organizers with playful strips cut from contact paper. The wavier the strips, the better! While she suggests using the boxes to organize children’s artwork, they can hold the papers of your choice. Details at Oh Joy!
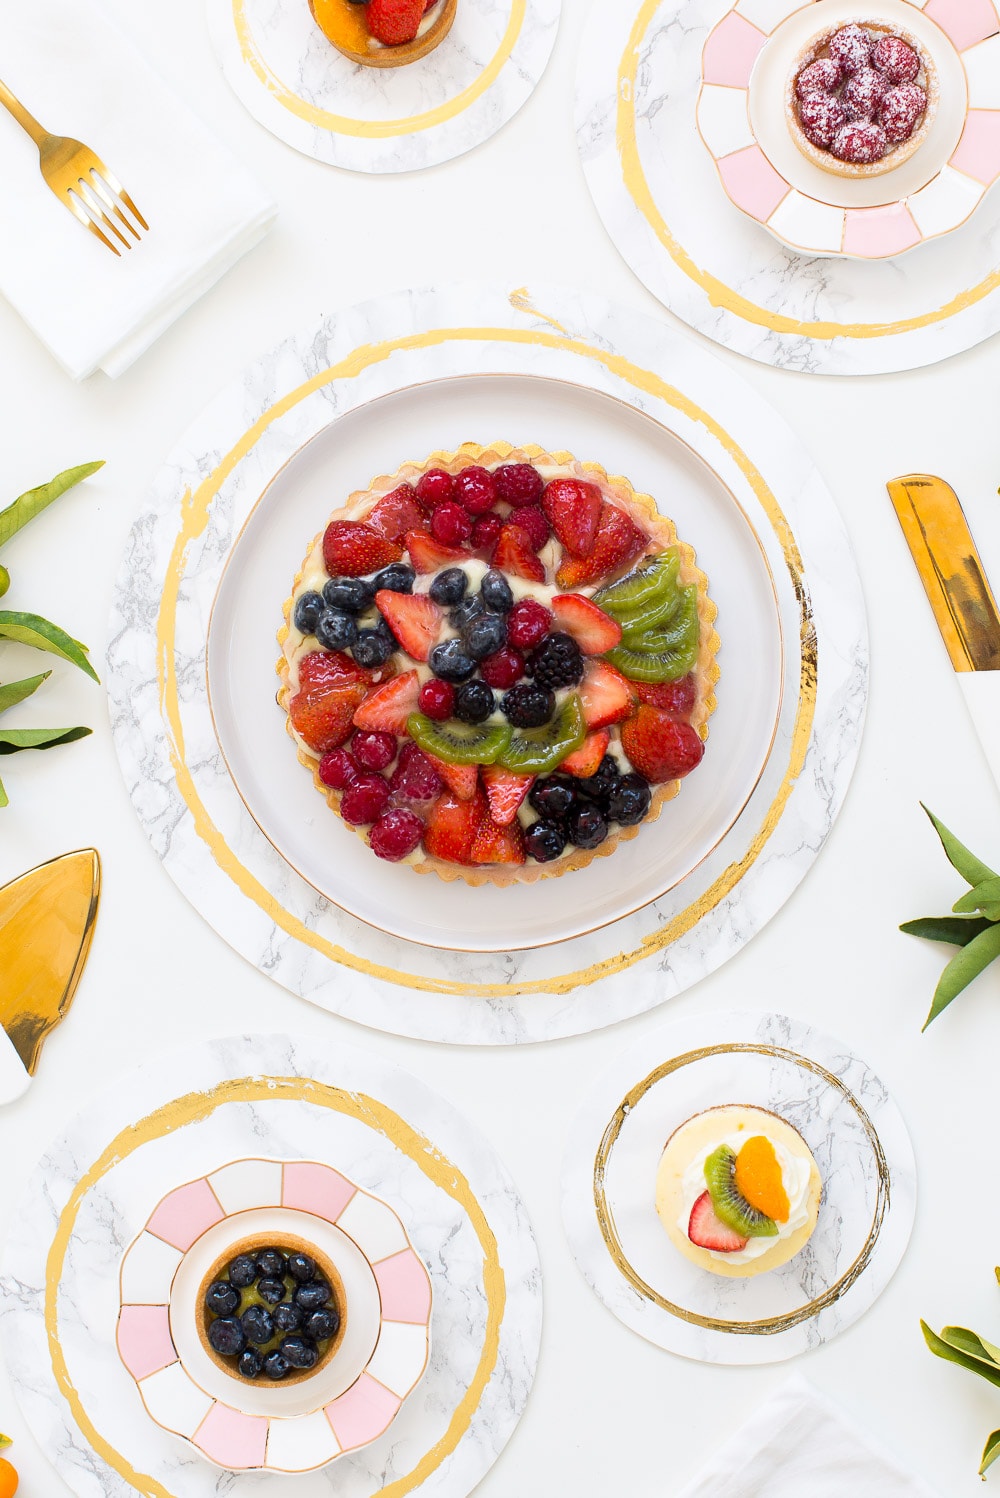
Sugar & Cloth’s Decorative DIY Marble Plates make great use of wooden rounds. Once they’re covered with marble contact paper, a fluid ring of gold foil embellishment creates the perfect upscale touch. You can make one or two for the display of desserts or create a whole set of chargers to punctuate each place at your table. [photo by Jared Smith]
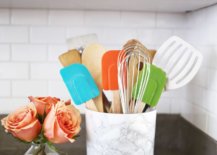
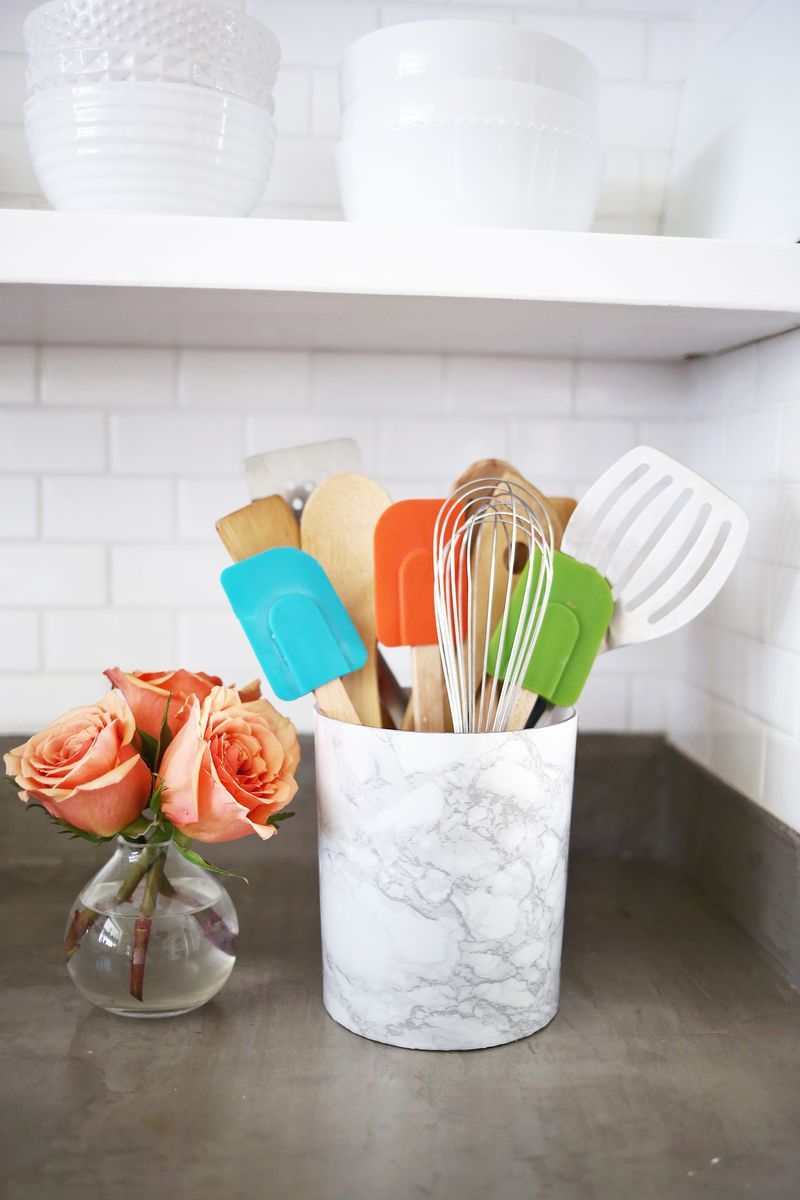
Ready for a super-easy idea with a big payoff? A Beautiful Mess has created a DIY Marble Utensil Holder using realistic-looking marble contact paper. It’s easy to elevate any household container with a quick wrap and a trim, especially if you have an X-acto knife handy. The result is smooth, sleek and fabulous:
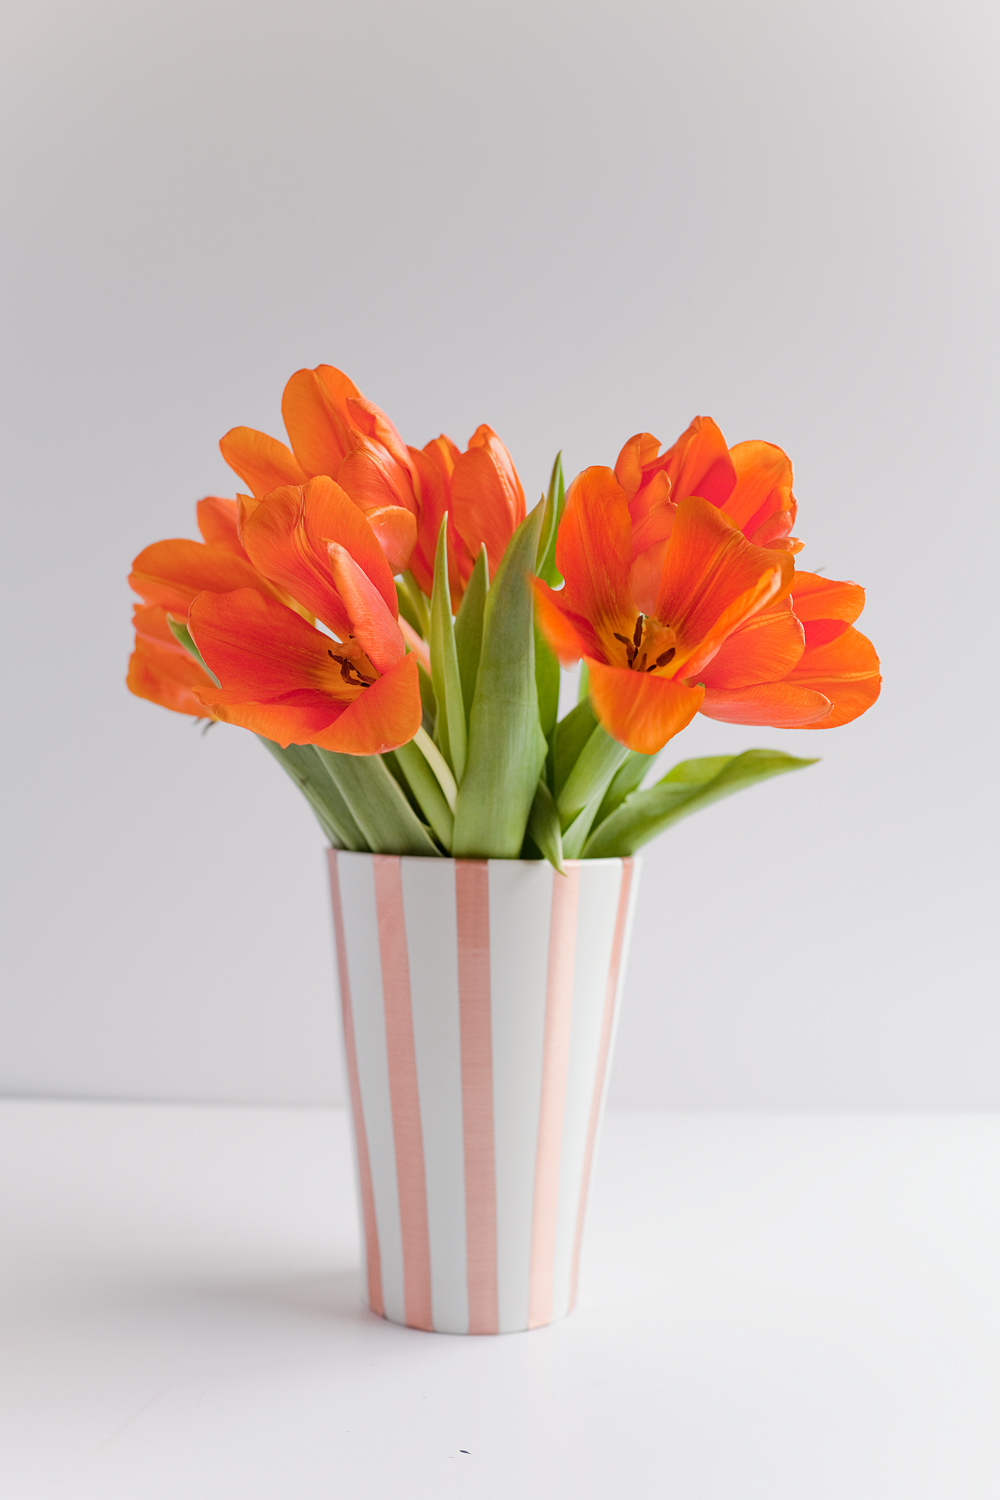
Speaking of embellishing containers, it’s time for your vases to realize their true potential! For an alternative to marble, try copper contact paper. An affordable IKEA vase is the base for this fun project, and the stripes below are only half of the story. Check out the full DIY over at Tell Love and Party:
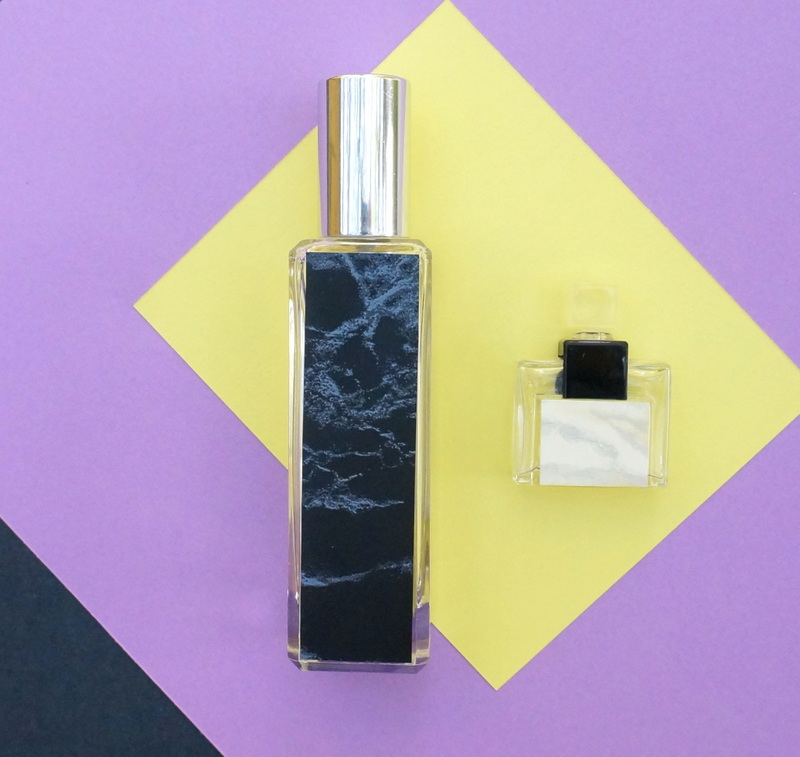
No container is too small for a contact paper embellishment! Back in 2014, we shared this DIY idea, providing a simple way to add detail to old perfume bottles. A great way to repurpose an item you may otherwise toss, this project lets you take a used container and turn it into a display piece.
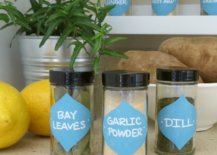
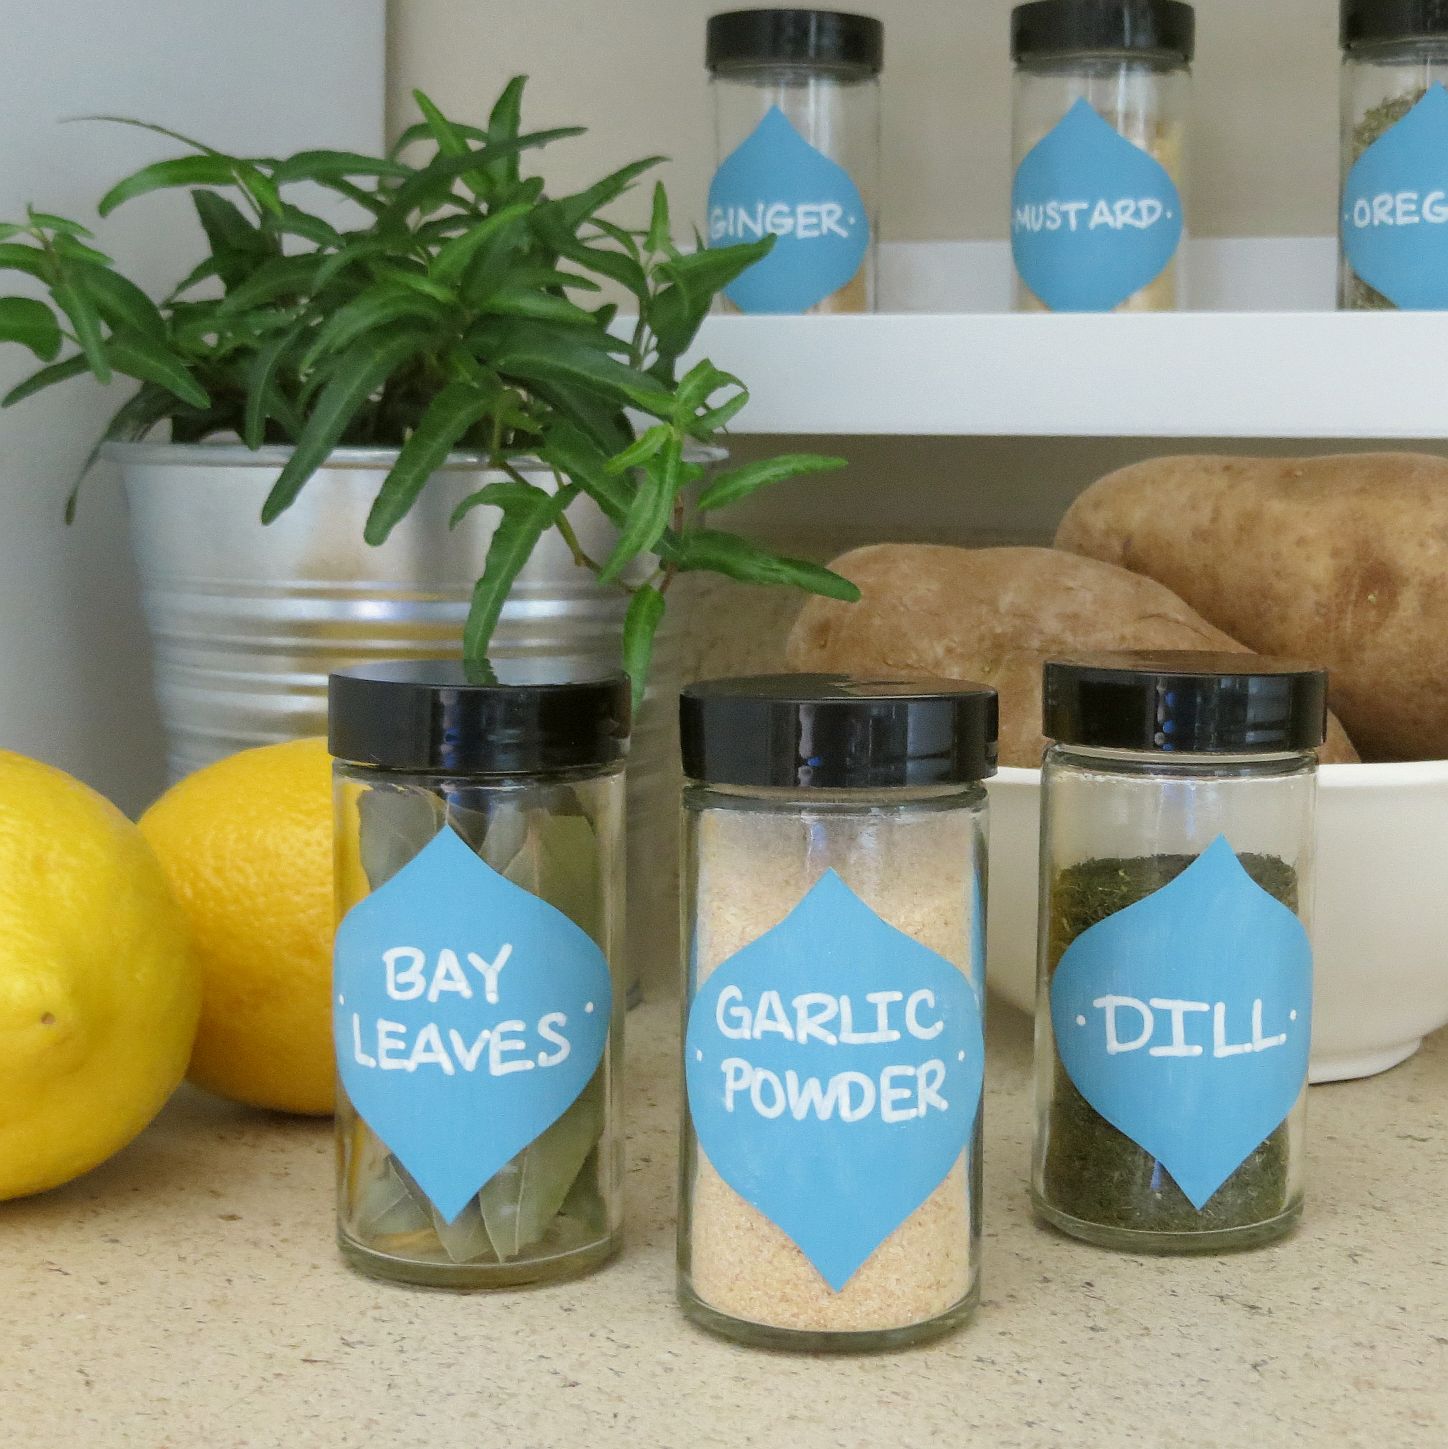
Contact paper can make all the difference when it comes to labeling. The DIY Homegirl painted basic white contact paper to get the perfect shade of blue, then custom cut the design and added words with a chalk marker. If you’re willing to go the extra mile to personalize your design, your DIY endeavor can result in a look that’s perfectly tailored to your space!
In the Clear
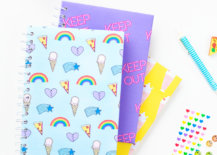
We end today’s post with a look at three DIY projects that feature clear contact paper. This basic supply can be both practical and fun! Studio DIY’s Free Printable Notebook Covers (designed by Violet Clair) are fabulous in their own right, but they’re made even more durable when covered with a piece of clear contact paper. Contact paper can has the potential to be beautiful and decorative, but remember that it’s also protective. And that’s great news for design lovers!

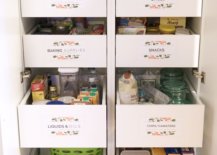
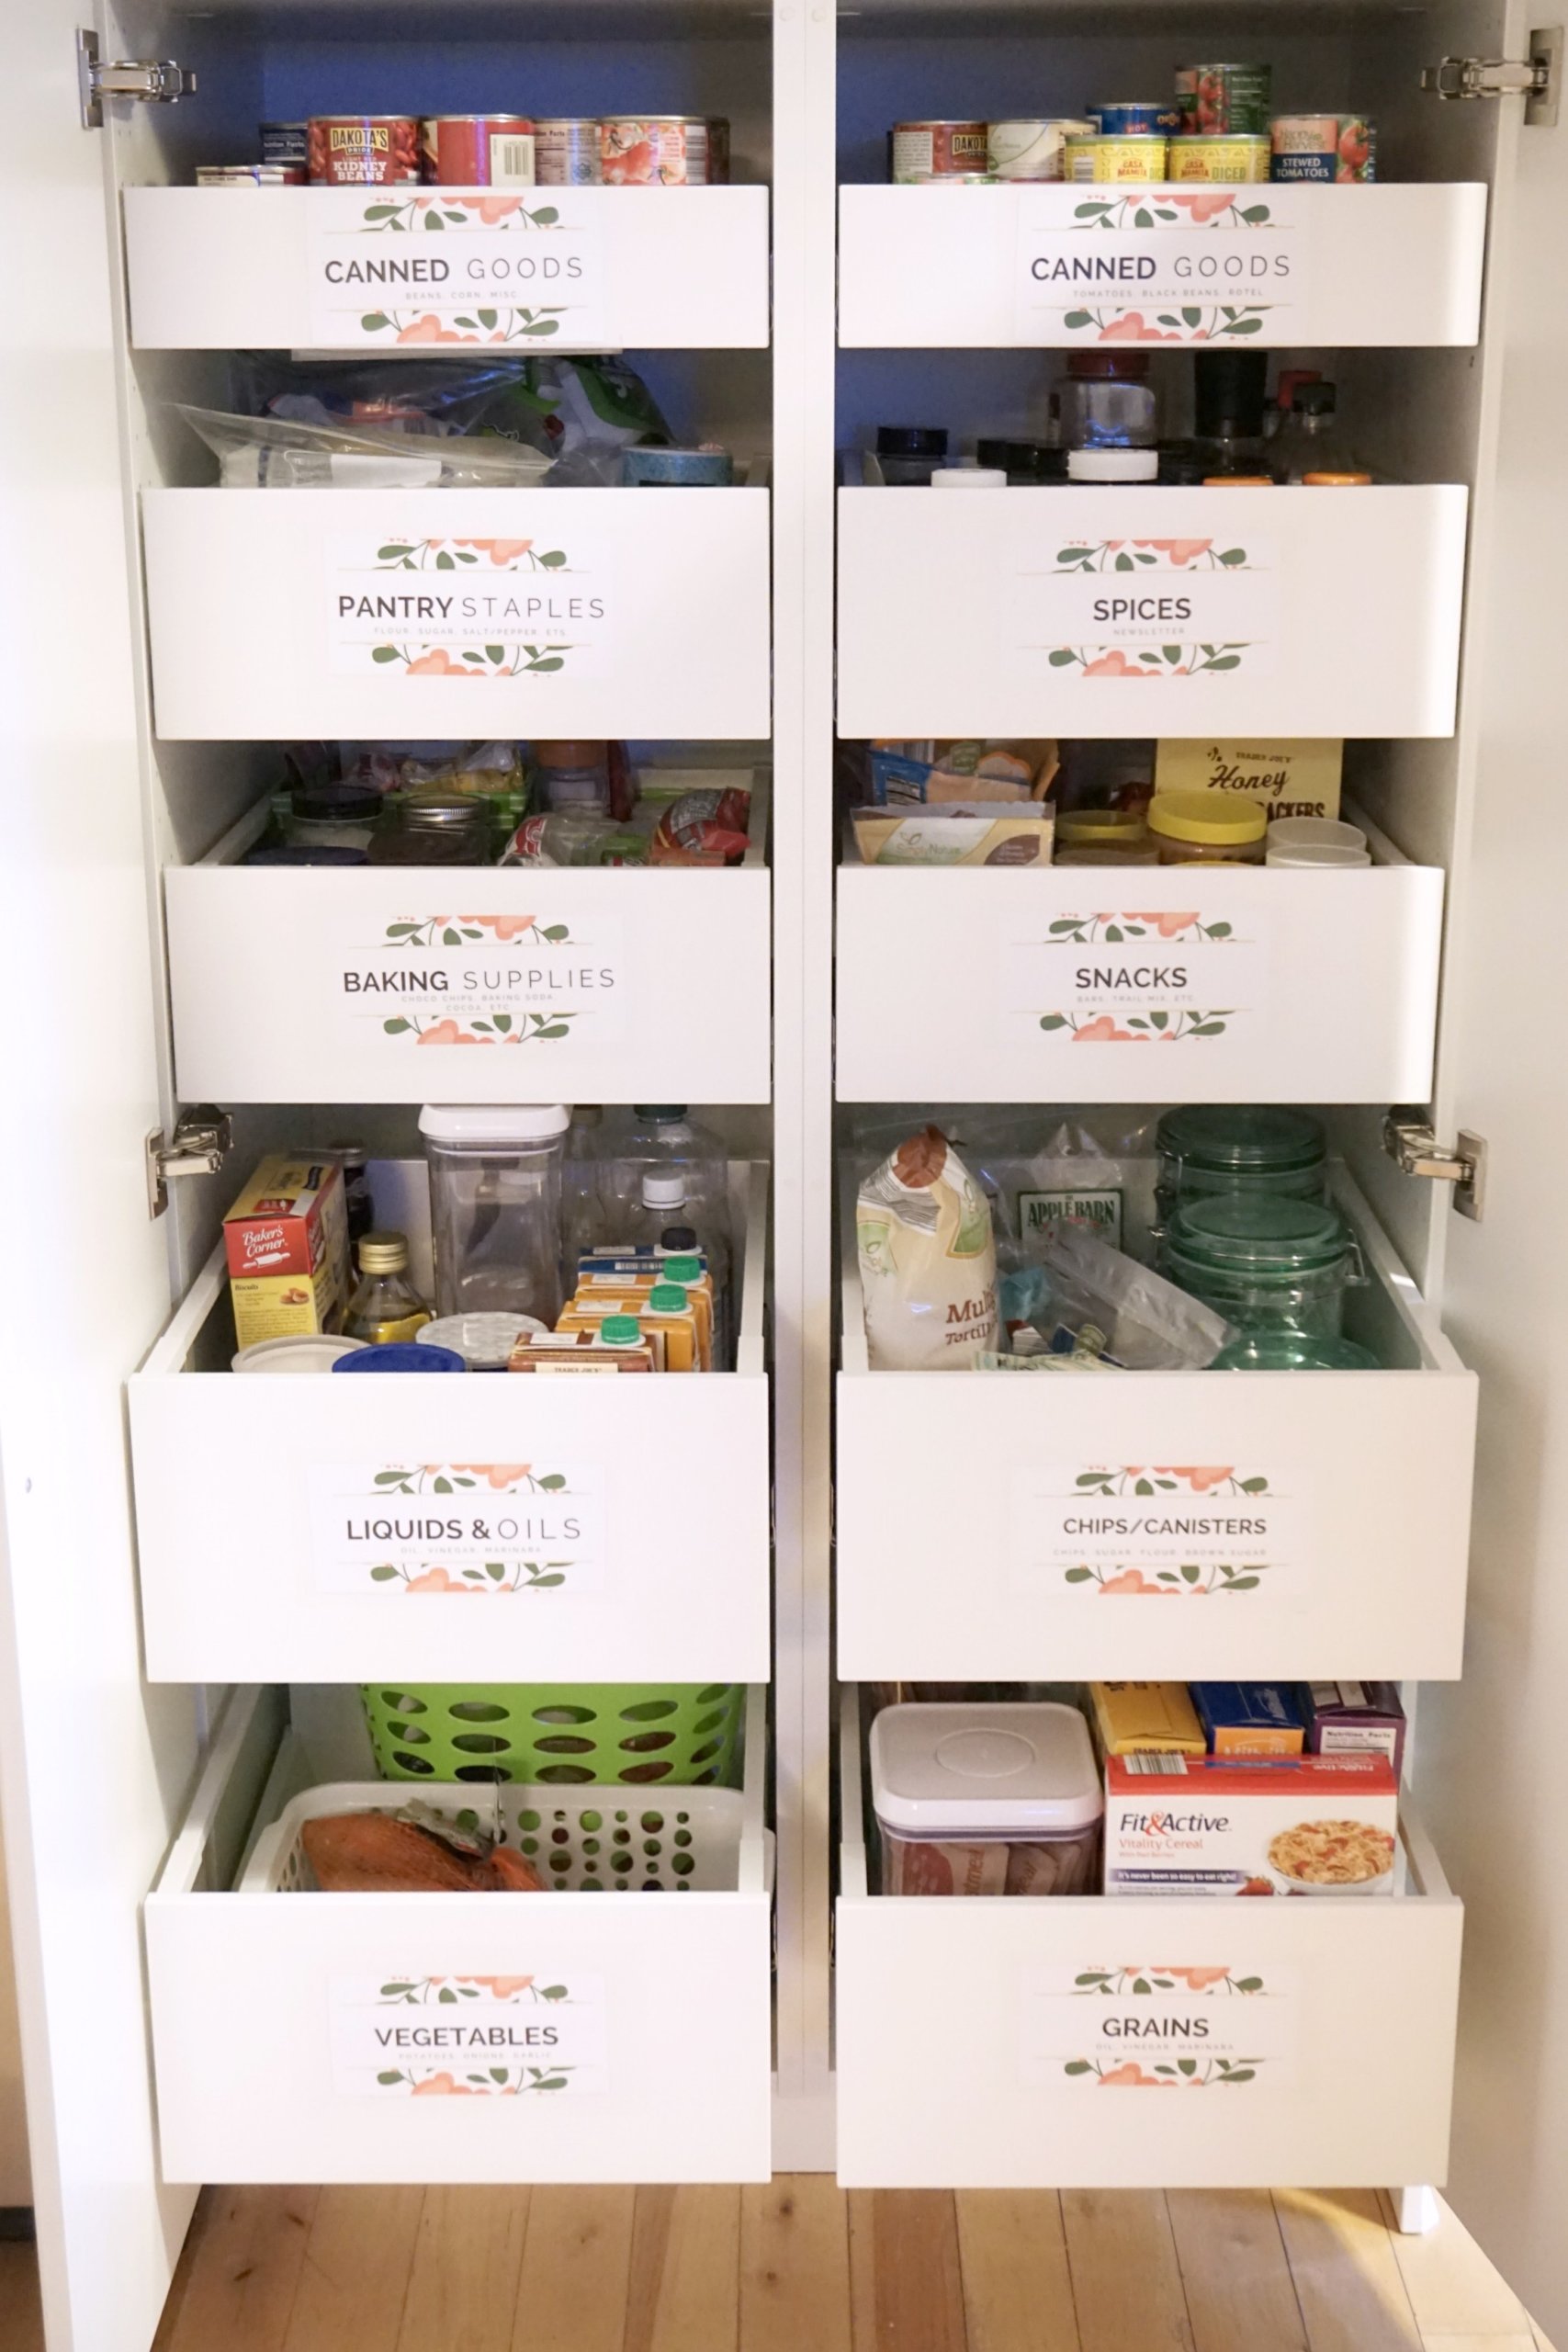
With the help of Canva for the stellar graphics, Forrester Home created a series of pantry drawer labels using clear contact paper. Whereas other varieties of contact paper are made to be noticed, the clear option is designed to be seamless. That’s great news when it comes to creating a custom look, as seen in these personalized drawers. Check out the full tutorial here.
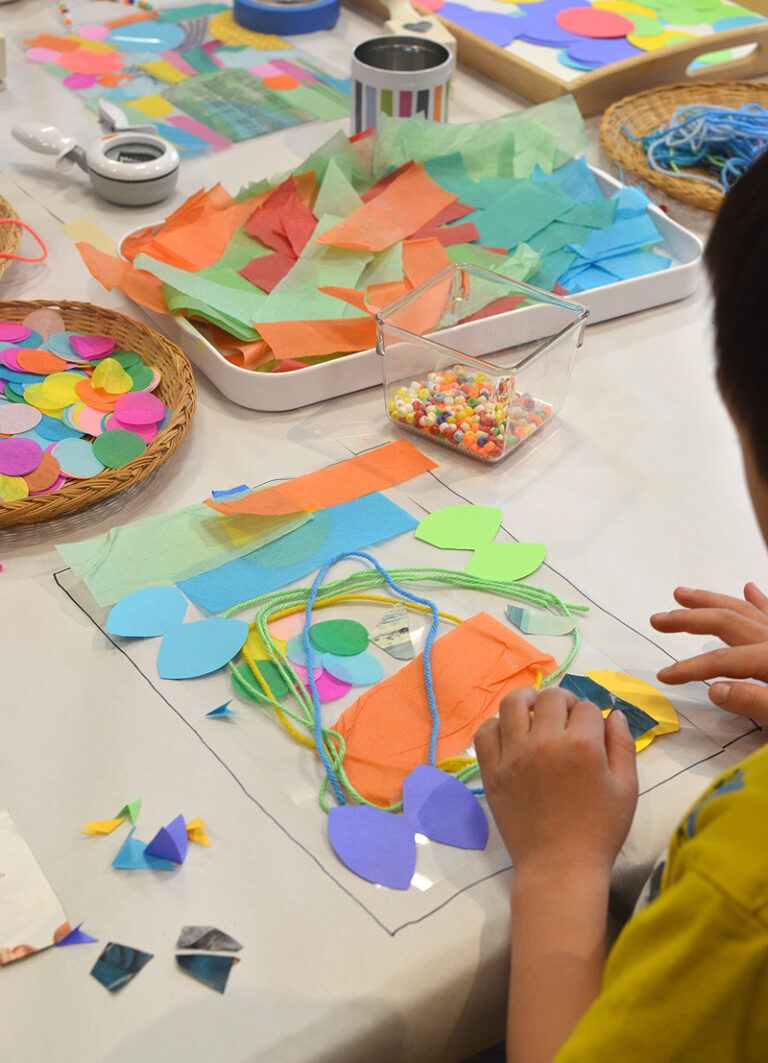
Last but not least, if you’re home with kids these days and need activities to keep them engaged, check out Art Bar’s Contact Paper Collage idea. Clear contact paper is the ideal sticky surface for easy adhesion. That’s good news for kids who may get impatient with gluing down each little scrap or string. When they’re done, you can help the kiddos cover the collage with another piece of clear contact paper, and the design is beautifully sealed in!
We hope today’s post has provided you with helpful design inspiration and endless crafting opportunities. Remember, if you’re searching for colors and patterns that you can’t find in the realm of contact paper, consider using peel-and-stick wallpaper to your advantage. A new range of colors and forms awaits you. Happy crafting!
You’re reading Best DIY Projects Using Contact Paper, originally posted on Decoist. If you enjoyed this post, be sure to follow Decoist on Twitter, Facebook and Pinterest.


