Choosing what to do with that blank wall in your living room can feel like a daunting task if you aren’t an expert in home decor, but it doesn’t have to be!
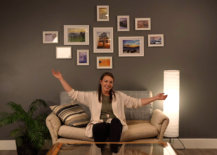
One of the best uses of that space is to create your own DIY gallery wall. It’s the perfect way to display all of your favorite photographs or artwork while adding drama and depth to the room. A DIY photo wall is a classic design choice that allows you to decorate a space, while also having the freedom to change out photos or change the layout when you feel like something new.
Supply List:
- 8″ x 10″ picture frames — We chose to use 3 frames of this size.
- 5″ x 7″ picture frames — We used 8 frames of this size.
- Photos or artwork that fit in the frames you’ve chosen.
- 1 roll of crafting paper
- Scissors
- Clear Scotch tape
- Painters or masking tape
- Tape measure
- Level
- Hanging hardware
- We used nails however you could choose a product like Command picture hanging strips if you don’t want to leave holes or marks on your wall.
- Pencil or pencil crayon
Step 1:
The first thing to do is choose which wall you want to arrange your gallery on. When choosing your wall, large spaces such as a stairway, hallway, or a feature wall above a couch work well.
Step 2:
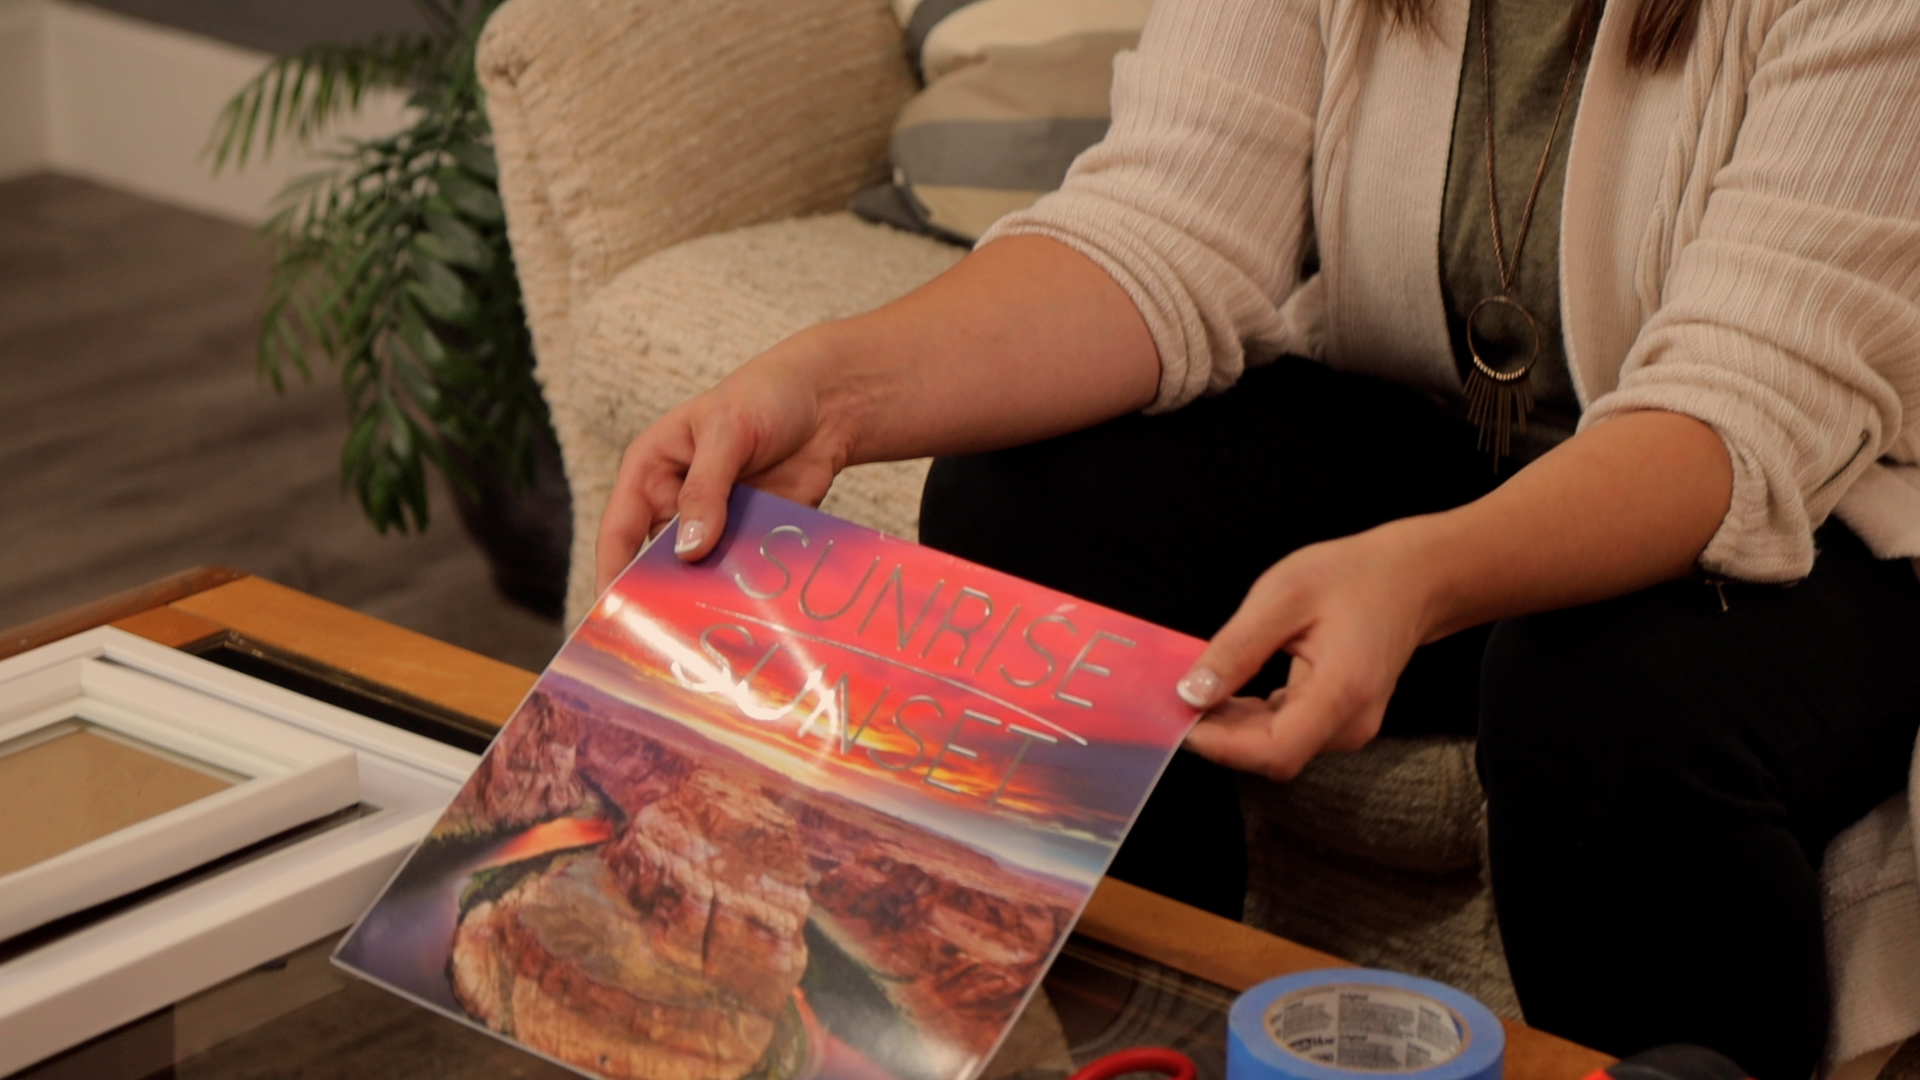
Choose the color and picture theme you want for your wall. It’s important to have a theme so you can create the best display. If you don’t consider a color scheme or theme ahead of time, your wall can end up looking unbalanced.
Step 3:
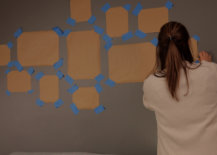
The next step is to create your wall template. Having a template ensures that your pictures are lined up and not doing any damage to your walls. It also gives you the opportunity to rearrange your photos and decide what layout works best for your photos.
Step 4:
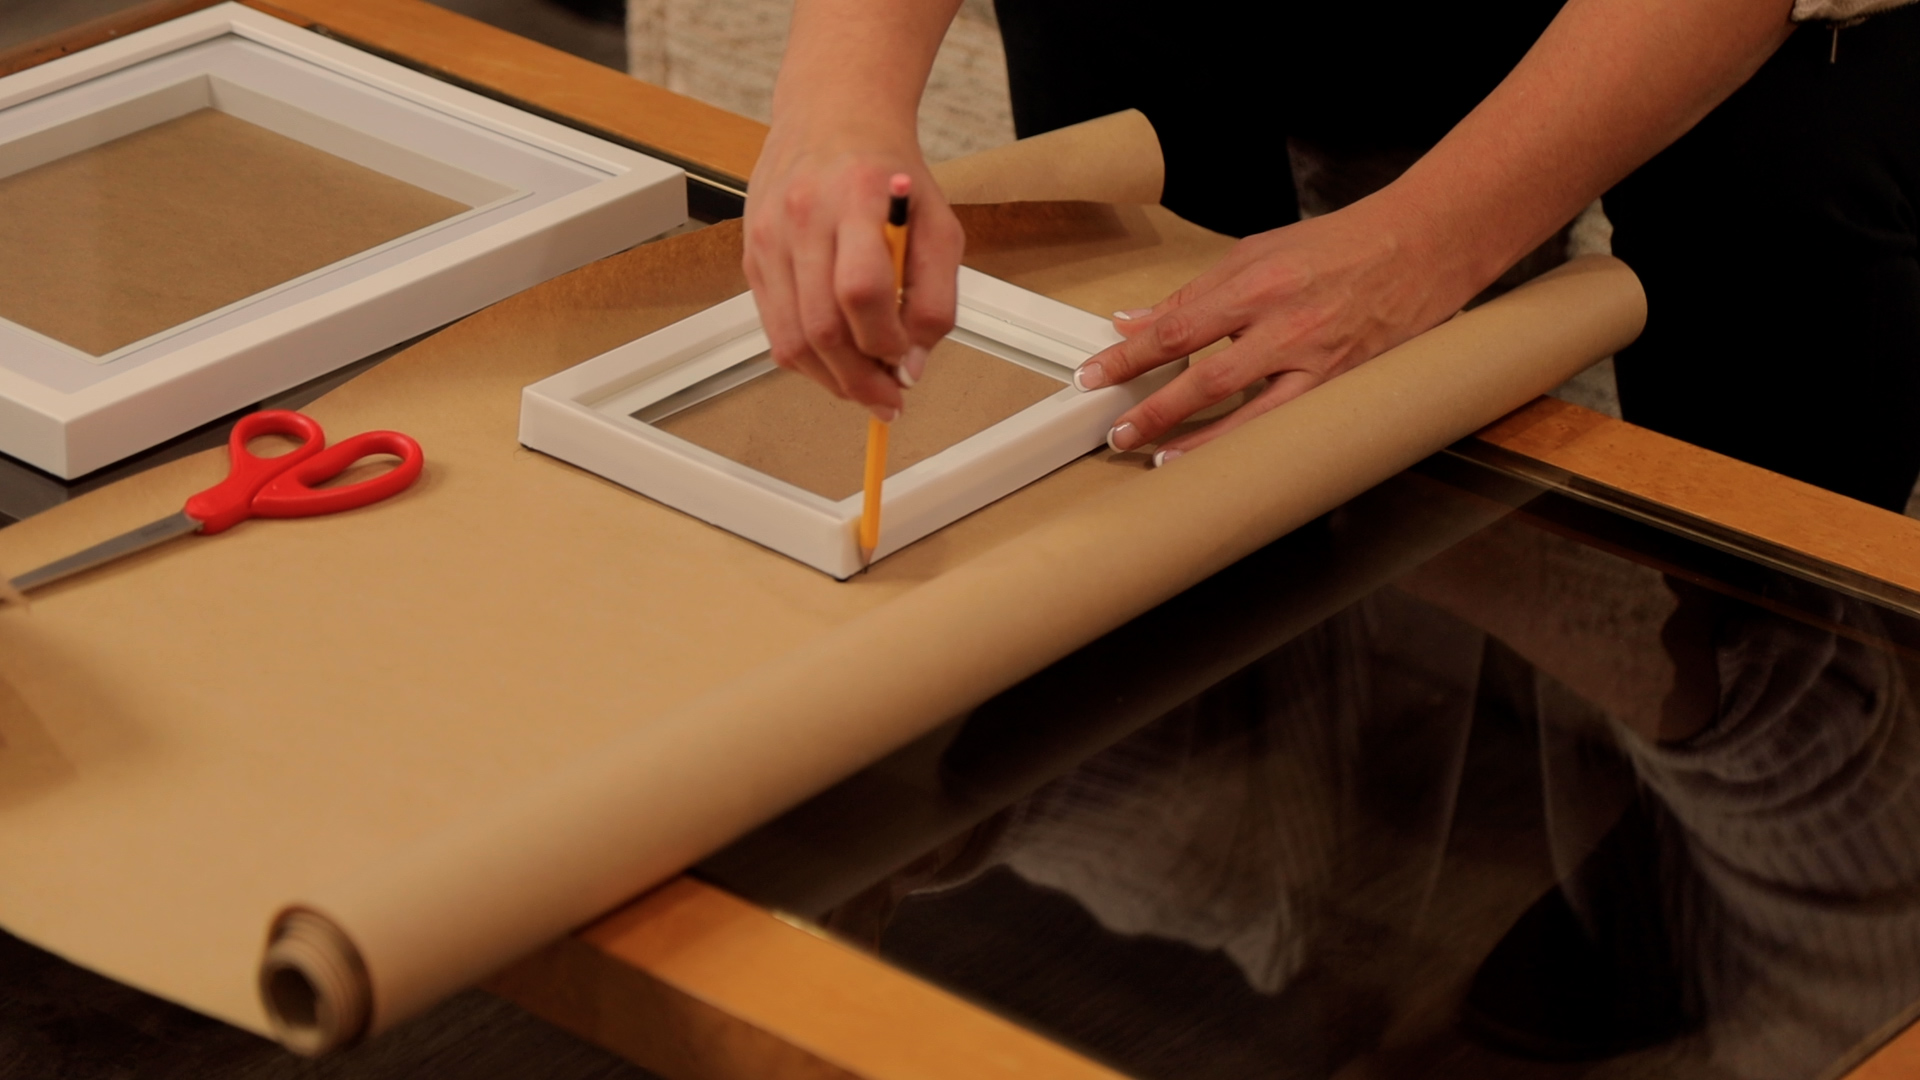
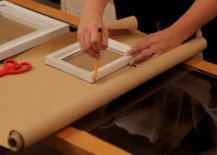
Grab the roll of crafting paper and place your picture frame on top of it. Trace around the edges of the frame, then cut it out. Repeat this for every frame you’re going to hang.
Step 5:
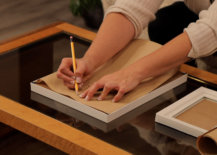
Line up each template to the back of the frames. Mark the spot where the hanging hardware will be for each frame. This ensures accuracy when you’re hanging the pictures.
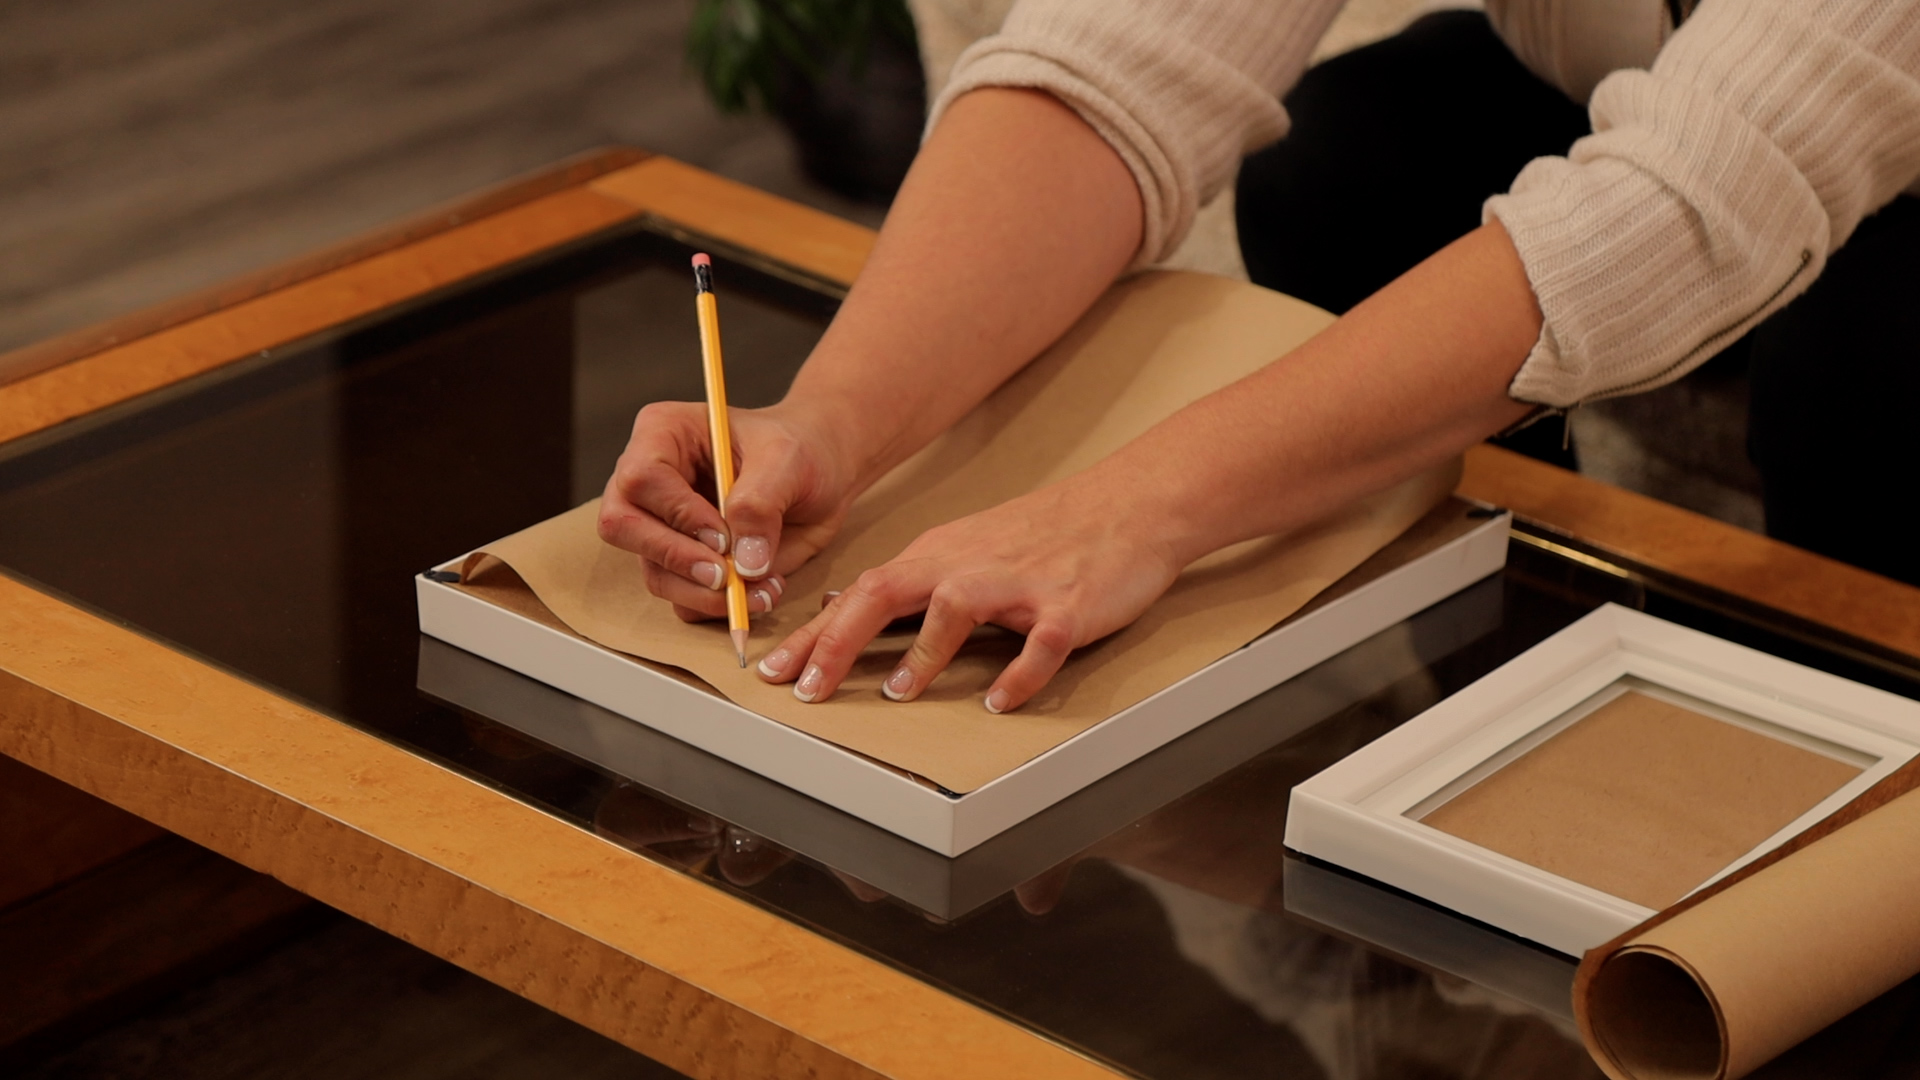
PRO TIP: Label each template with a brief description so you know which picture it represents.
Step 6:
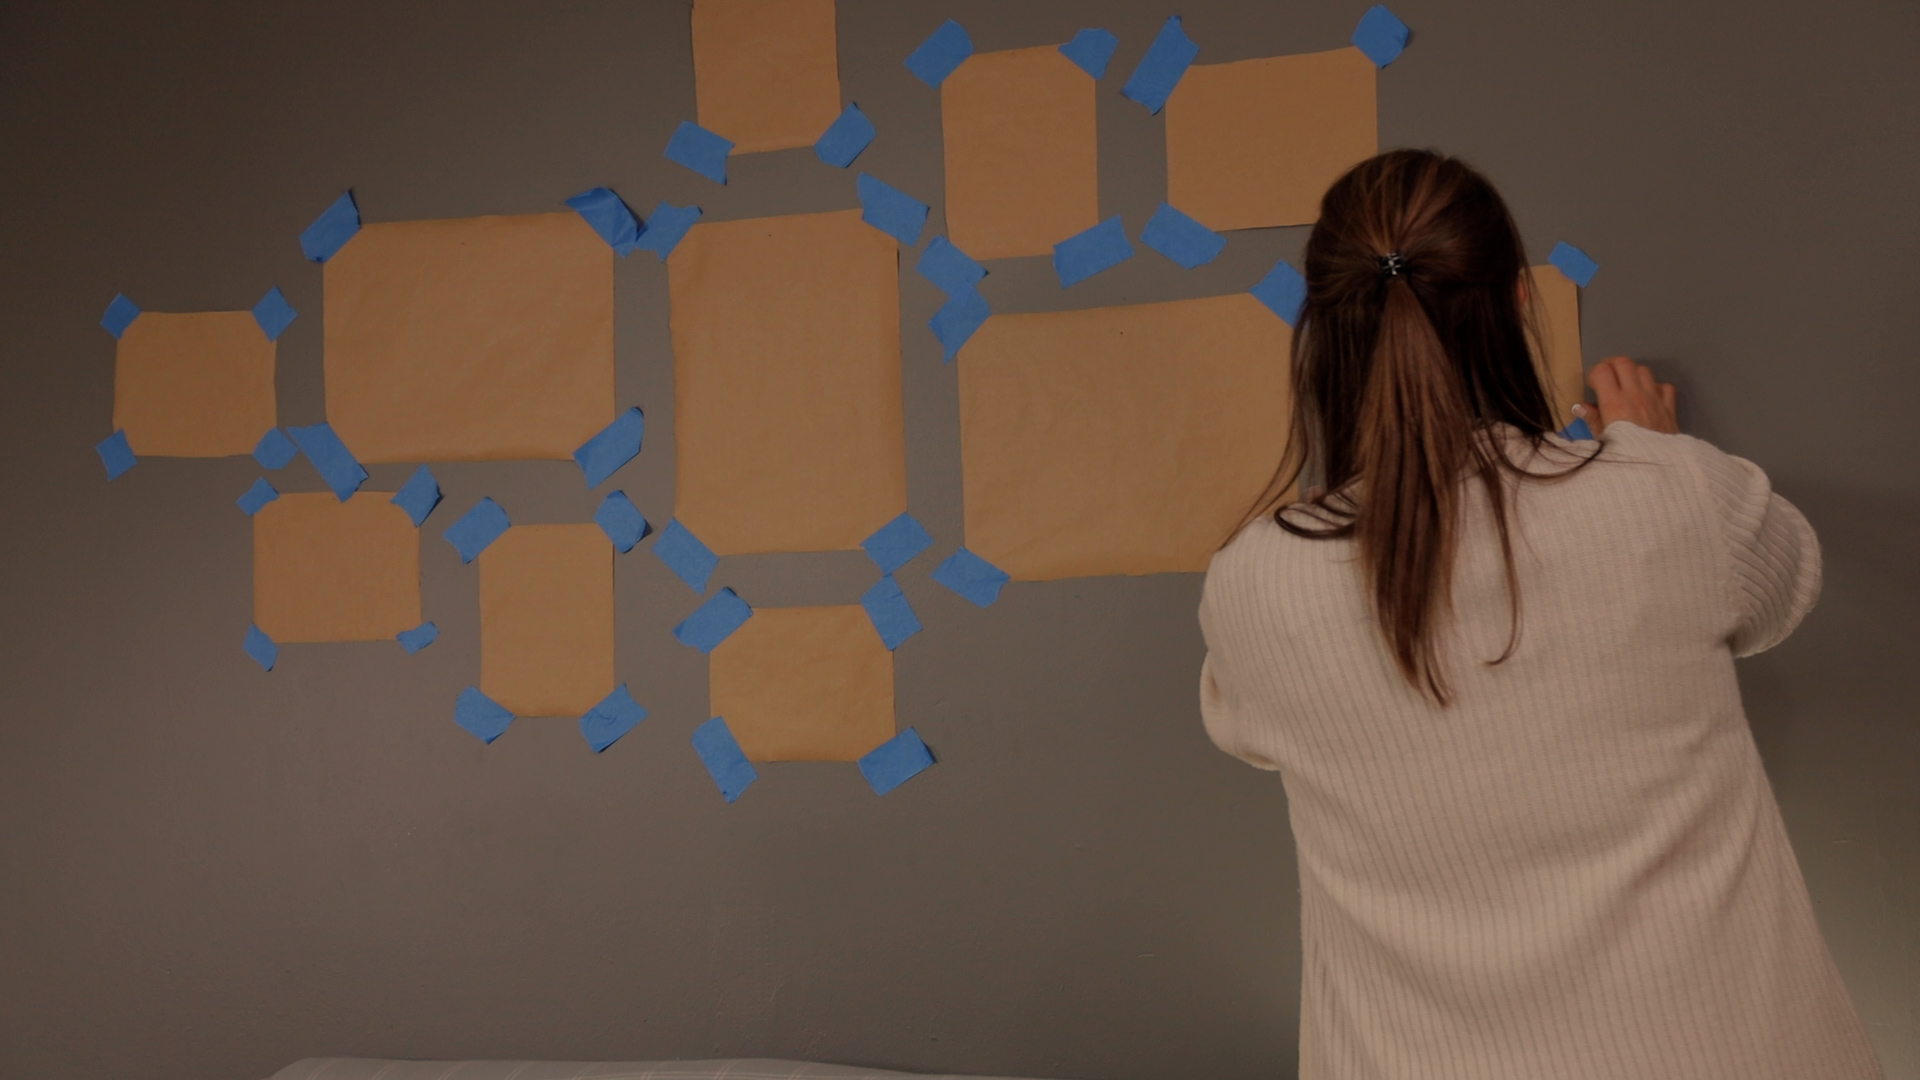
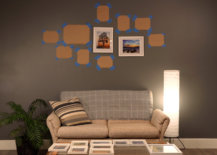
Now it’s time for you to tape the templates to the wall you’ve chosen.
Step 7:
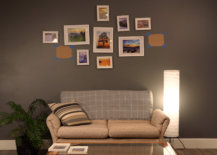
Once you have all the templates taped up, it’s time to grab your hammer and nails. Nail in your hardware using the markings you made on the craft paper templates.
PRO TIP: To give your photos extra support, hammer your nail on a downward angle.
Step 8:
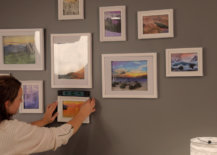
Your final step is to hang all of your photos in the spots you’ve laid out. To ensure that your photos are lined up just right we recommend using a level.
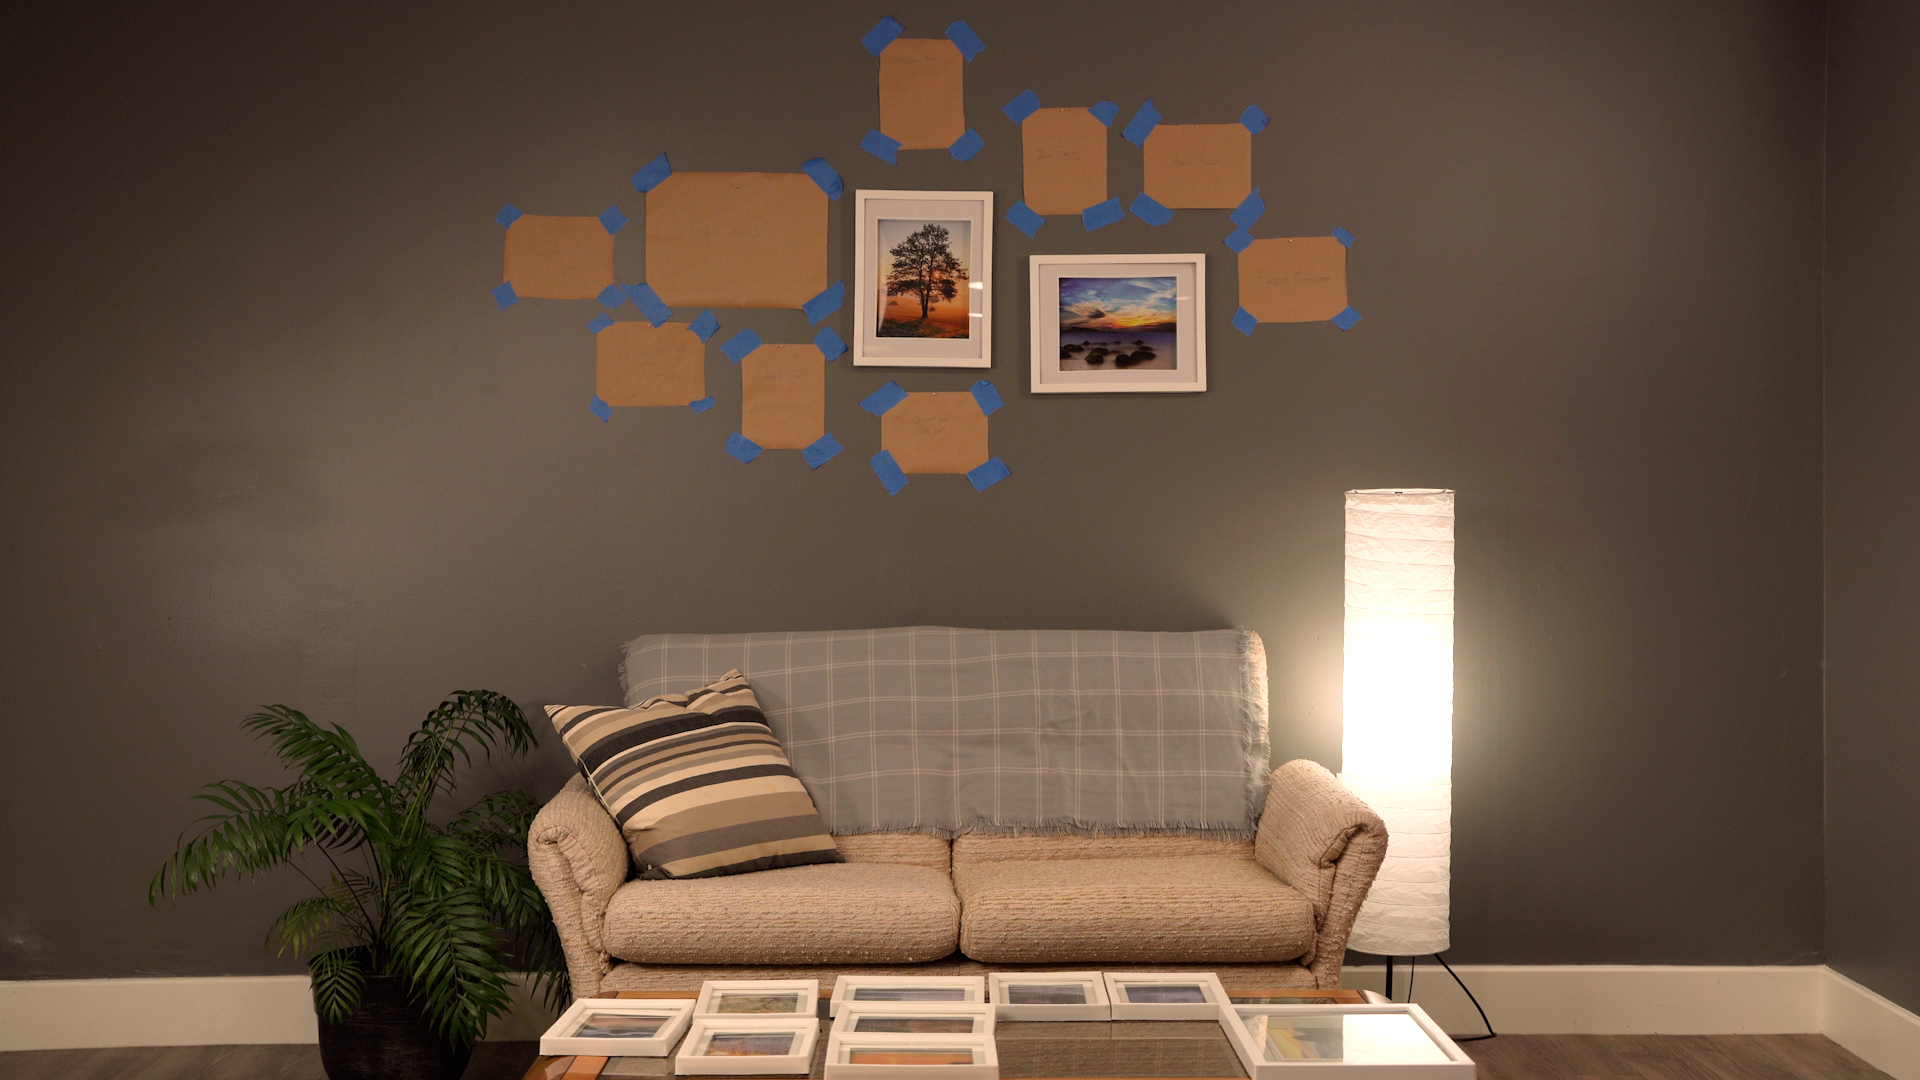
Now that you’ve created your DIY gallery wall, your true final step is to share your new home decor with us! Show us the final layout for your photo wall by connecting with us on Facebook, Instagram, or Pinterest.
We know that photos can be an amazing source of design inspiration, so this article may contain affiliate links that will direct you to a particular decor item. Clicking on a link may result in a portion of proceeds being paid to www.decoist.com
You’re reading How To Make The Perfect DIY Gallery Wall For Any Home, originally posted on Decoist. If you enjoyed this post, be sure to follow Decoist on Twitter, Facebook and Pinterest.

