Best DIY Projects Using Contact Paper

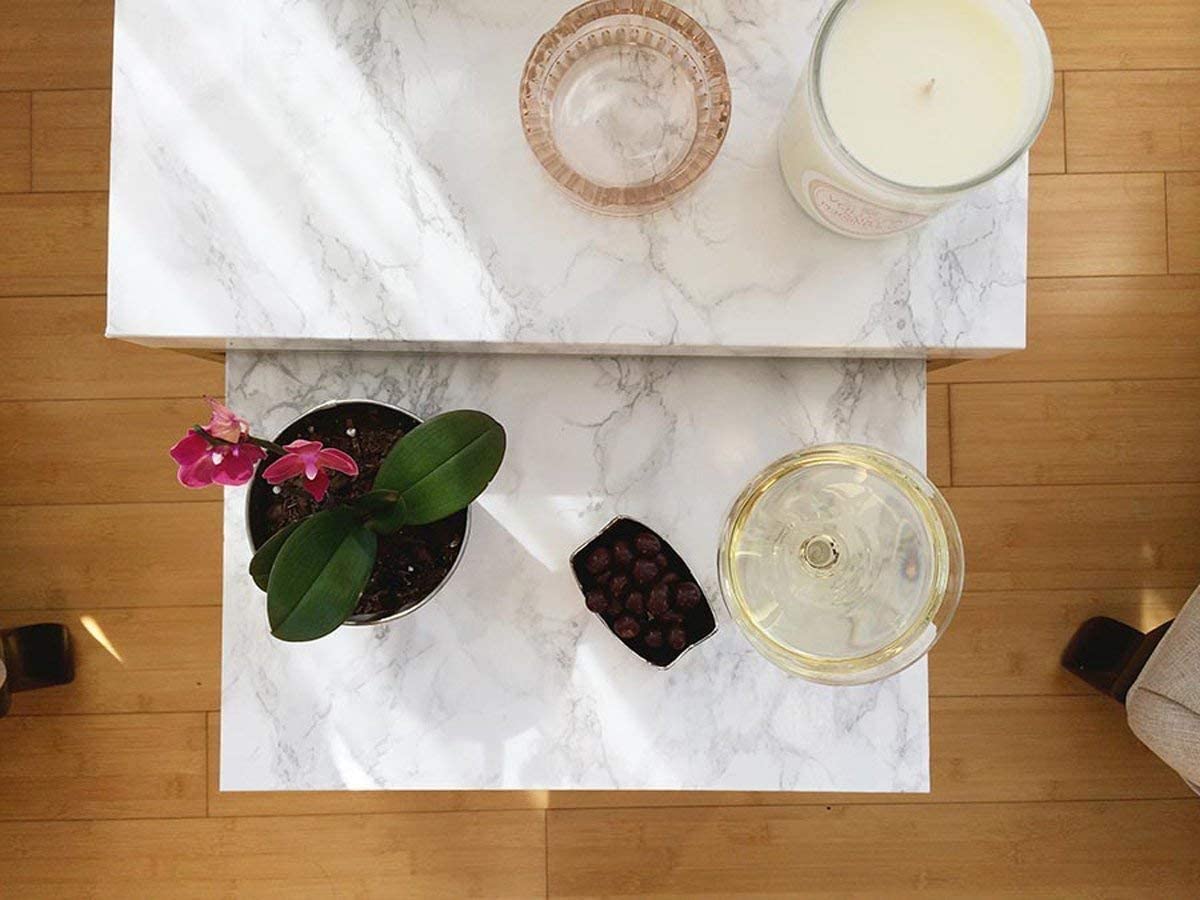
Finding yourself with more time on your hands for crafting?! Over the coming weeks, we’ll be featuring a bit more in the DIY department here at Decoist, as many of us are now working from home and spending our down time there as well. Today’s featured craft item of choice is contact paper. There are few things that yield such an immediate payoff. Peel and stick, and you can transform anything from countertops to small containers. One of the most popular contact paper patterns for design lovers is marble, so expect plenty of stylish veining in the roundup that follows. But you might be surprised by a few other contact paper options as well. Happy Crafting… [photo below via Amazon]


Big Transformations

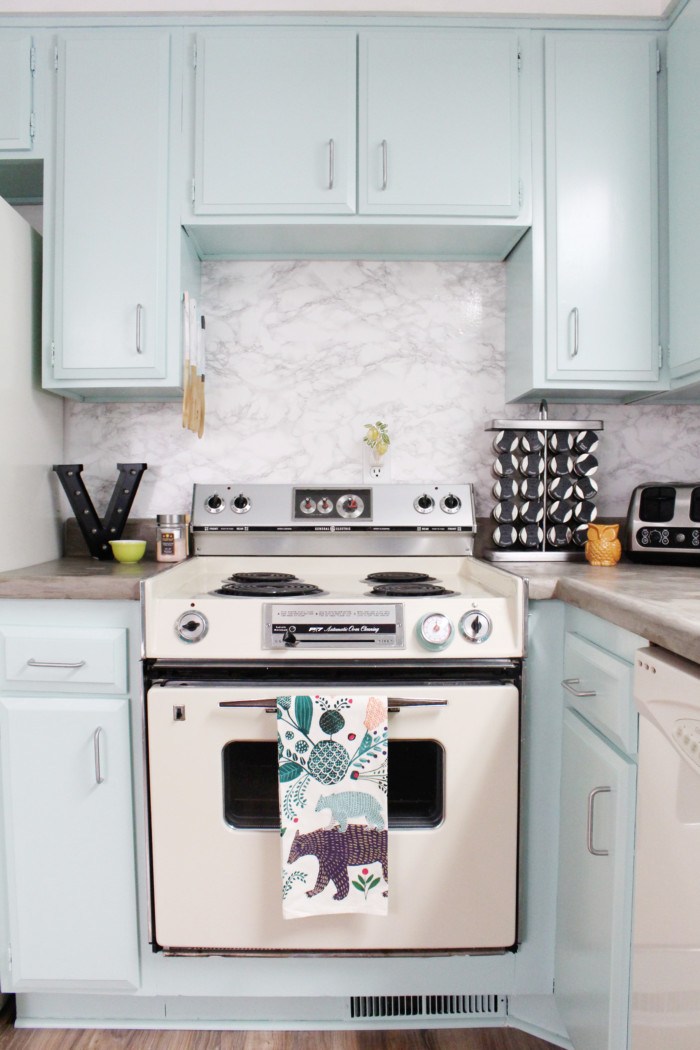
Let’s start with some big-time projects that have the power to transform large surfaces. Raise your hand if you’ve ever been stuck with a kitchen backsplash that was less than what you desired. If a remodel isn’t in your budget or design timeline, here’s a quick fix: marble contact paper! Machelle from A Joyful Riot used marble contact paper to create the perfect backsplash for her kitchen. The project wasn’t overly time consuming, and the results were everything she was hoping for. Plus, the look is bright and classic. Check out all of the project details here.
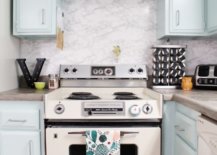
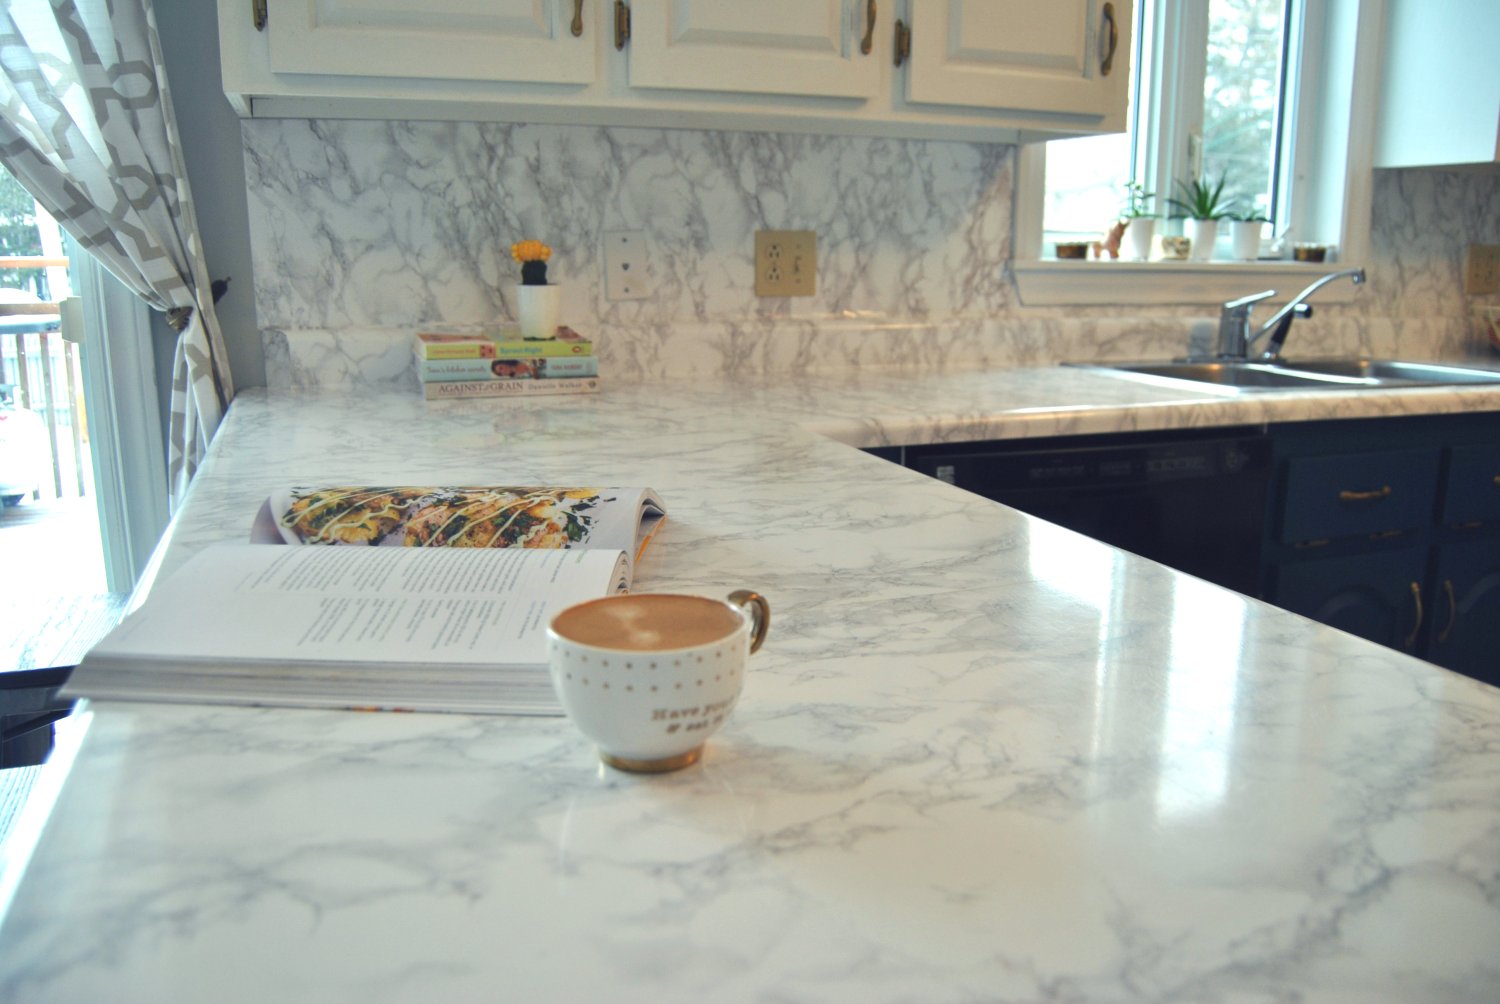
Vanessa from Pretty Little Ivy covered both her countertops and her backsplash in marble contact paper, as shown below. Helpful strategies such as using a credit card to smooth over the bubbles that can form during application can be found in the the post, along with additional photos of the lovely results. The end product is seamless and refreshing, a lovely contrast to the kitchen’s blue cabinetry:
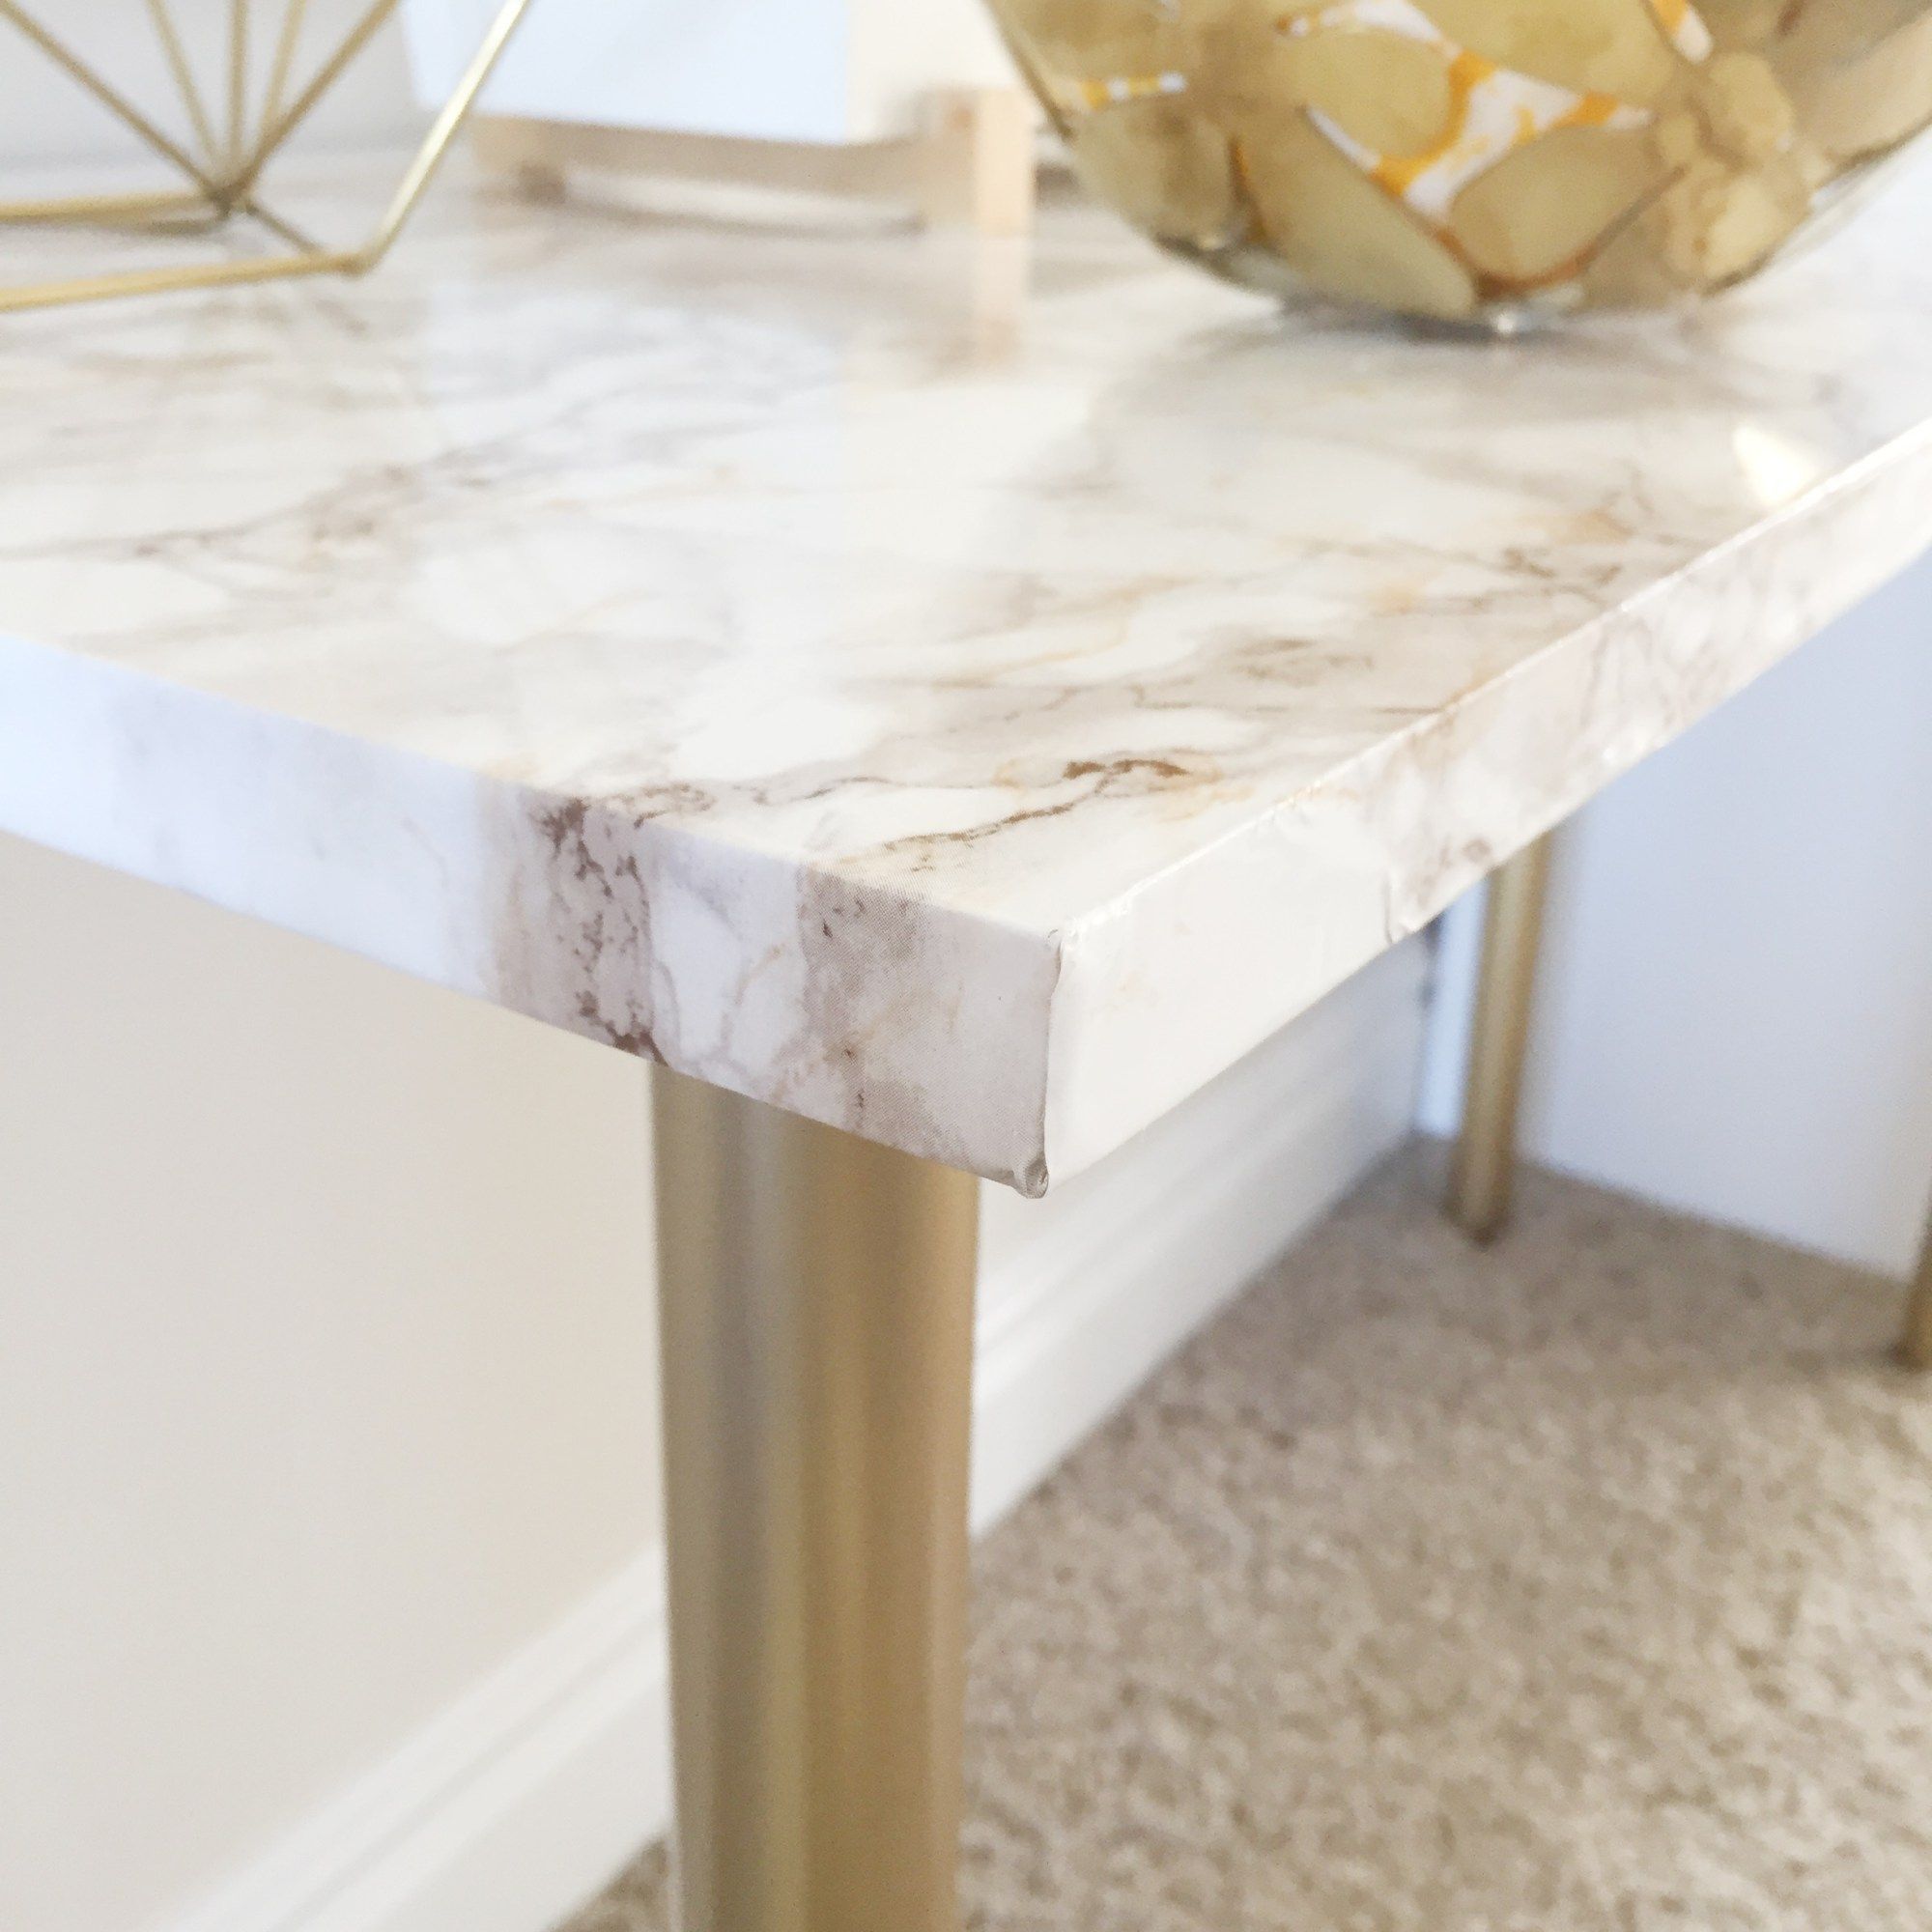
From kitchen surfaces to furnishings, this IKEA hack from The Glitzy Pear takes marble magic in a gold-toned direction. With some super-affordable IKEA table legs that were spray-painted gold, the piece really came together. Also note the warm-hued details in this marble pattern. So glam!
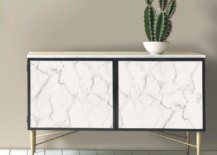
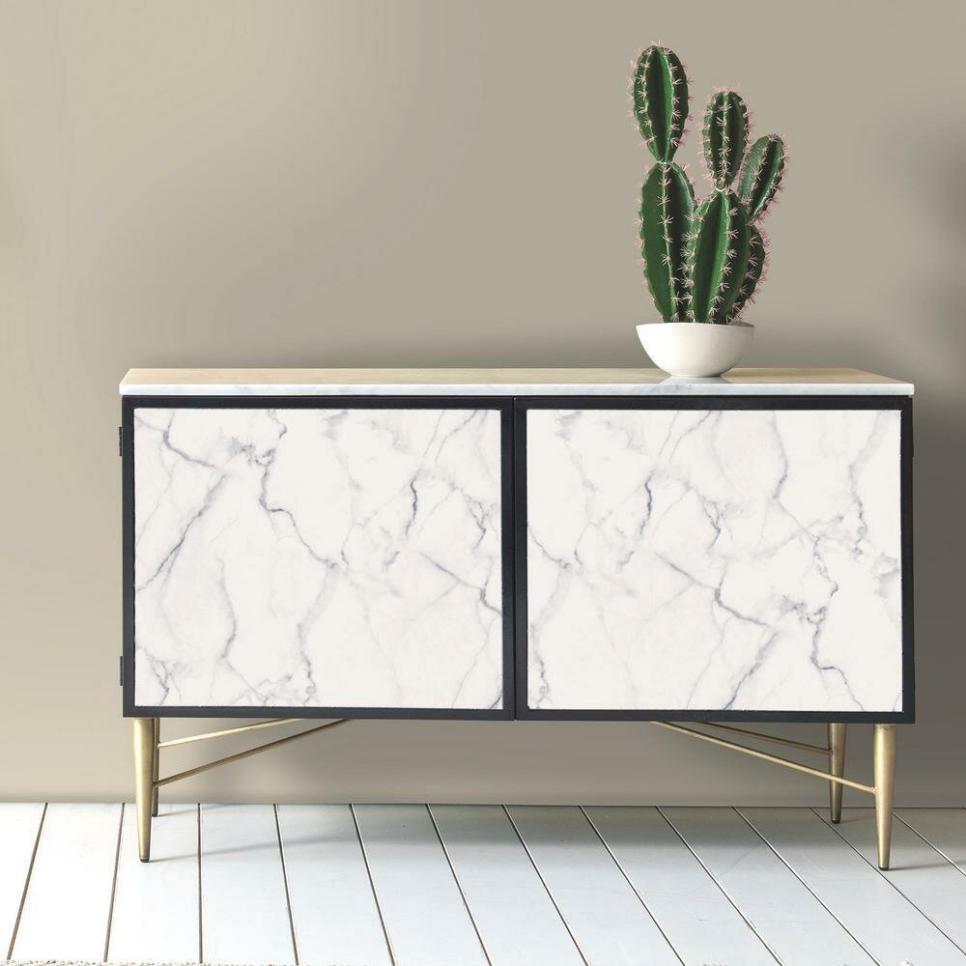
While this storage cabinet makeover featured at HGTV makes use of peel-and-stick wallpaper rather than contact paper, the basic idea holds true. Marble paper with adhesive backing is true magic for your DIY furnishing projects! Plus, the world of peel-and-stick wallpaper may give you more pattern options as you look to expand your creative endeavors.
Fun Embellishments

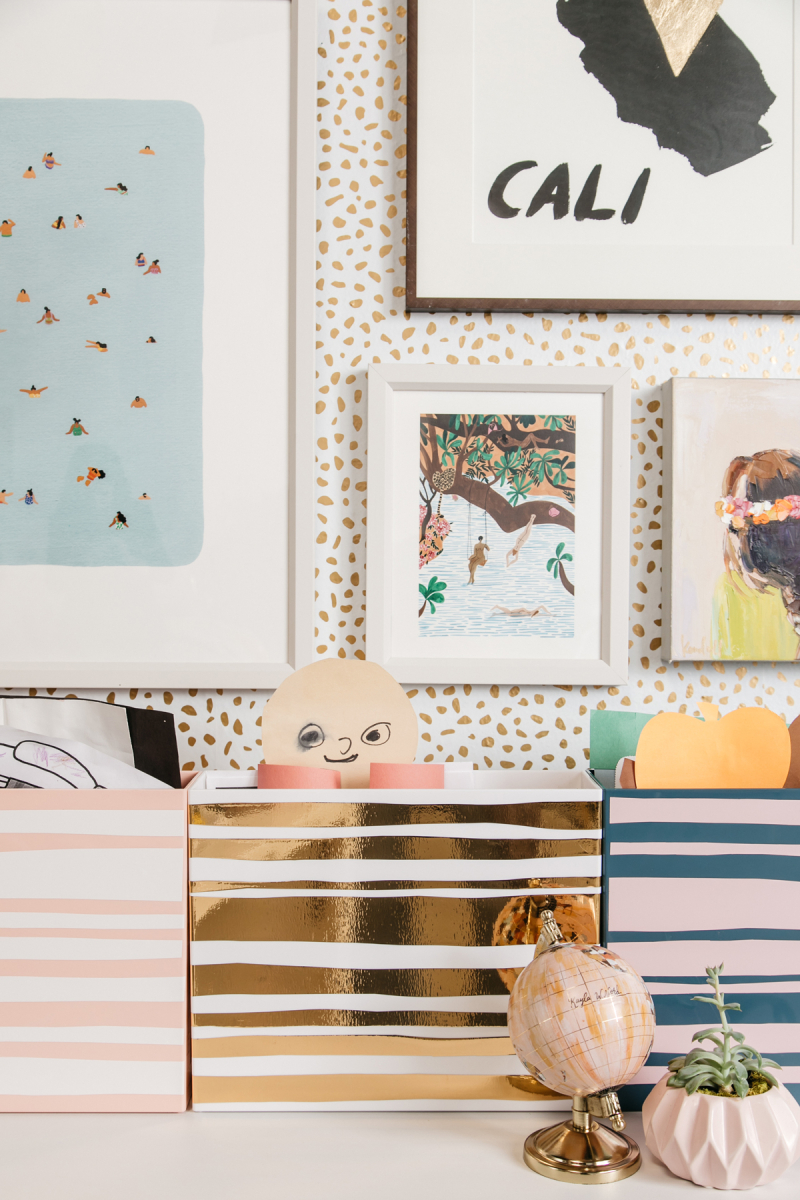
Even on a smaller scale, contact paper can make a big impact. Struggling with how to organize your paperwork? Below, Joy Cho shows us how to spruce up file organizers with playful strips cut from contact paper. The wavier the strips, the better! While she suggests using the boxes to organize children’s artwork, they can hold the papers of your choice. Details at Oh Joy!
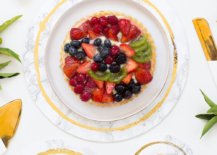
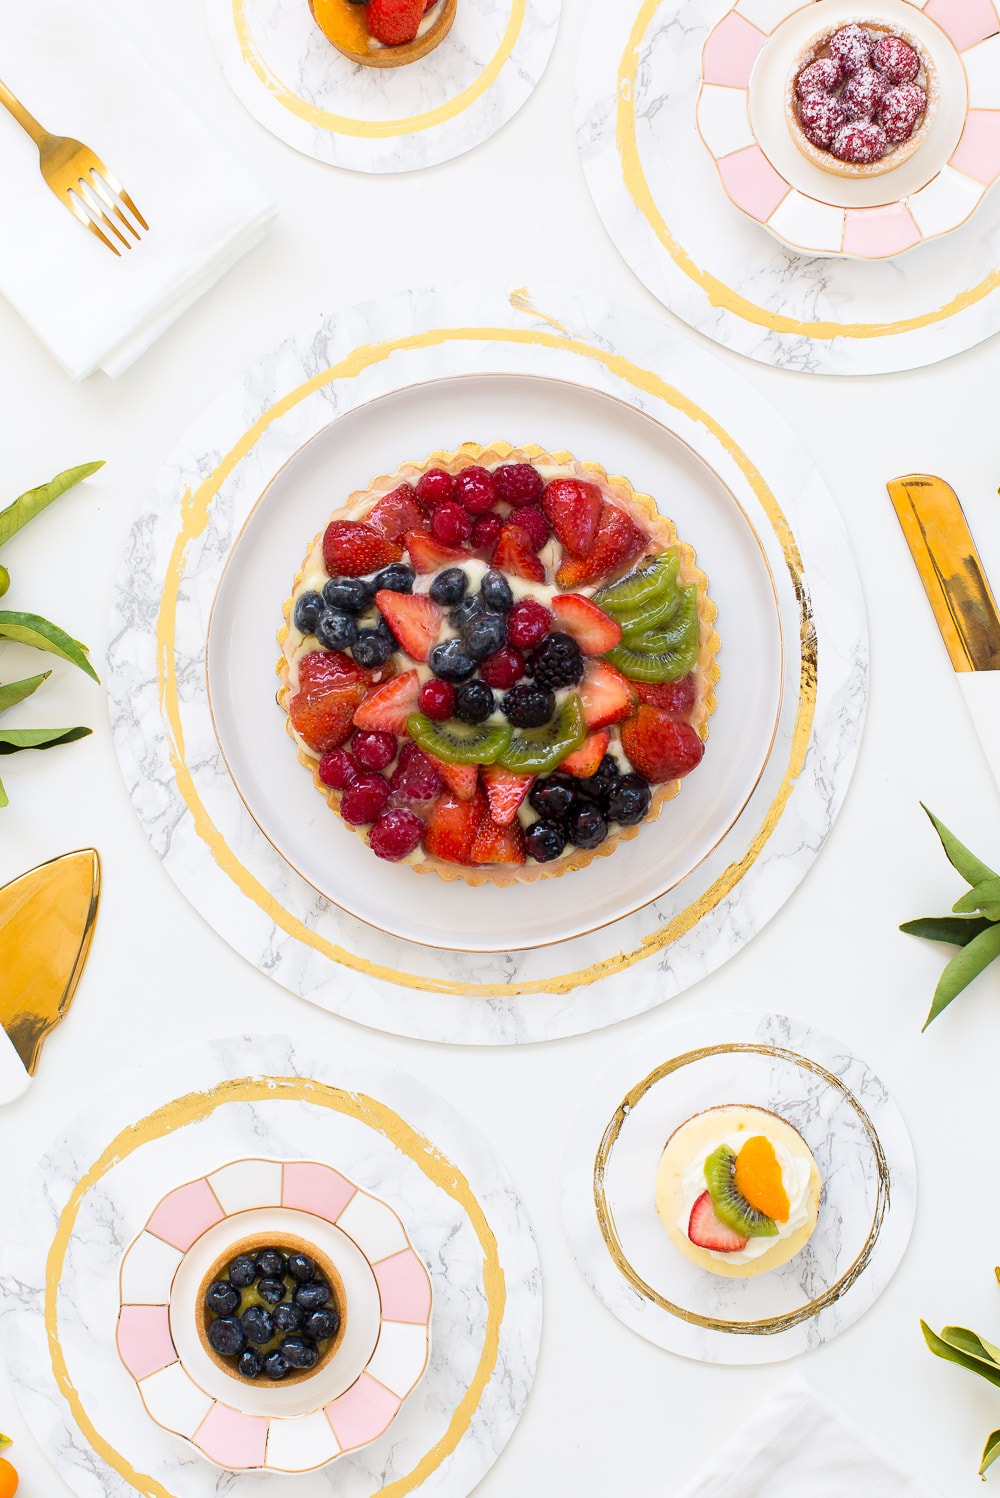
Sugar & Cloth’s Decorative DIY Marble Plates make great use of wooden rounds. Once they’re covered with marble contact paper, a fluid ring of gold foil embellishment creates the perfect upscale touch. You can make one or two for the display of desserts or create a whole set of chargers to punctuate each place at your table. [photo by Jared Smith]
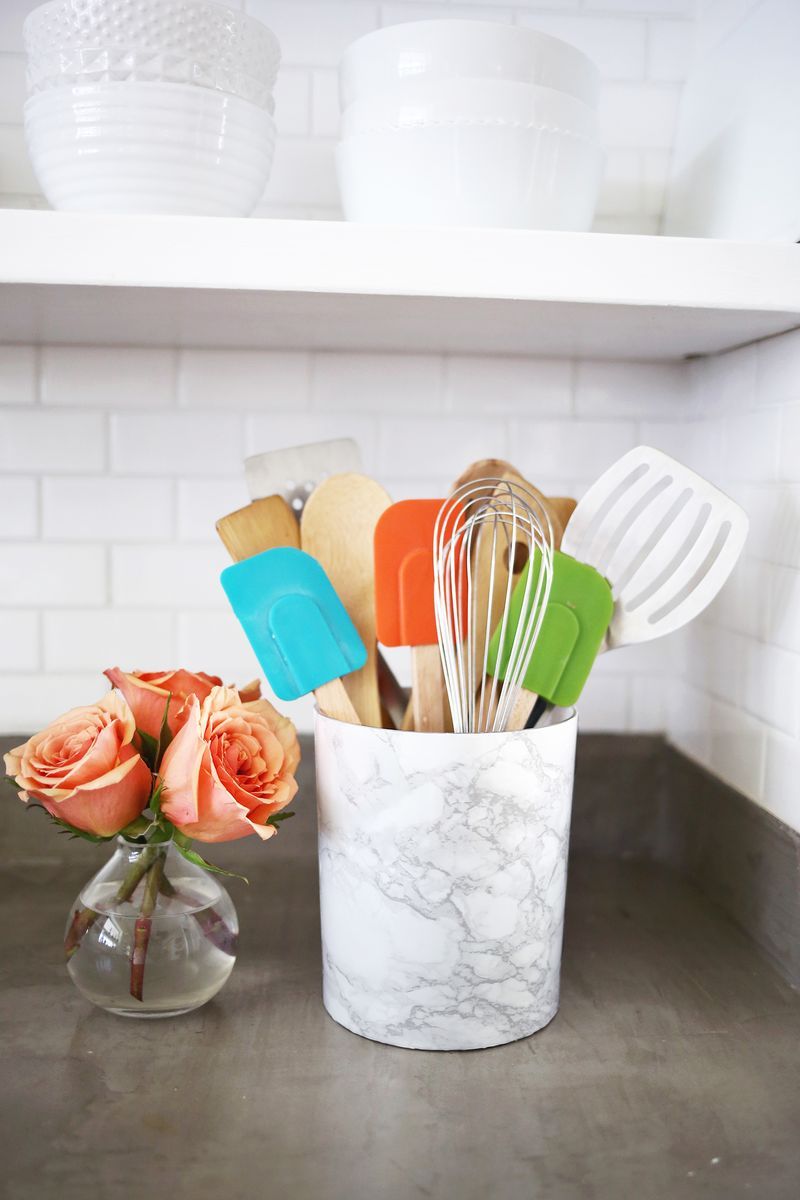
Ready for a super-easy idea with a big payoff? A Beautiful Mess has created a DIY Marble Utensil Holder using realistic-looking marble contact paper. It’s easy to elevate any household container with a quick wrap and a trim, especially if you have an X-acto knife handy. The result is smooth, sleek and fabulous:
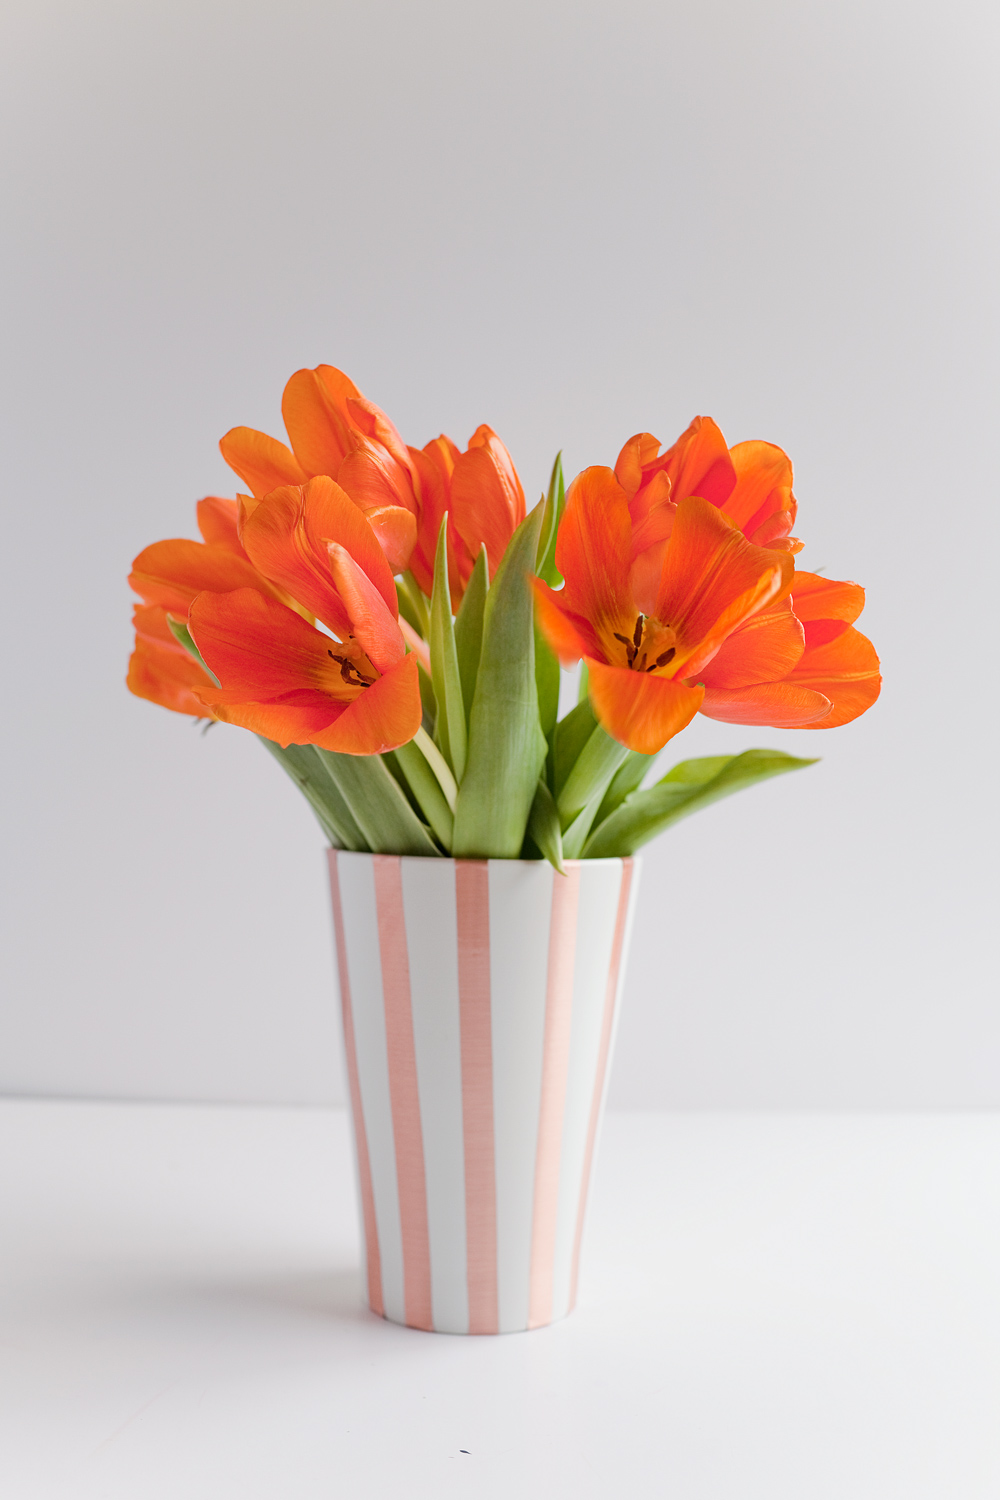
Speaking of embellishing containers, it’s time for your vases to realize their true potential! For an alternative to marble, try copper contact paper. An affordable IKEA vase is the base for this fun project, and the stripes below are only half of the story. Check out the full DIY over at Tell Love and Party:
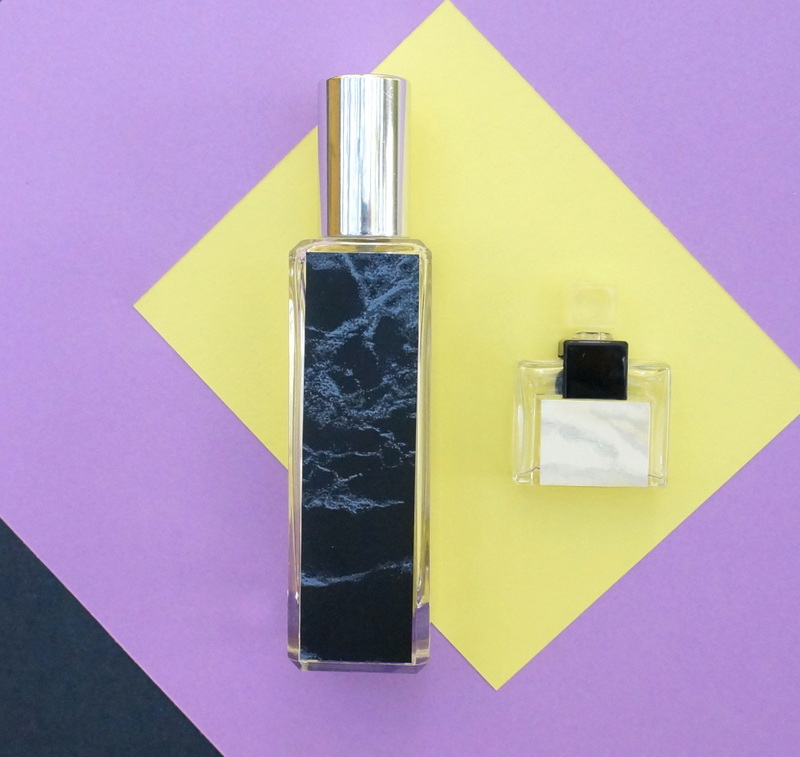
No container is too small for a contact paper embellishment! Back in 2014, we shared this DIY idea, providing a simple way to add detail to old perfume bottles. A great way to repurpose an item you may otherwise toss, this project lets you take a used container and turn it into a display piece.
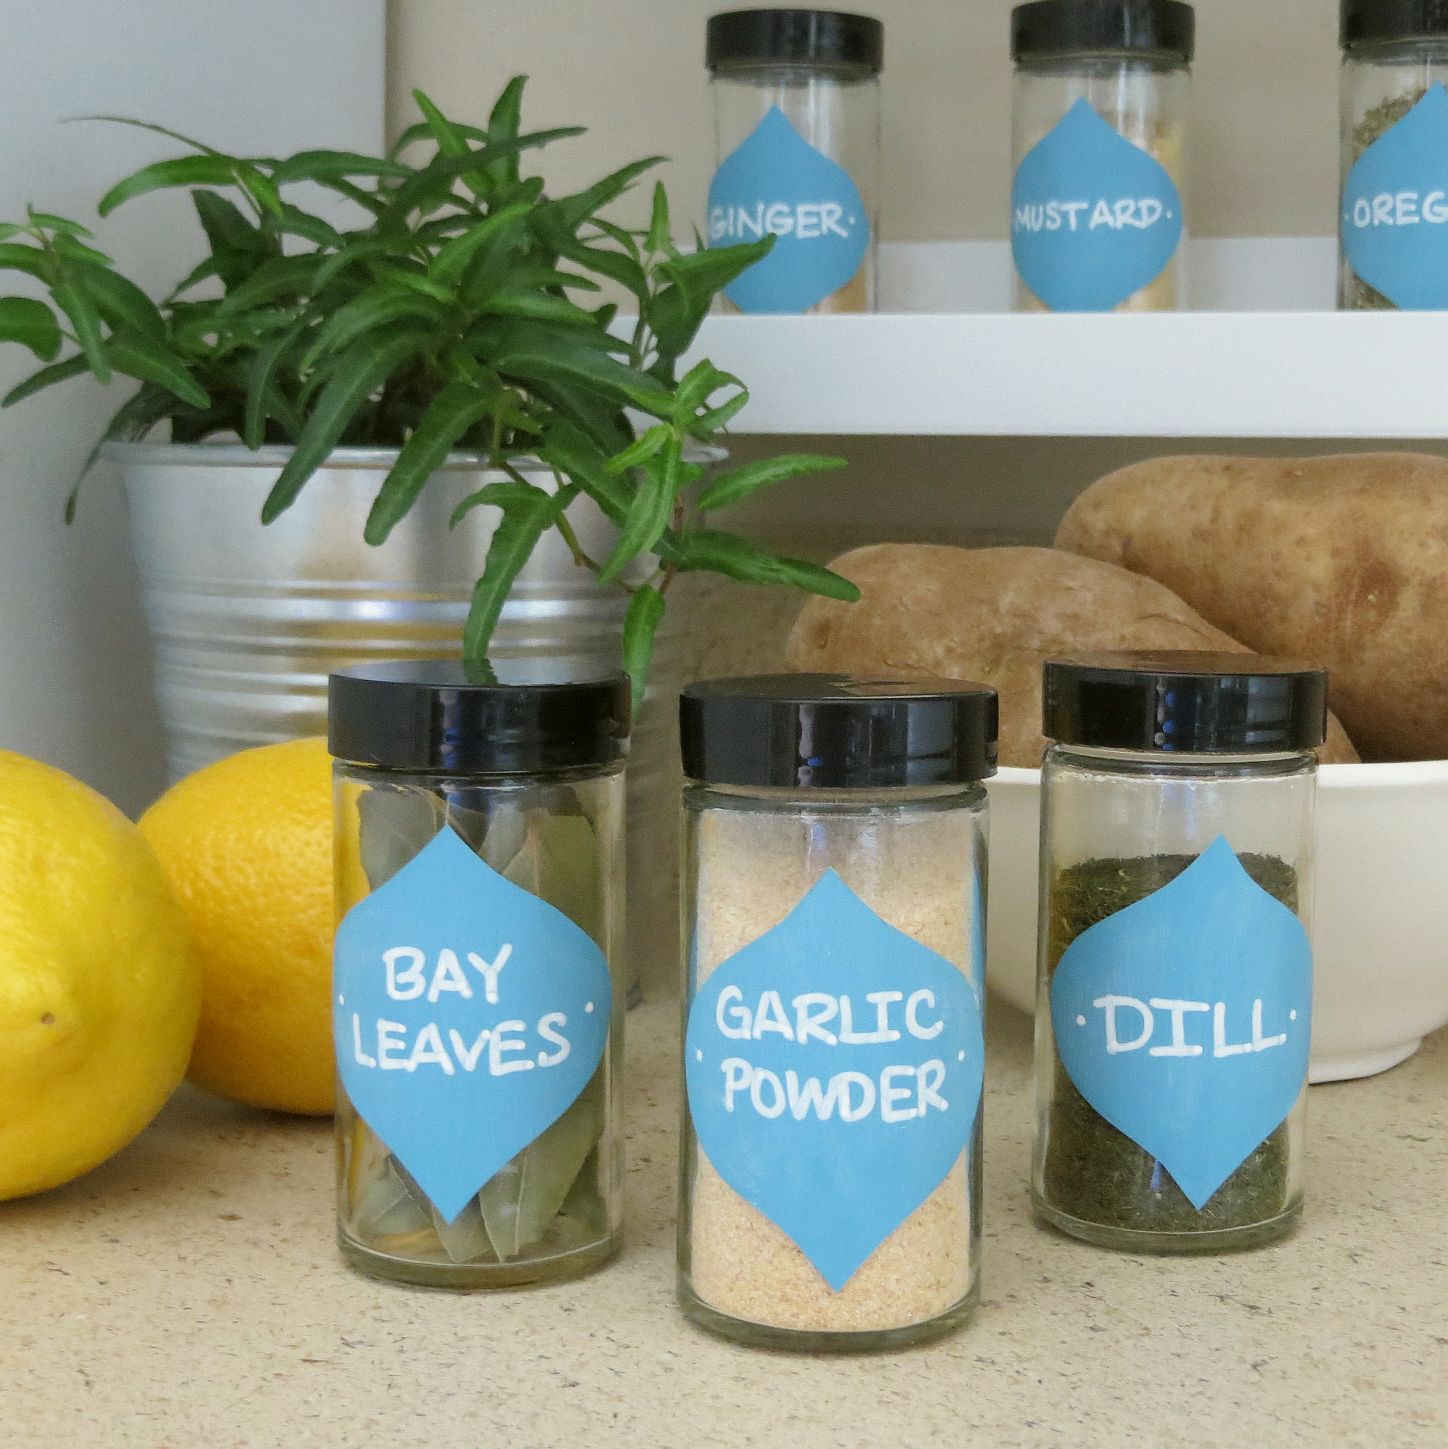
Contact paper can make all the difference when it comes to labeling. The DIY Homegirl painted basic white contact paper to get the perfect shade of blue, then custom cut the design and added words with a chalk marker. If you’re willing to go the extra mile to personalize your design, your DIY endeavor can result in a look that’s perfectly tailored to your space!
In the Clear

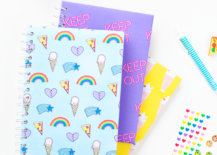
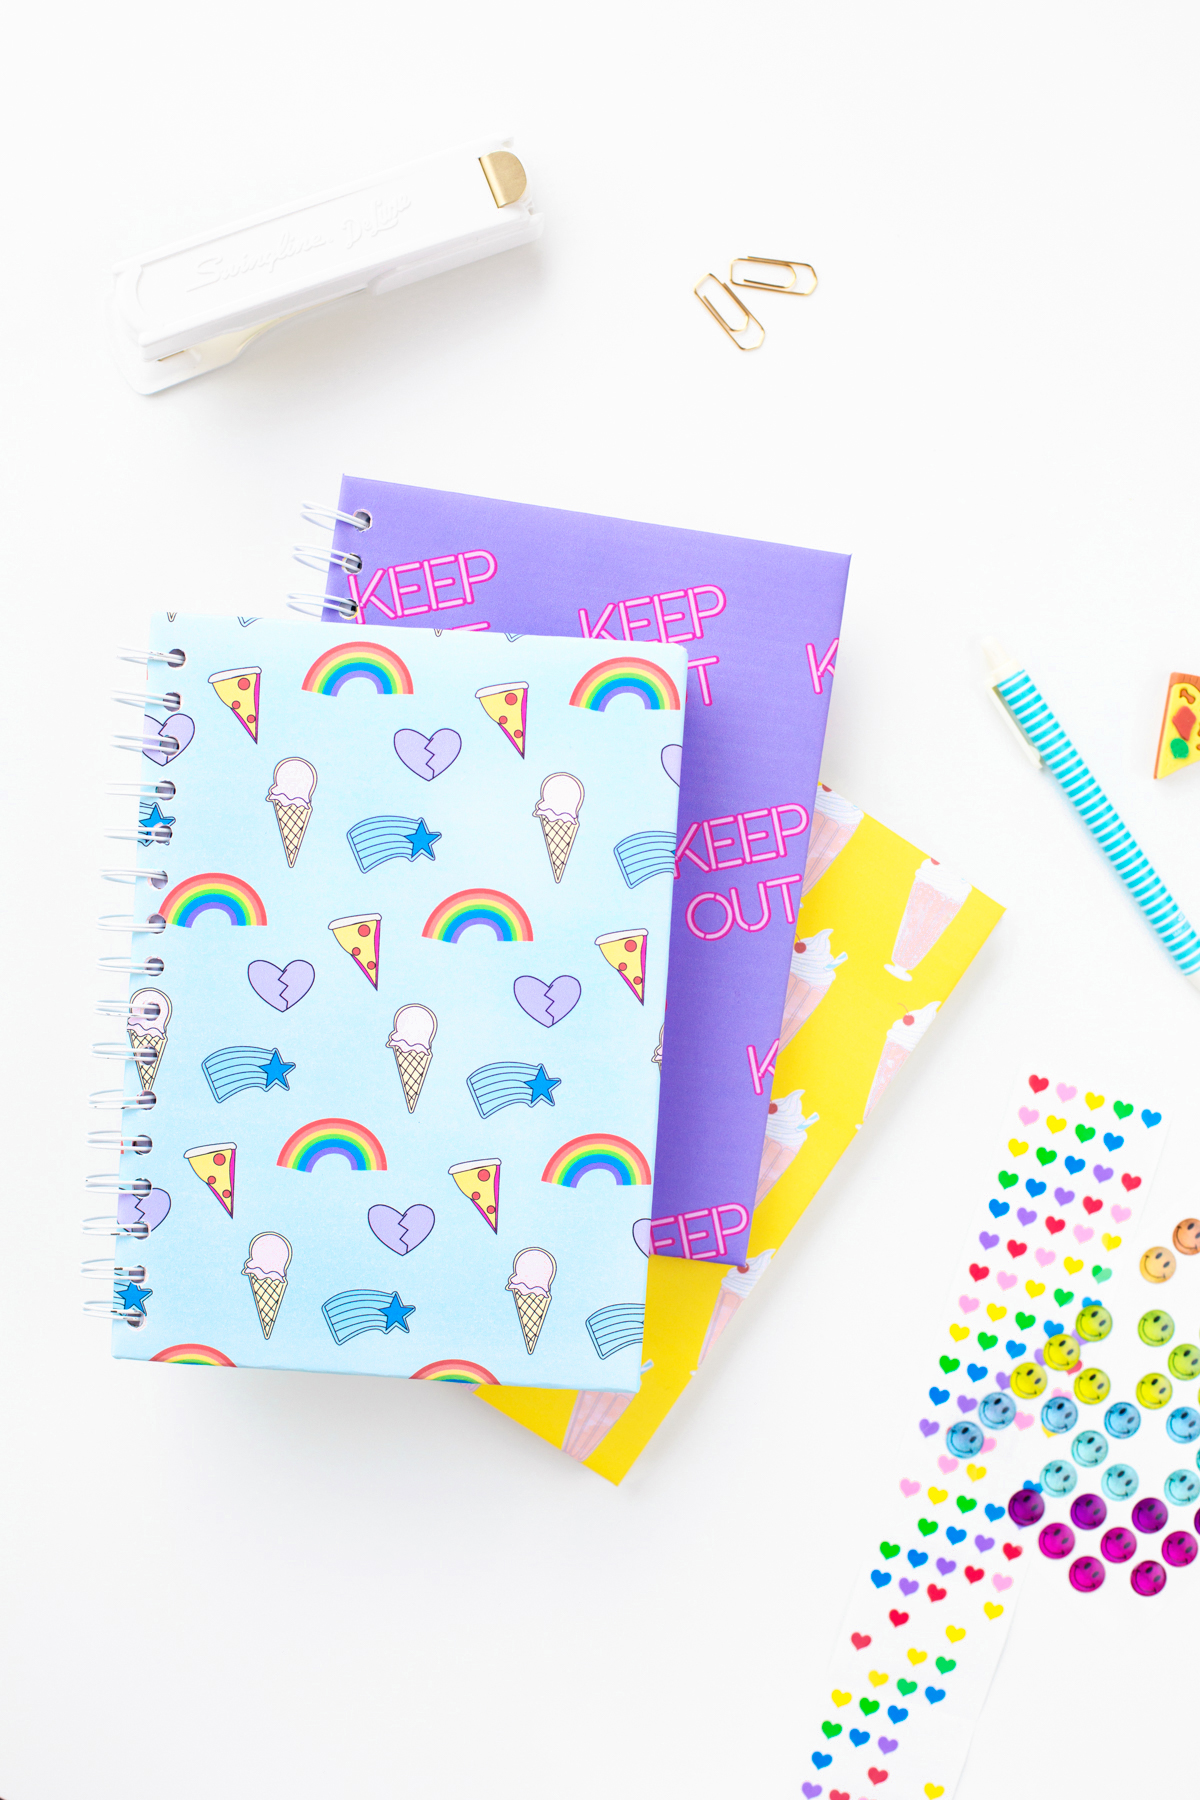
We end today’s post with a look at three DIY projects that feature clear contact paper. This basic supply can be both practical and fun! Studio DIY’s Free Printable Notebook Covers (designed by Violet Clair) are fabulous in their own right, but they’re made even more durable when covered with a piece of clear contact paper. Contact paper can has the potential to be beautiful and decorative, but remember that it’s also protective. And that’s great news for design lovers!
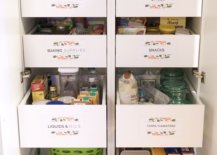
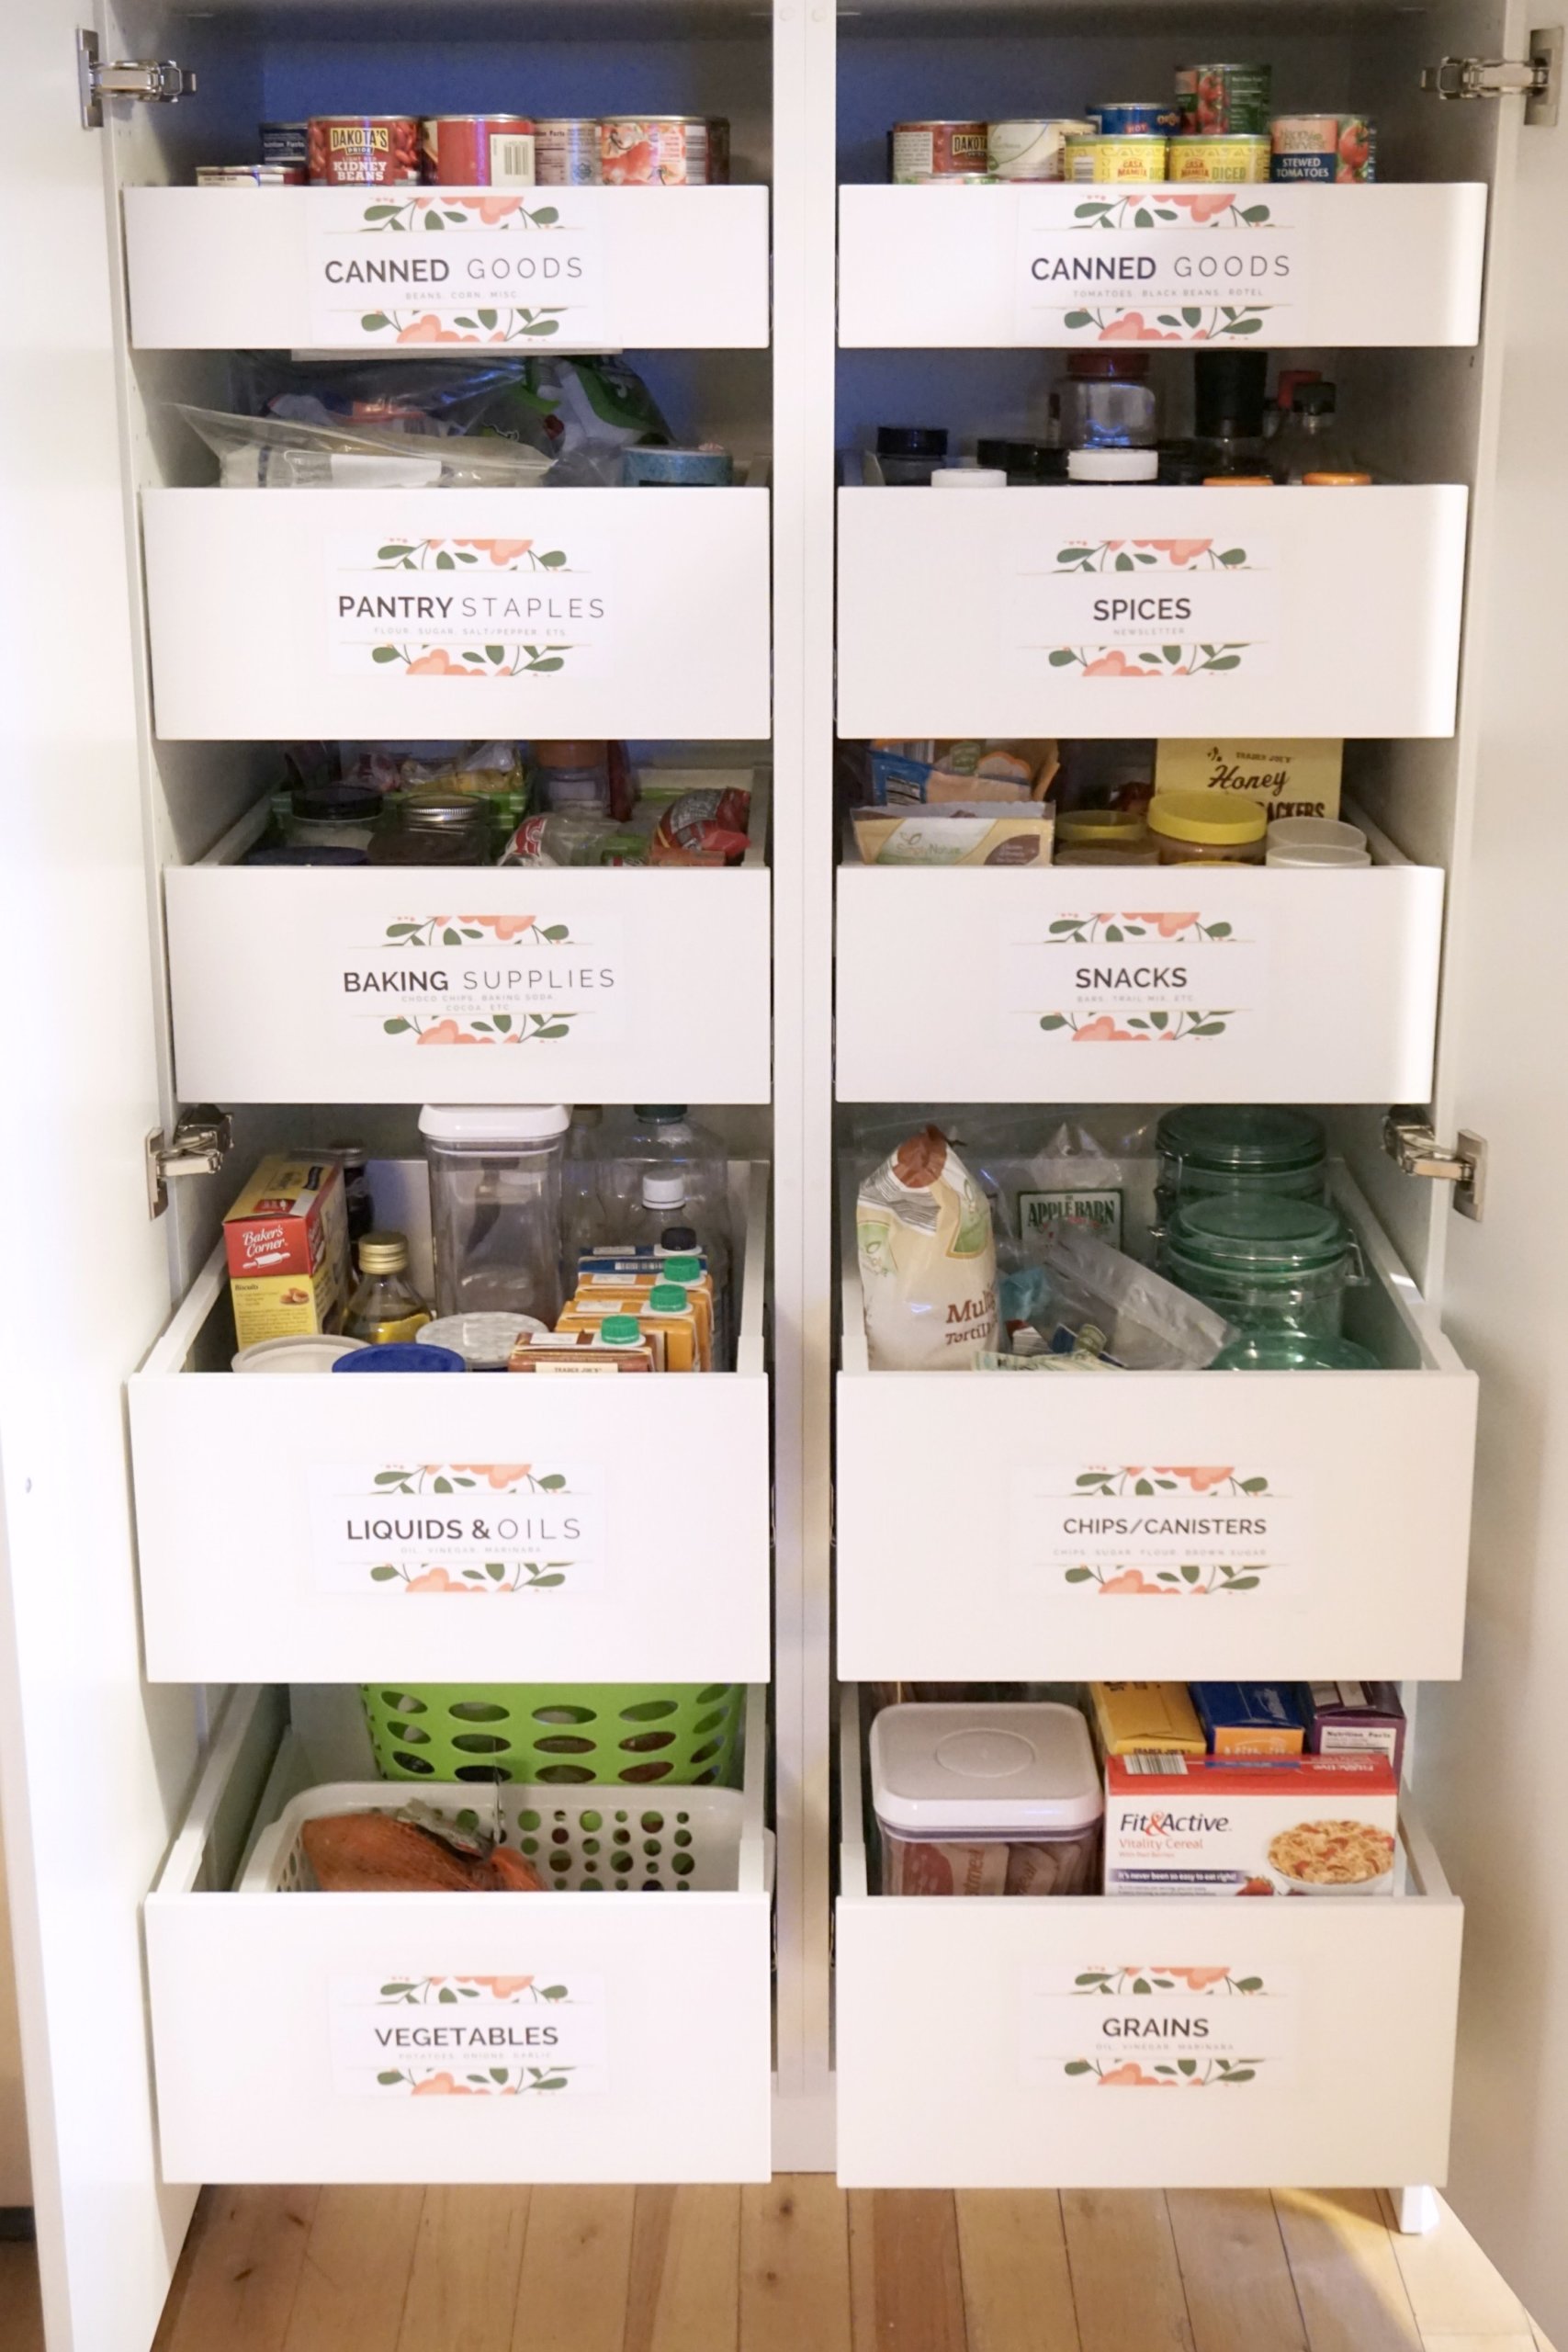
With the help of Canva for the stellar graphics, Forrester Home created a series of pantry drawer labels using clear contact paper. Whereas other varieties of contact paper are made to be noticed, the clear option is designed to be seamless. That’s great news when it comes to creating a custom look, as seen in these personalized drawers. Check out the full tutorial here.
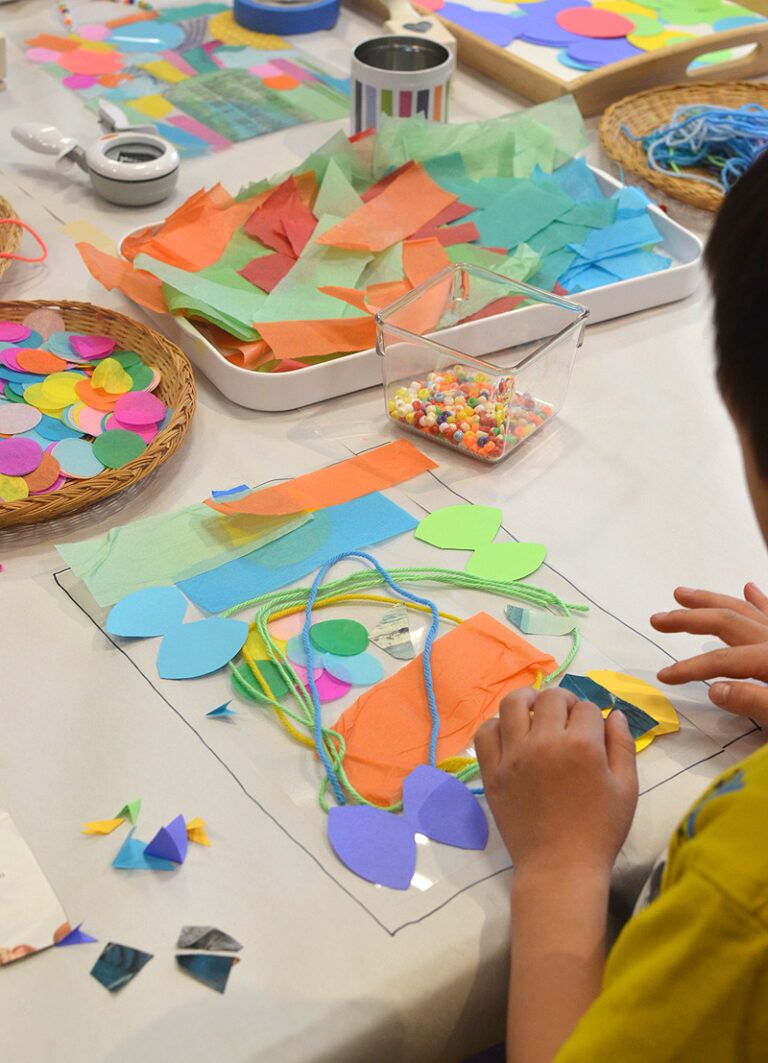
Last but not least, if you’re home with kids these days and need activities to keep them engaged, check out Art Bar’s Contact Paper Collage idea. Clear contact paper is the ideal sticky surface for easy adhesion. That’s good news for kids who may get impatient with gluing down each little scrap or string. When they’re done, you can help the kiddos cover the collage with another piece of clear contact paper, and the design is beautifully sealed in!
We hope today’s post has provided you with helpful design inspiration and endless crafting opportunities. Remember, if you’re searching for colors and patterns that you can’t find in the realm of contact paper, consider using peel-and-stick wallpaper to your advantage. A new range of colors and forms awaits you. Happy crafting!

You’re reading Best DIY Projects Using Contact Paper, originally posted on Decoist. If you enjoyed this post, be sure to follow Decoist on Twitter, Facebook and Pinterest.
Similar Posts

  • Stunning Contemporary Home in Chile Made from Stone, Glass and Concrete

    It is not very often that you come across a modern home that has an imposing street façade made of magnificent stone walls on all sides. This not only provides complete privacy, but gives the home an entrance that is truly unforgettable. Welcoming you with stone beauty is the Cerro la Cruz House designed by […]

    You’re reading Stunning Contemporary Home in Chile Made from Stone, Glass and Concrete, originally posted on Decoist. If you enjoyed this post, be sure to follow Decoist on Twitter, Facebook and Pinterest.

  • Colorful Fiesta Full of Spanish Flavor Unleashed Inside this Chic Melbourne Home

    A Victorian’s Workers Cottage in the suburb of North Fitzroy, Melbourne, the Casa de Gatos designed by WOWOWA Architects is a gorgeously altered residence that has a style and aura of its own. Despite its limited size and special style requirements, the interior of this altered Aussie house feels modern and vibrant at every turn. […]

    You’re reading Colorful Fiesta Full of Spanish Flavor Unleashed Inside this Chic Melbourne Home, originally posted on Decoist. If you enjoyed this post, be sure to follow Decoist on Twitter, Facebook and Pinterest.

  • Casa Haras

    1. How did you land the project and what was the brief? Initially the customers were looking for a house with volumetry that would hide the roofs, but the regulation of the condominium did not allow the use of flat slabs, nor a built-in roof. It would be our first house with apparent roofs. The required needs program and the size of the plot had the exact proportion for what we believed to be ideal for a single-storey house with plenty of open space for outside living, and so we did.
    Haras house came up as a pavilion installation consisting of 3 volumes: two parallels, with NE-SW orientation and a third perpendicular connecting with NW-SE orientation, as an “H”. The idea was based on the desire to have the central leisure area in the other spaces of the house, and with the proposed implantation, we were able to create two outdoor living areas: a main one with a deck and a swimming pool and a secondary area with a spa, a water mirror and a bonfire separated by the perpendicular volume and visually connected by the transparency of the sliding glass doors. 2. What was significant about the site? The land chosen within a stall in the interior of São Paulo, concentrated a number of positive aspects for the design of the project: views, large plot, solar orientation, generous setbacks, high soil permeability, no outside walls. 3. What was the overall design goal? The simple volume and purity of the gable roof in all 3 blocks of the house ended up contributing significantly to the harmony of the whole and to the desired country house aspect, which was further strengthened by the use of natural materials such as the stone coating on the gables of the walls and the use of the wood in the panels of doors and slatted of the facade. 4. What was the color pallet? The project explores in exterior areas the colors of natural materials such as the wood used in the slats of the whole facade of the house, the roof, also wood but with a shade of gray and stone walls. The contrast is quite striking with some internal areas, where the walls and white lining create a neutral and minimalist space. 5. What was particularly challenging? The main challenge of the project was to create a contemporary home using sloped roofs, in a minimalist architecture using natural materials. This challenge sought to coherently insert the project in the place that was built, a condominium in a stable – called “Haras” in Portuguese which gives the name of the house, with an air of farm in the interior of São Paulo- Brazil, a refuge for the tranquility at the weekends. 6. How does this project compare to other projects you have completed? This project differs from others for being a single-story house in a large terrain and with natural landscape around it. The fact that the house is single-story provided a widespread deployment in the land that generated direct relations of all the environments with the outdoor areas landscaped, which increased the sensation of the built space and strengthened the use of the external areas as a continuity of the built environment. 7. Could you please go into detail about a few pieces of furniture,including why these were selected? The pieces of furniture were selected especially for each room, proposing an integrating of the spaces. The sofa in the living room, for example, integrate both spaces, the fireplace and the outside gardens. The mix of materials is certainly a charm in this project. In the dinning room, the wood dinning table signed by the Brazilian designer Theo Egami contrasts with the metal chairs feet by Fernando Jaeger. 8. Could you please go into detail about a few fixtures, including whythese were selected? The lighting is mostly made by points of indirect light, creating a more intimate look in the house. In the social central pavilion, spots were used facing the wood lining, creating a light effect on the wood. Some interesting pieces have been used in specific spaces, such as in the kitchen, hanging with the exposed wiring that run through the wall and ceiling until they reach the bench and lavatory point, where the architects used hydraulic copper pieces to create a luminaire exclusively to the project. 9. What did you intend to impart with the rooms and how are theydifferent from each other? The flat distribution of the house program gives all rooms and environments a sense of continuity beyond the limit built, since all have direct visual relation through glazed sliding doors with more than 1150 m² of free ground and high permeability index of the ground, have secured a generous area for landscaping that embraces the house by the front, side and back indents, and advance through the central core. The differences between the rooms are related to the user, 1 double suite fully integrated with the bathroom, which has a glazed shower facing the bedroom. There are two other similar suites, also with double beds, but to receive guests in the house and finally the children’s room, a suite that has two large beds that can be shared.