When it comes to crafting and do-it-yourself projects, the joy of creating something with your own two hands is unparalleled. The satisfaction of turning materials that may seem mundane into something functional and beautiful is what drives many to delve into the vast sea of DIY projects. Today, we’re steering towards a project that’s not only practical but can add a touch of elegance to your kitchen or pantry: creating your very own DIY spice rack.
Why a DIY Spice Rack is More Than Just Storage but Rather a Statement
A spice rack is not just a place to store your assortment of spices; it’s a testament to your culinary adventures, a homage to the flavors that make your dishes uniquely yours. However, the store-bought ones often come in standard designs and sizes, which might not fit your space or style. This is where the beauty of DIY comes in. Designing and building your own spice rack allows you to customize its size, shape, and color, ensuring it fits perfectly in your kitchen and matches your aesthetic.
Moreover, embarking on this project doesn’t just end with a functional piece of kitchen furniture. It’s a journey of learning and creativity, an opportunity to work with your hands and maybe even discover skills you never knew you had. Whether you’re a seasoned DIY enthusiast or a curious beginner, the process of creating a spice rack from scratch can be incredibly fulfilling.
Visualize and Design Your Perfect Spice Rack
Before diving into sawing and painting, the first critical step is planning. This phase is where you let your imagination run wild. What do you envision when you think of your ideal spice rack? Perhaps you want something minimalist that blends seamlessly with your modern kitchen, or maybe you’re leaning towards a rustic wooden rack that adds a warm, homely feel.
Once you have a rough idea in your mind, it’s time to bring it onto paper—or a digital design tool if you prefer. Sketch out your design, taking into consideration the dimensions that will best fit your space and the number of spices you intend to store. This step is crucial in ensuring that your vision is feasible and that you won’t encounter any unexpected issues once the construction phase begins.
The Hunt for the Perfect Building Supplies
The next adventure in this DIY project involves sourcing the materials needed for your spice rack. The beauty of DIY projects is that you have the freedom to choose the materials that best suit your design and budget. Whether you’re repurposing wood from an old piece of furniture or purchasing new supplies from your local hardware store, this step is all about finding the perfect components for your project.
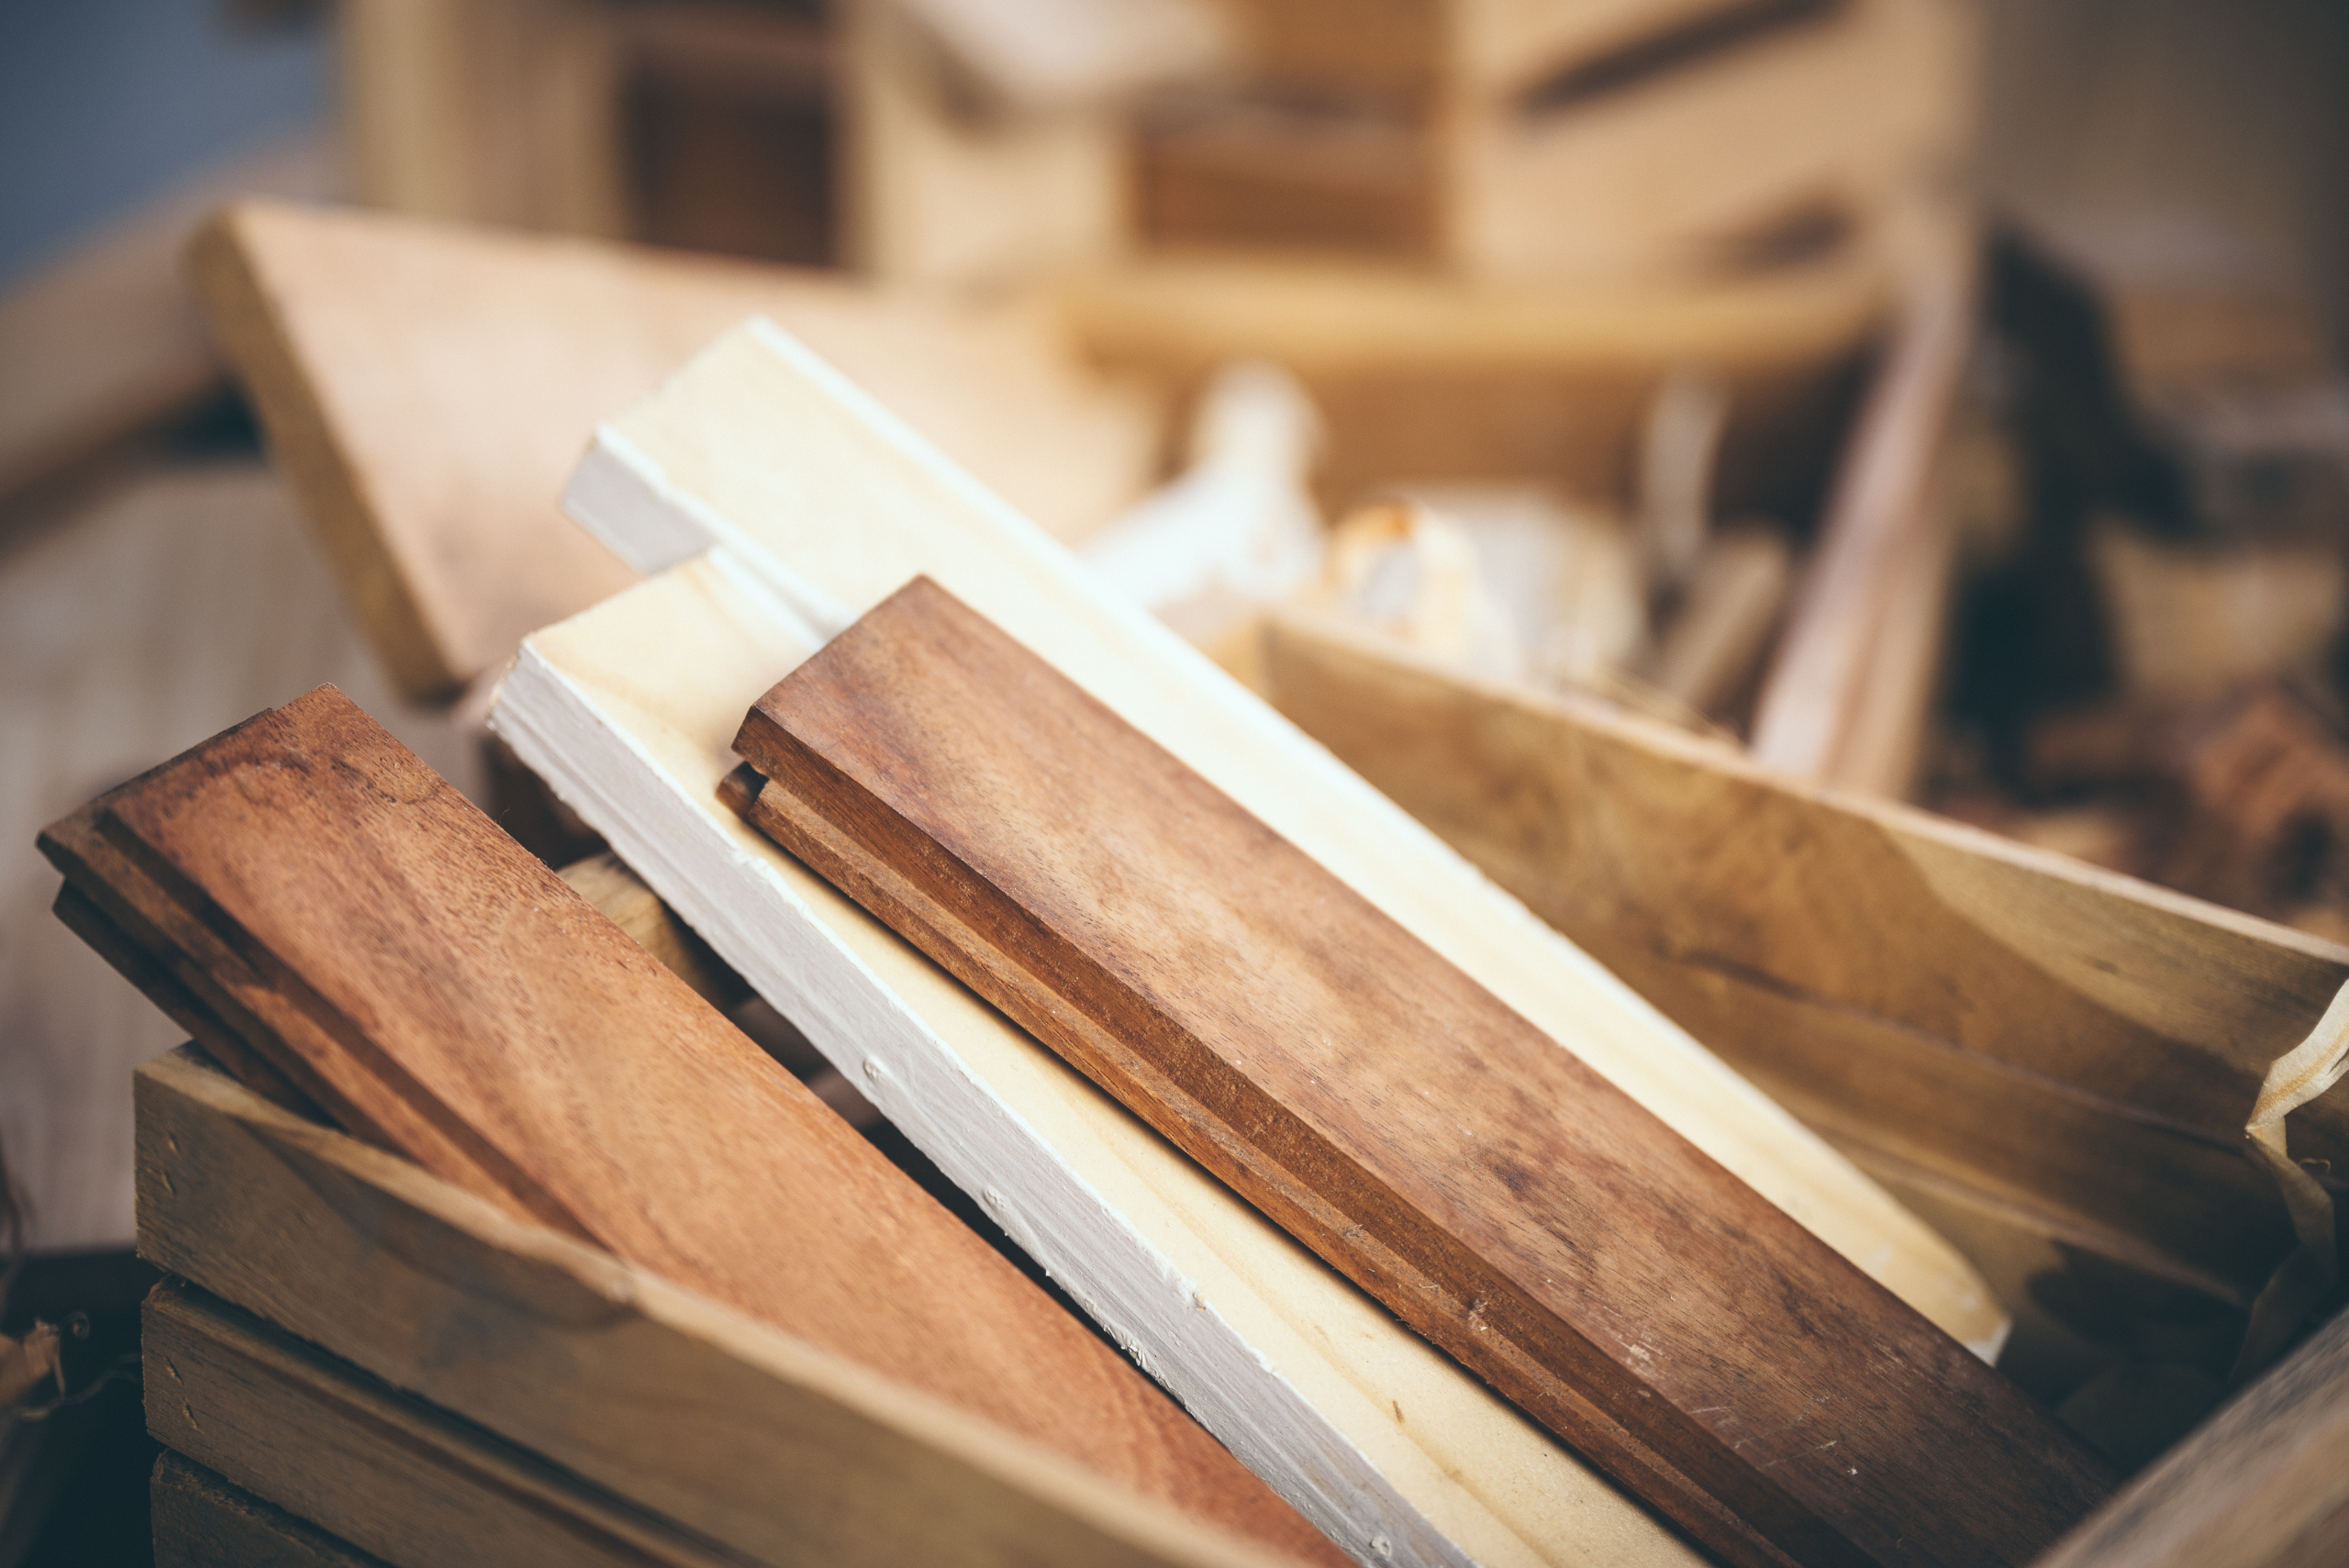
When selecting materials, consider the durability and the aesthetic appeal of each option. For a wooden spice rack, different types of wood can offer various textures and colors, each adding a unique character to the final product. Additionally, think about the type of finish you’d like to apply to protect the wood and enhance its appearance. This could range from stains and varnishes to paint in your chosen color.
The Construction Process for Bringing Your Vision to Life
With your materials at the ready and your tools in hand, it’s time to start building. This part of the project is where patience and precision come into play. Following your design, carefully measure and cut your materials to size, ensuring each piece fits together perfectly. This step might require a bit of trial and error, but remember, every mistake is a learning opportunity.
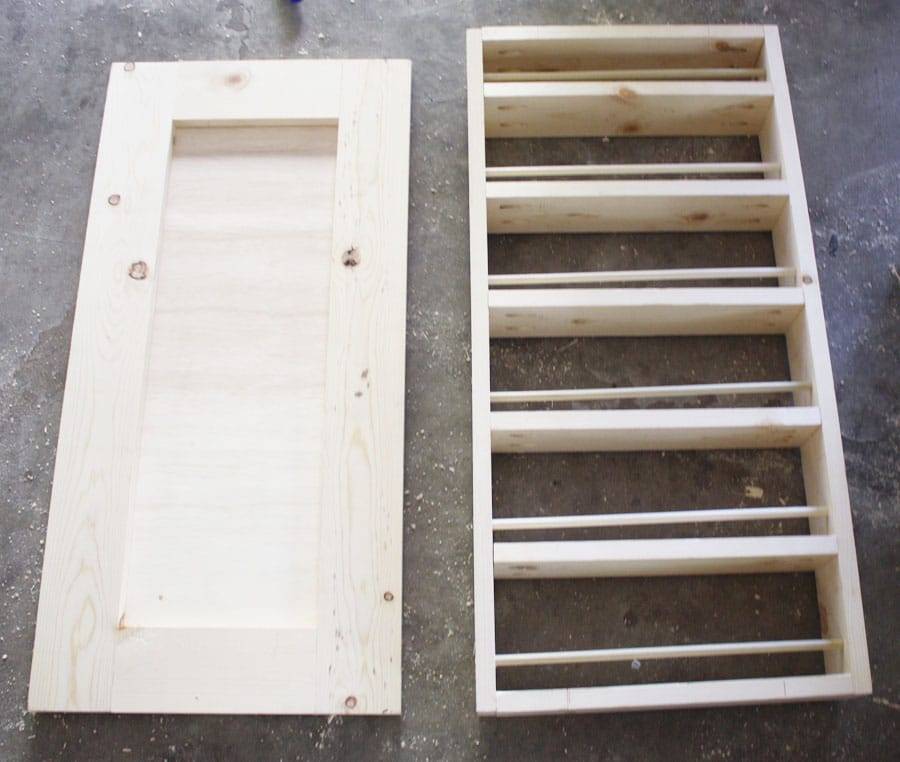
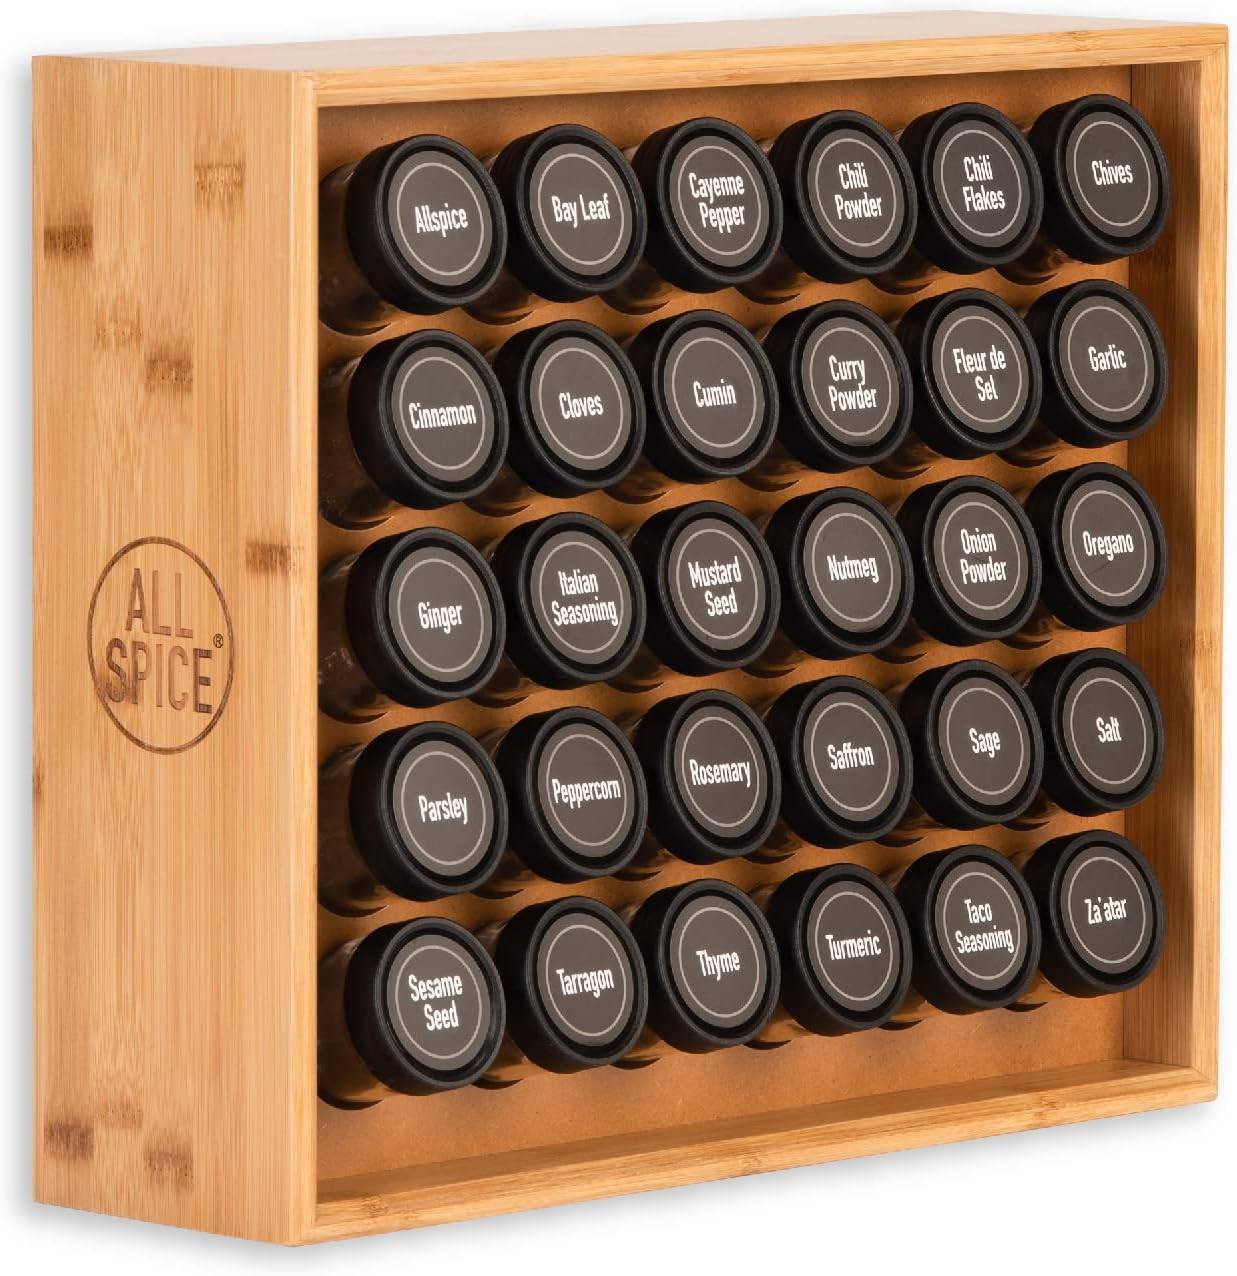
Here’s a quick and easy list of instructions to build a generic spice rack, but you should alter dimensions and design to suit your kitchen and cooking needs:
- Prepare the Wood: Cut the wood boards according to your design using a saw. Sand the edges and surfaces of the wood to smooth out any rough spots.
- Assemble the Frame: Begin by assembling the frame of the spice rack. This typically involves connecting the sides, top, and bottom pieces using screws or nails and wood glue to reinforce the joints.
- Add Shelves: Measure and mark the locations for the shelves within the frame. Cut additional pieces of wood to serve as shelves, ensuring they fit securely within the frame. Attach the shelves using screws or nails.
- (Optional) Backing: Depending on your design preferences, you may want to add a backing to the spice rack for stability and aesthetic purposes. Cut a piece of wood or plywood to fit the back of the spice rack and attach it securely.
- Mounting or Placement: Decide whether you want to mount the spice rack on the wall or place it on a countertop or shelf. If mounting, use appropriate hardware, such as screws and anchors, to secure it to the wall.
- Arrange Spices: Once the spice rack is in place, arrange your spice containers on the shelves according to your preference.
Applying the Finishing Touches and Incorporating Touches of Personalization
Once your spice rack is assembled, the real fun begins. The finishing touches are what truly make your spice rack your own. Now’s the time to apply your chosen finish, be it paint, stain, or varnish. This not only adds to the visual appeal of the rack but also protects it from wear and tear.
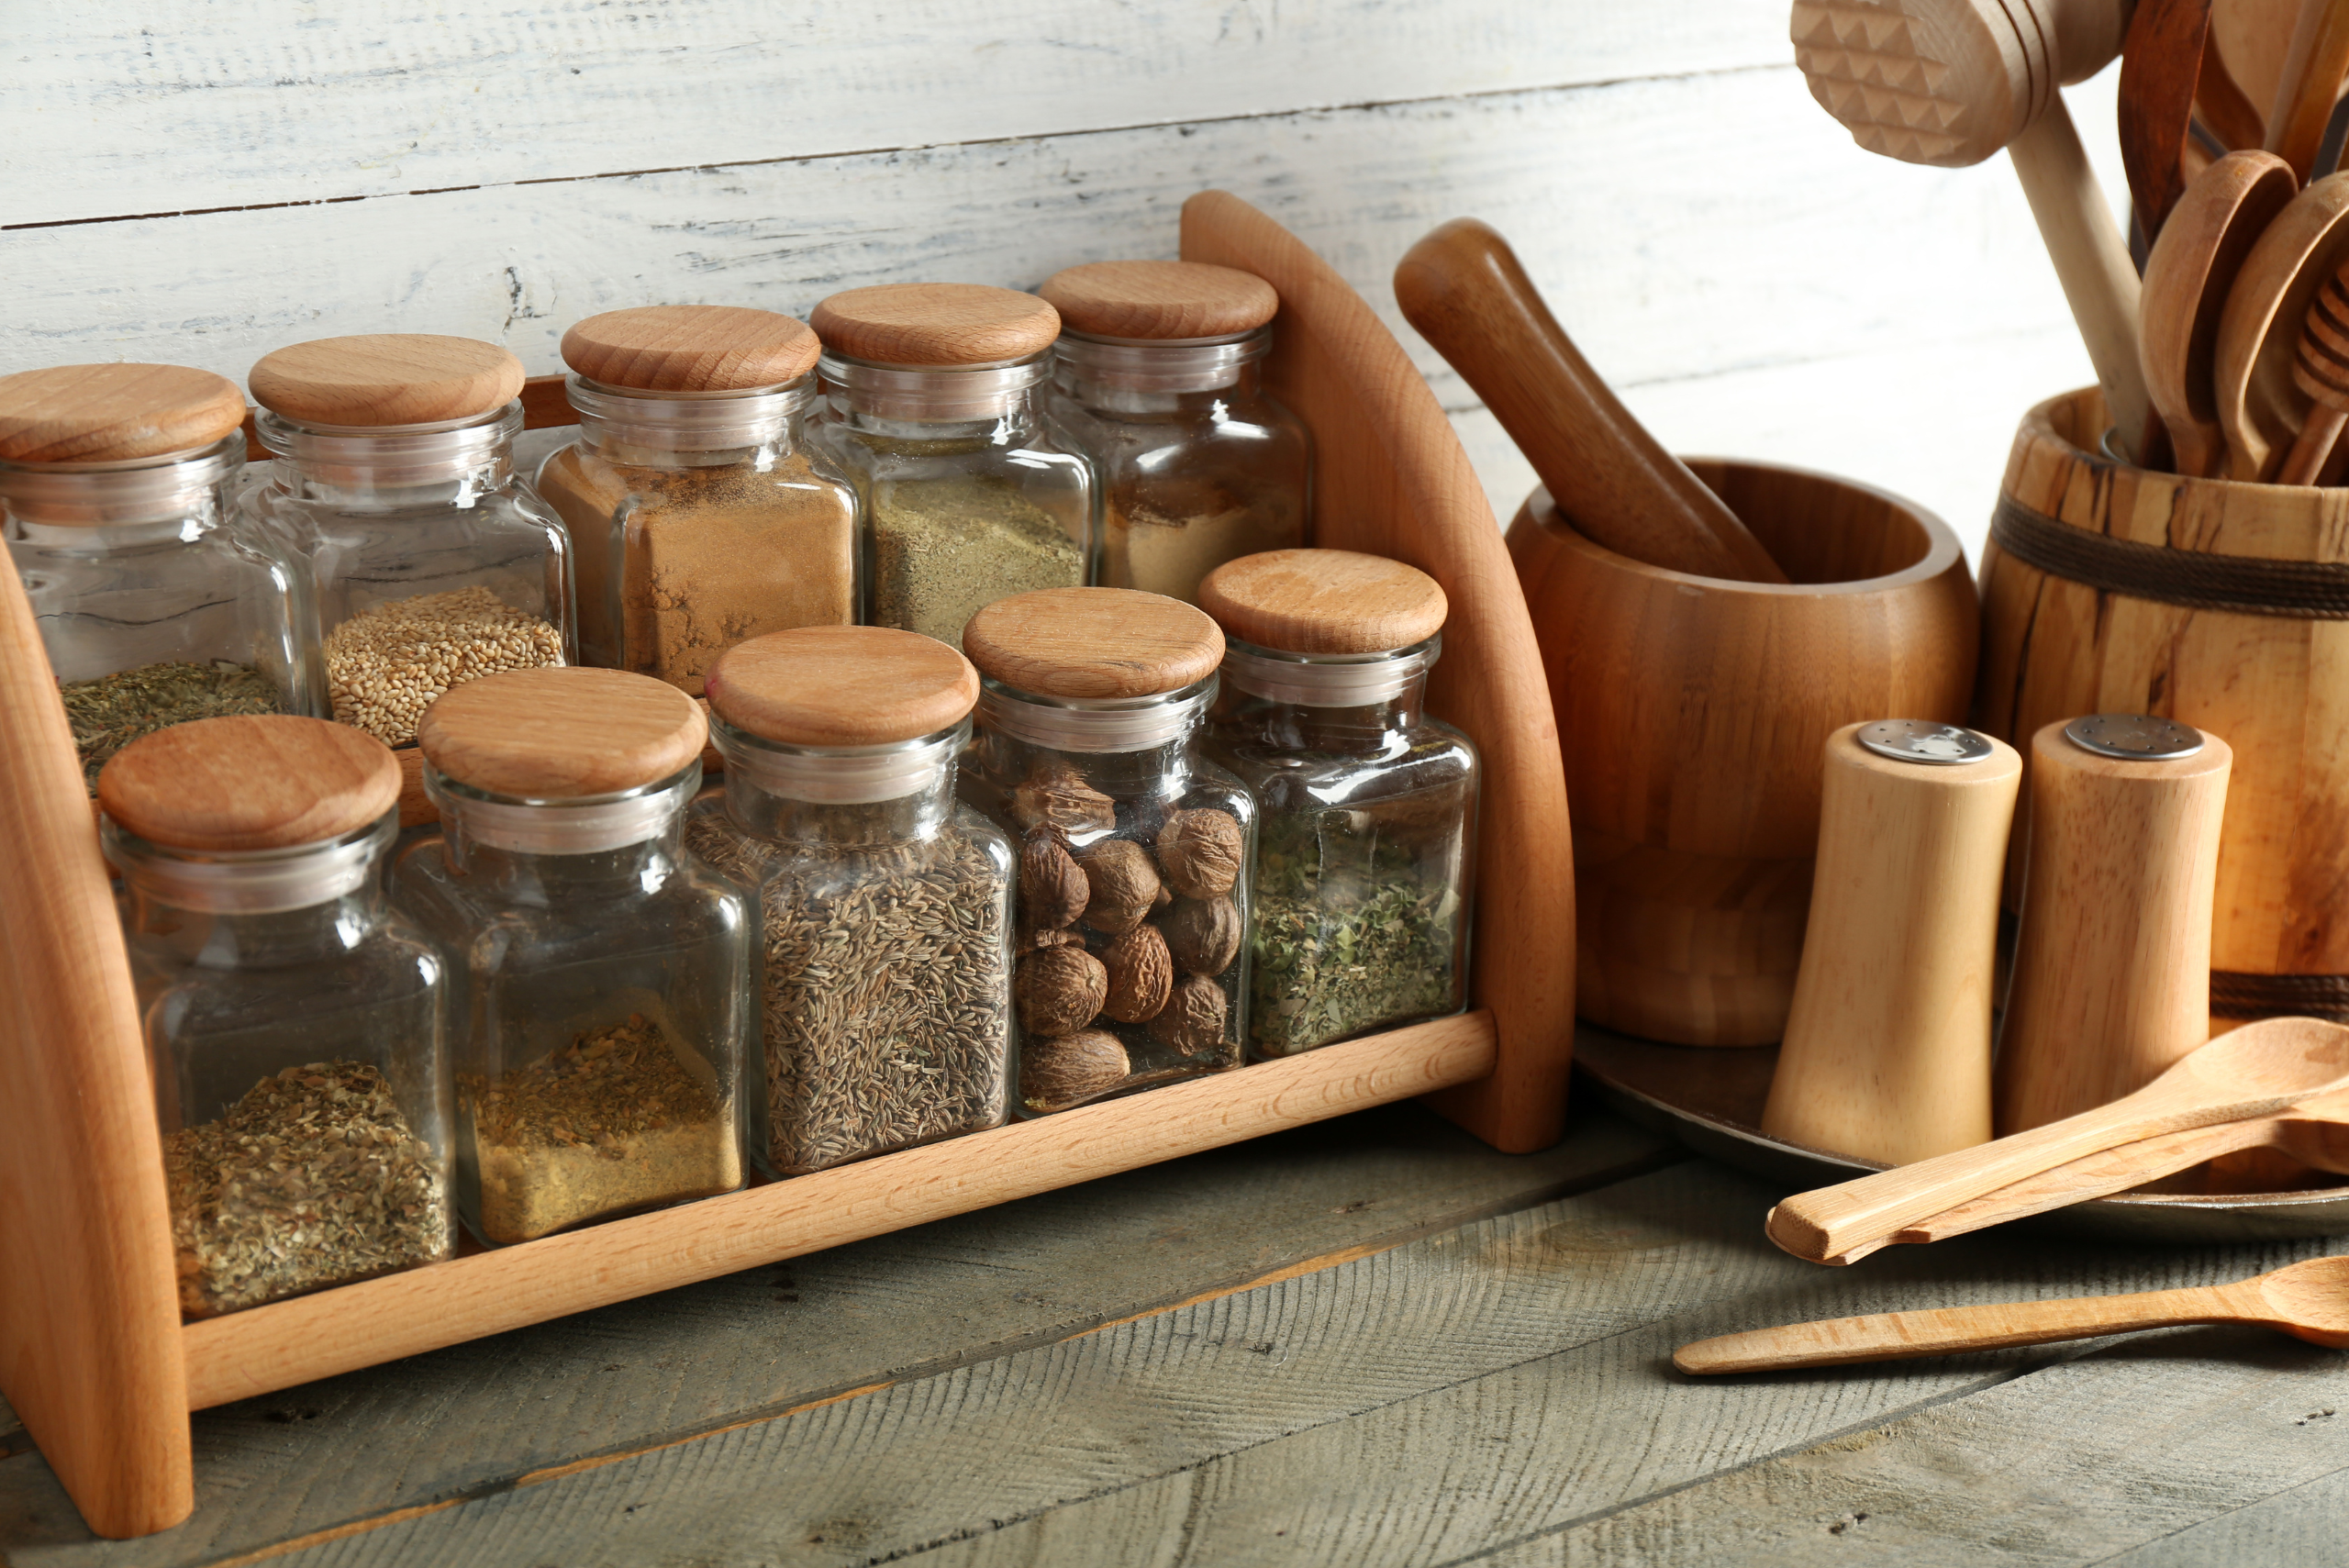
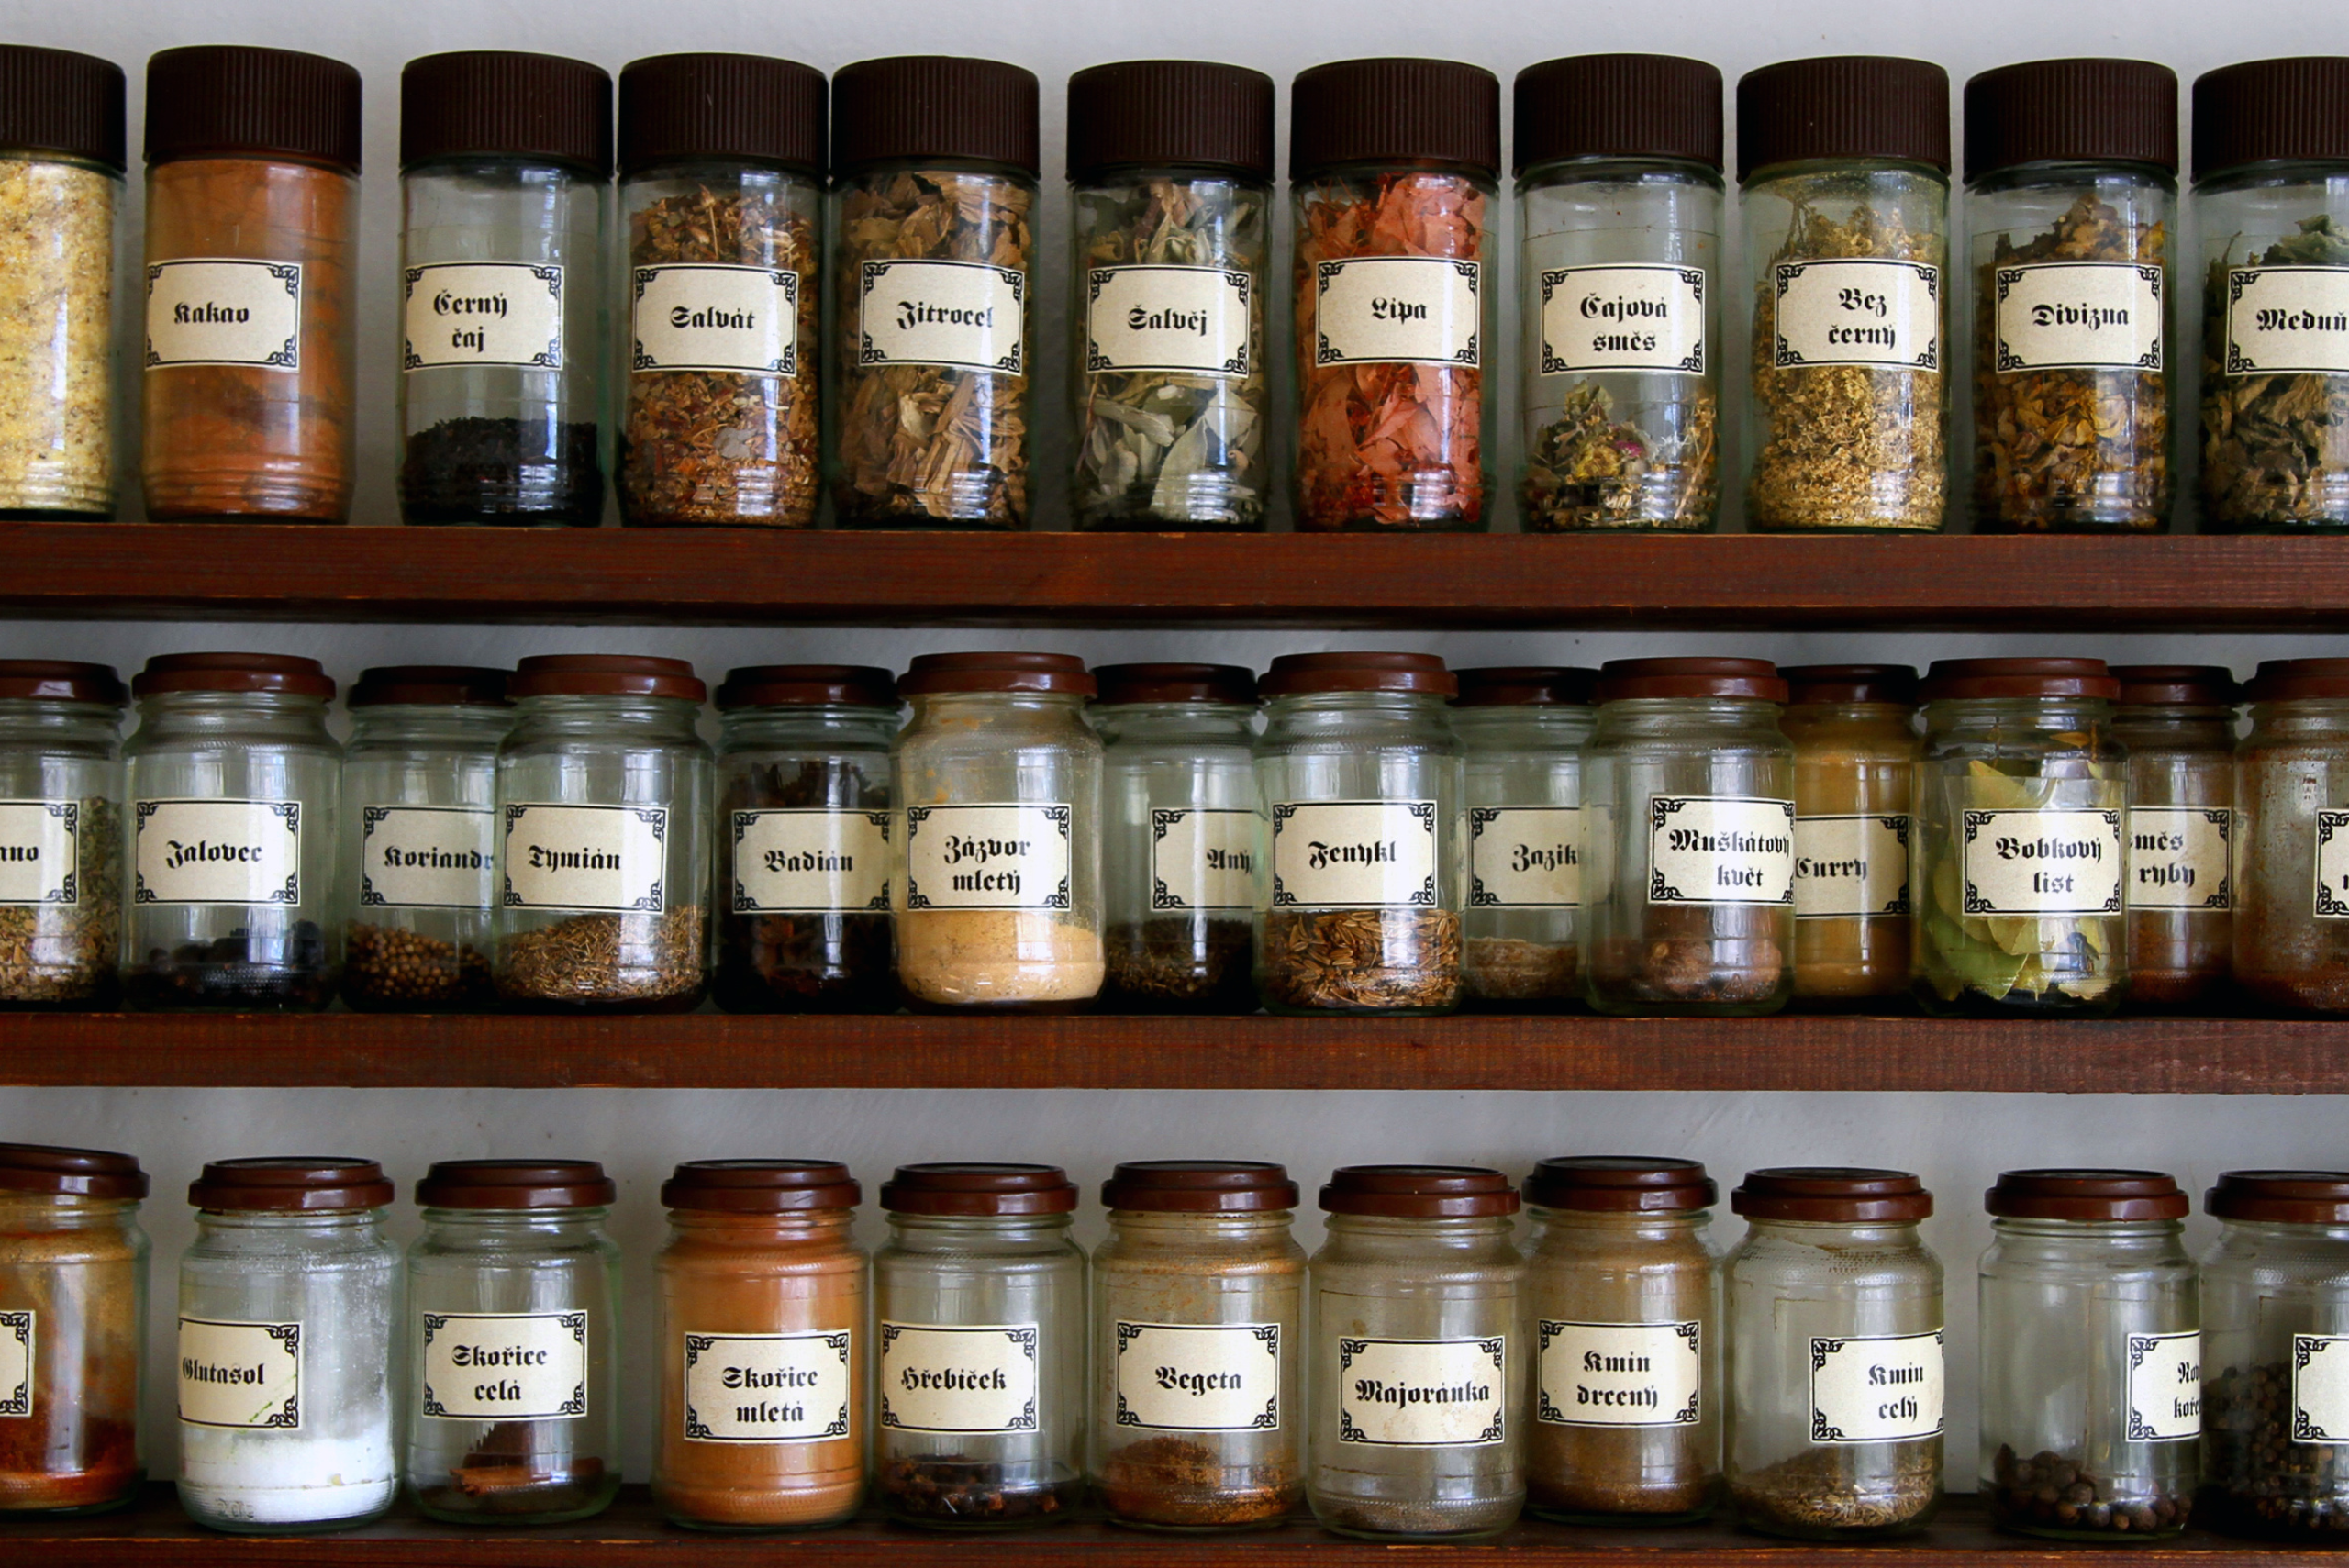
But why stop there? Consider adding labels to your spice jars for a touch of elegance and practicality. You can also install hooks or holders for measuring spoons and other utensils, turning your spice rack into a multifunctional kitchen organizer. The possibilities are endless, and this is your chance to let your creativity shine.
Related Articles:
As you step back and admire your completed DIY spice rack, it’s hard not to feel a sense of pride and accomplishment. You’ve taken an idea, put in the work, and created something beautiful and functional that reflects your personal style. But perhaps the most rewarding part of this project is the knowledge and experience you’ve gained along the way.
A DIY spice rack is more than just a piece of furniture; it’s a testament to your creativity, perseverance, and ability to create something from nothing. It’s a reminder that with a bit of imagination and effort, you can transform your space and add a personal touch that truly makes it feel like home. So, here’s to many more DIY projects, each one an opportunity to learn, create, and inspire.
Turn your house into the home of your dreams. Our newsletter provides you with design ideas and decor trends. Subscribe now to start your journey to a stunning home! Click here to subscribe now.


