How To Make The Perfect DIY Gallery Wall For Any Home

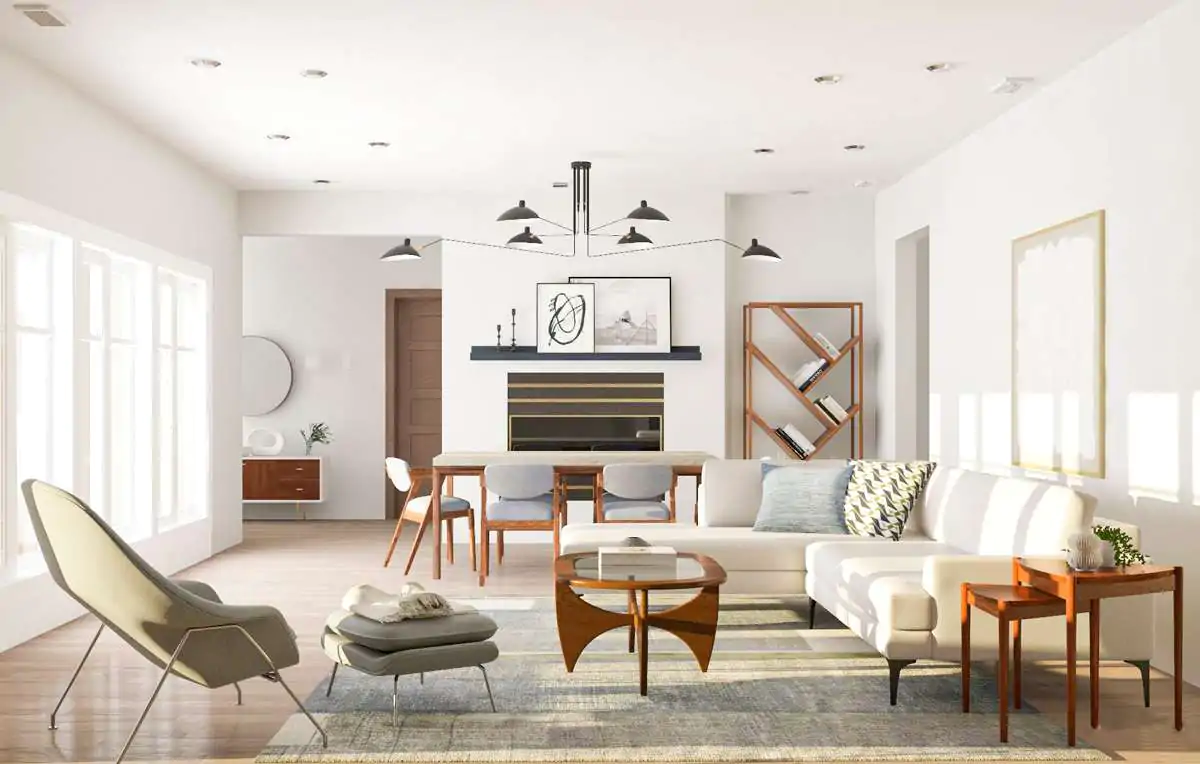
Choosing what to do with that blank wall in your living room can feel like a daunting task if you aren’t an expert in home decor, but it doesn’t have to be!

One of the best uses of that space is to create your own DIY gallery wall. It’s the perfect way to display all of your favorite photographs or artwork while adding drama and depth to the room. A DIY photo wall is a classic design choice that allows you to decorate a space, while also having the freedom to change out photos or change the layout when you feel like something new.

Supply List:

  1. 8″ x 10″ picture frames — We chose to use 3 frames of this size.
  2. 5″ x 7″ picture frames — We used 8 frames of this size.
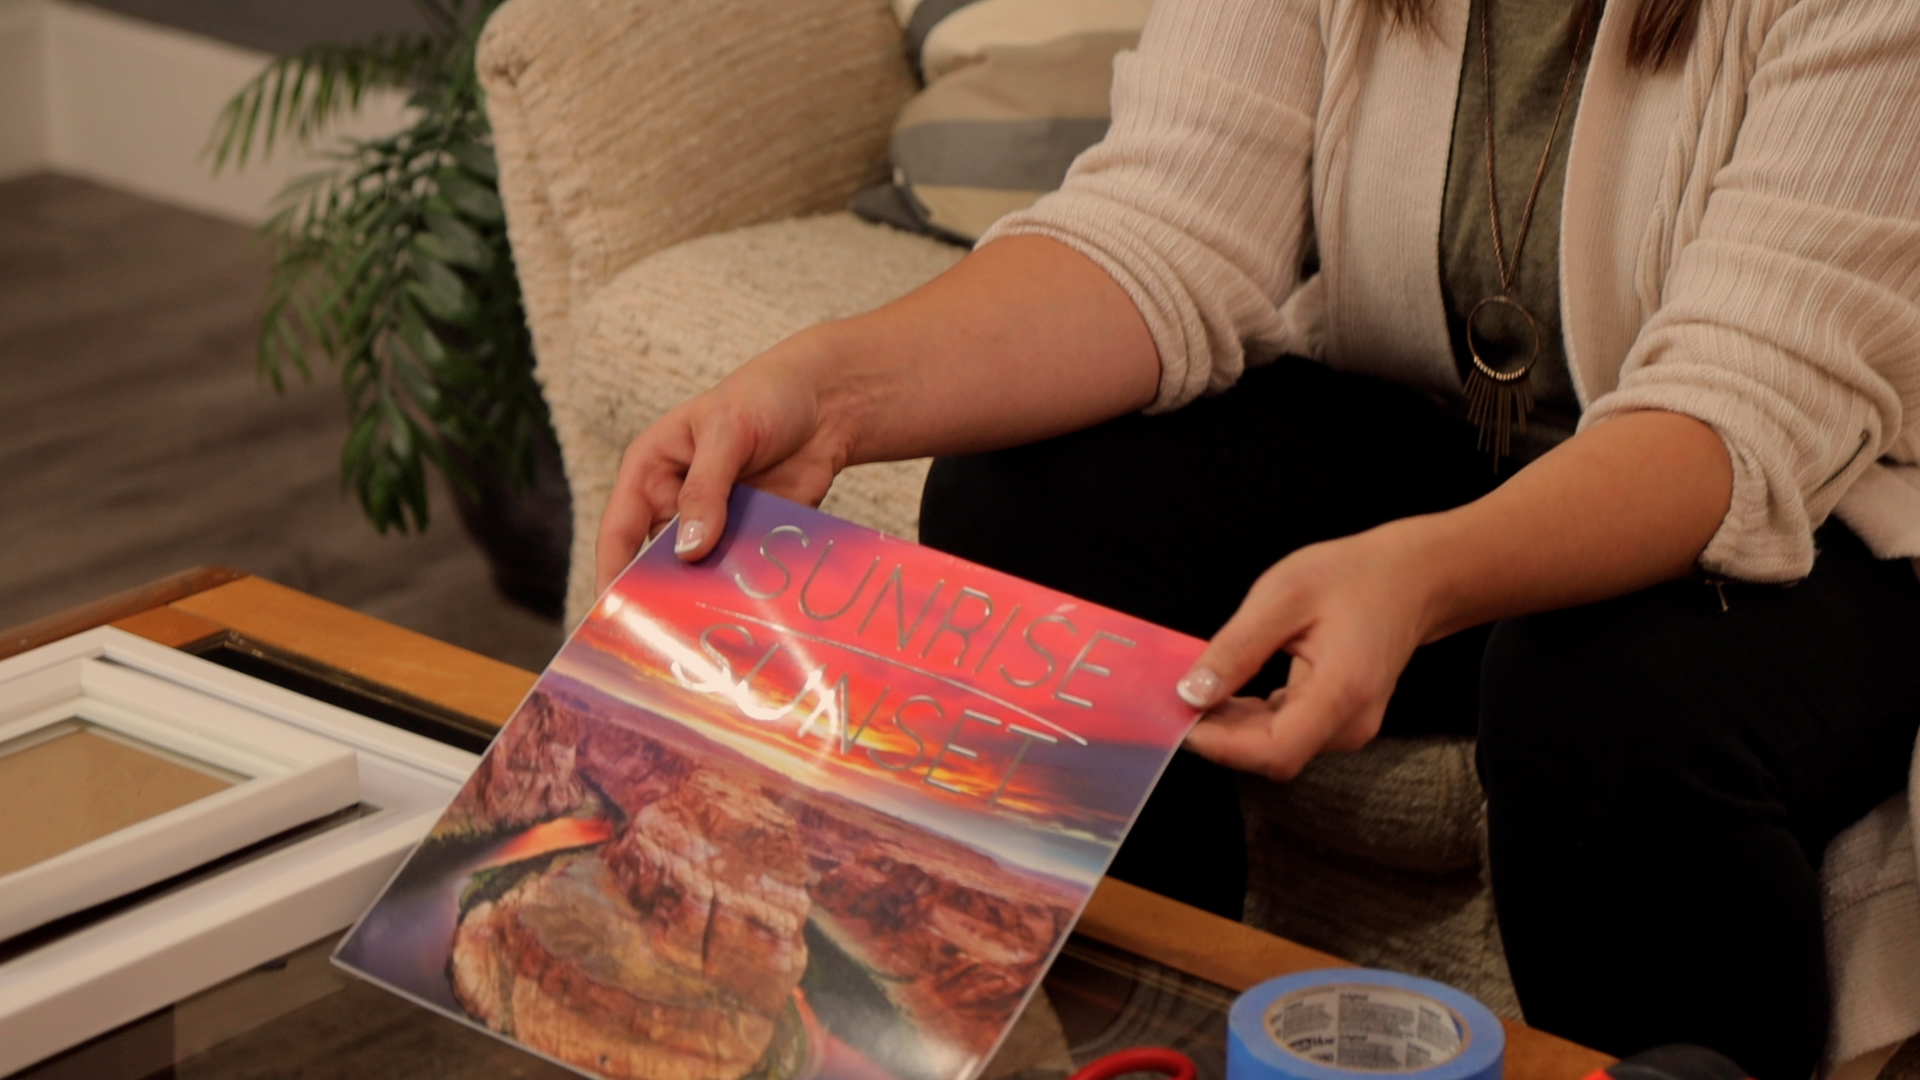
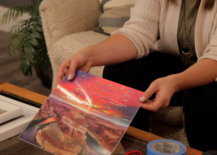
  3. Photos or artwork that fit in the frames you’ve chosen.
  4. 1 roll of crafting paper
  5. Scissors
  6. Clear Scotch tape
  7. Painters or masking tape
  8. Tape measure
  9. Level
  10. Hanging hardware
    • We used nails however you could choose a product like Command picture hanging strips if you don’t want to leave holes or marks on your wall.
  11. Pencil or pencil crayon

Step 1:

The first thing to do is choose which wall you want to arrange your gallery on. When choosing your wall, large spaces such as a stairway, hallway, or a feature wall above a couch work well.

Step 2:

Choose the color and picture theme you want for your wall. It’s important to have a theme so you can create the best display. If you don’t consider a color scheme or theme ahead of time, your wall can end up looking unbalanced.

choosing photos for gallery wall

Step 3:

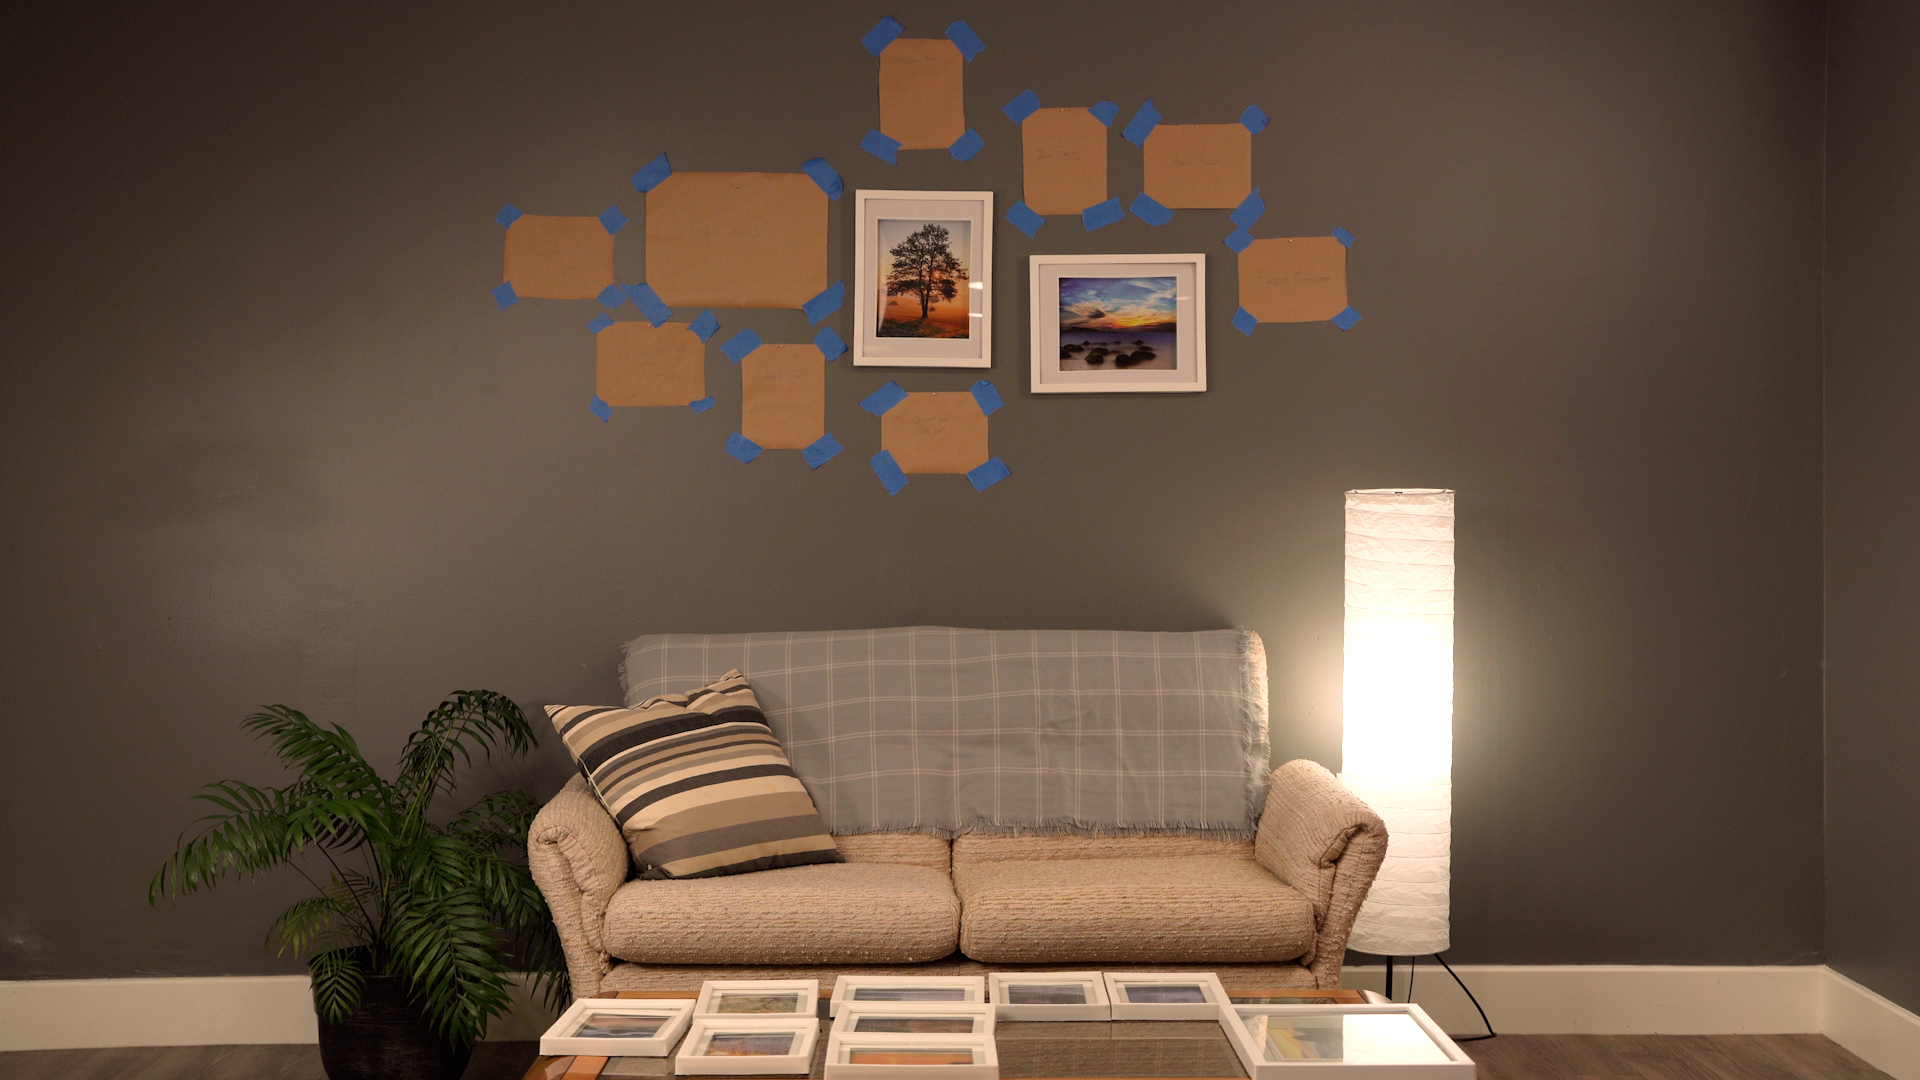
The next step is to create your wall template. Having a template ensures that your pictures are lined up and not doing any damage to your walls. It also gives you the opportunity to rearrange your photos and decide what layout works best for your photos.
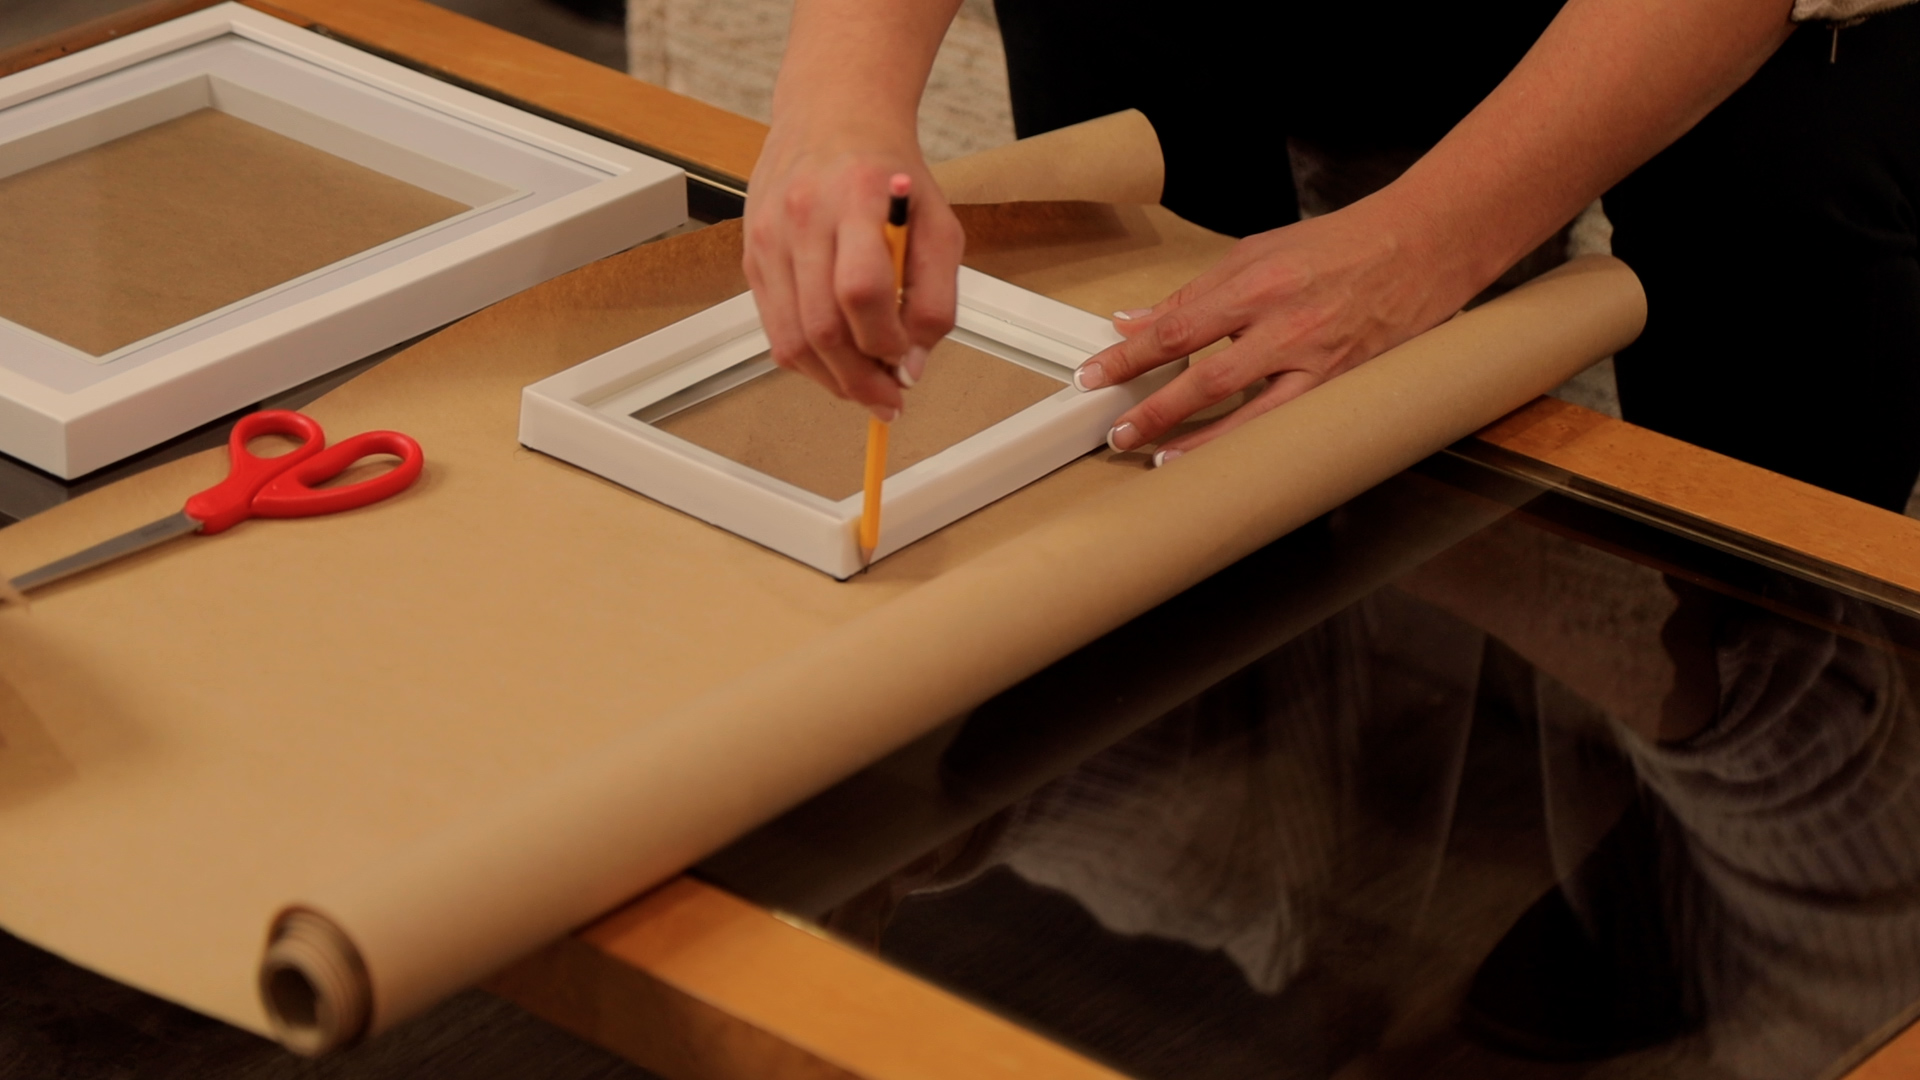
Step 4:

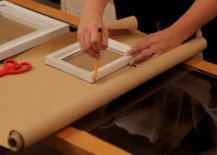
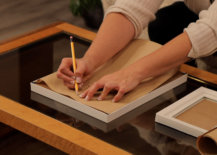
Grab the roll of crafting paper and place your picture frame on top of it. Trace around the edges of the frame, then cut it out. Repeat this for every frame you’re going to hang.

tracing frames onto crafting paper

Step 5:

Line up each template to the back of the frames. Mark the spot where the hanging hardware will be for each frame. This ensures accuracy when you’re hanging the pictures.

lining up template with picture frames for hardware


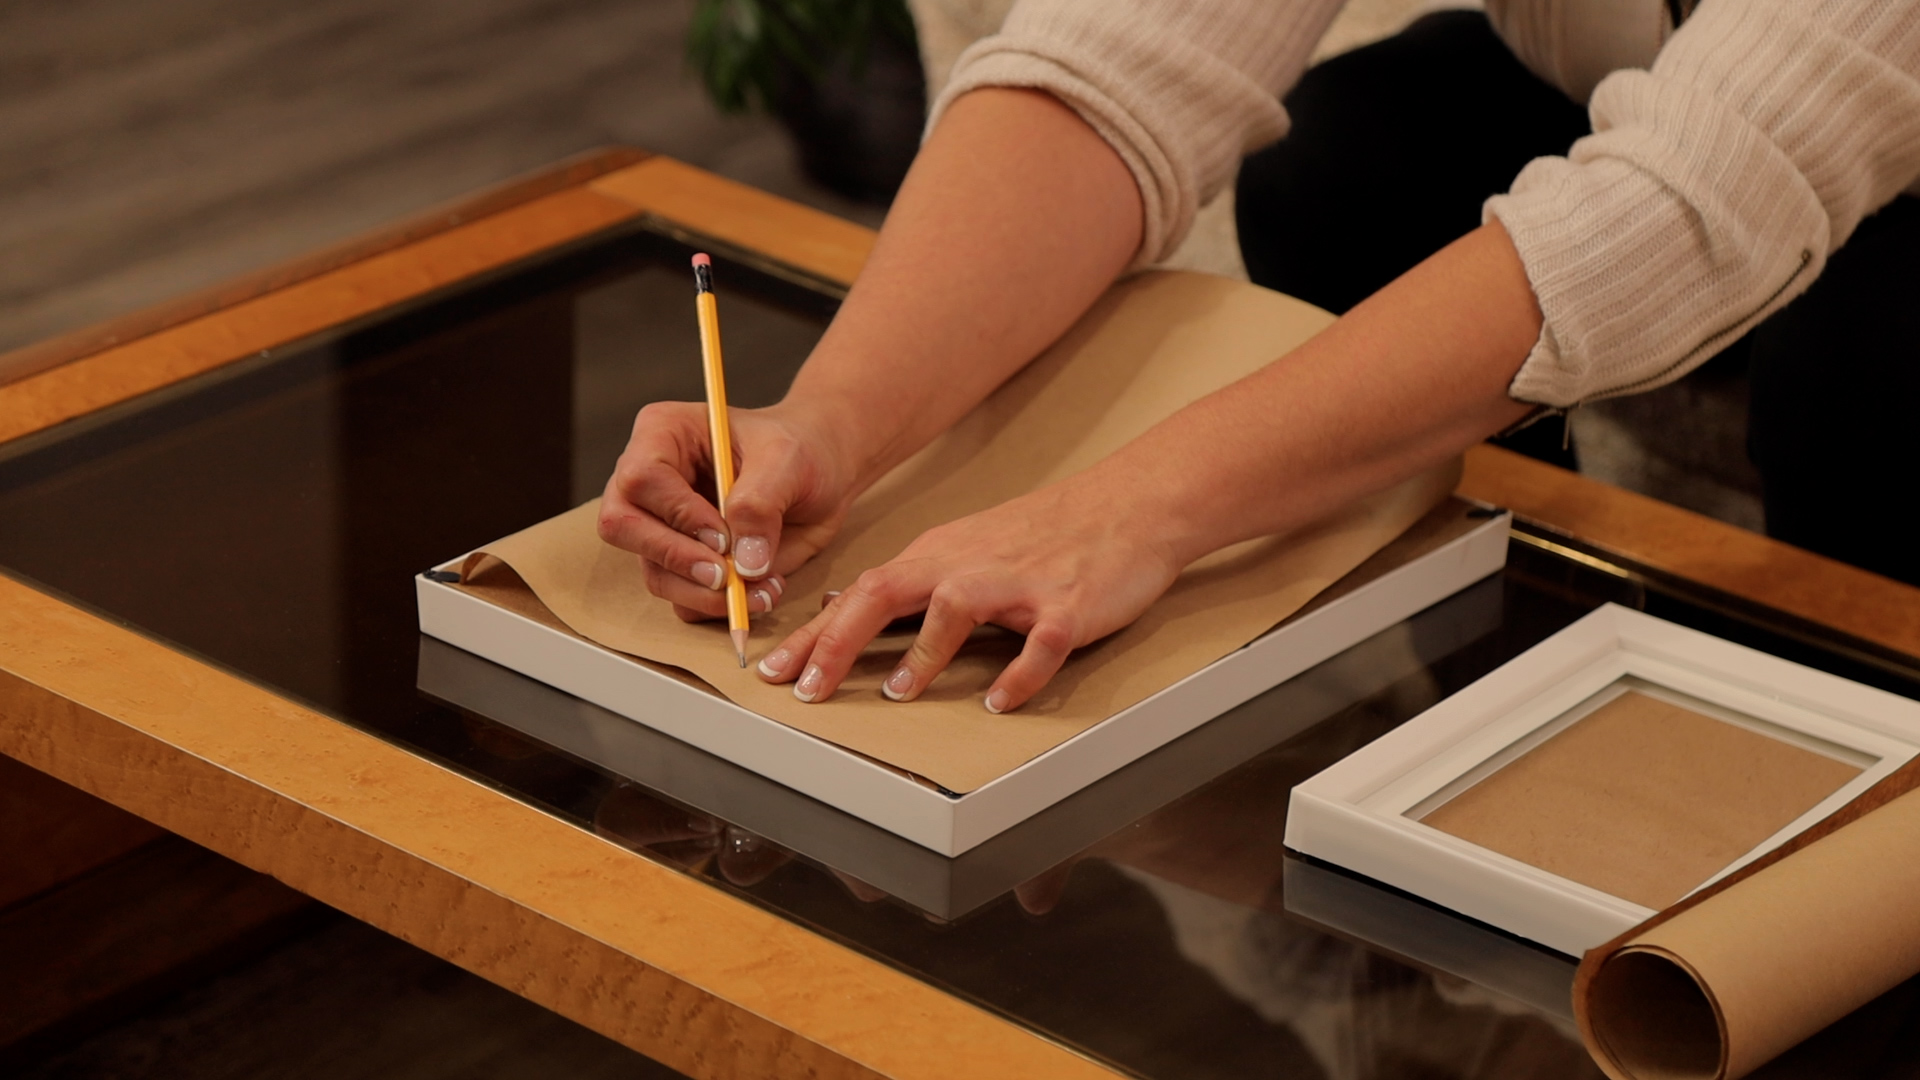
PRO TIP: Label each template with a brief description so you know which picture it represents.
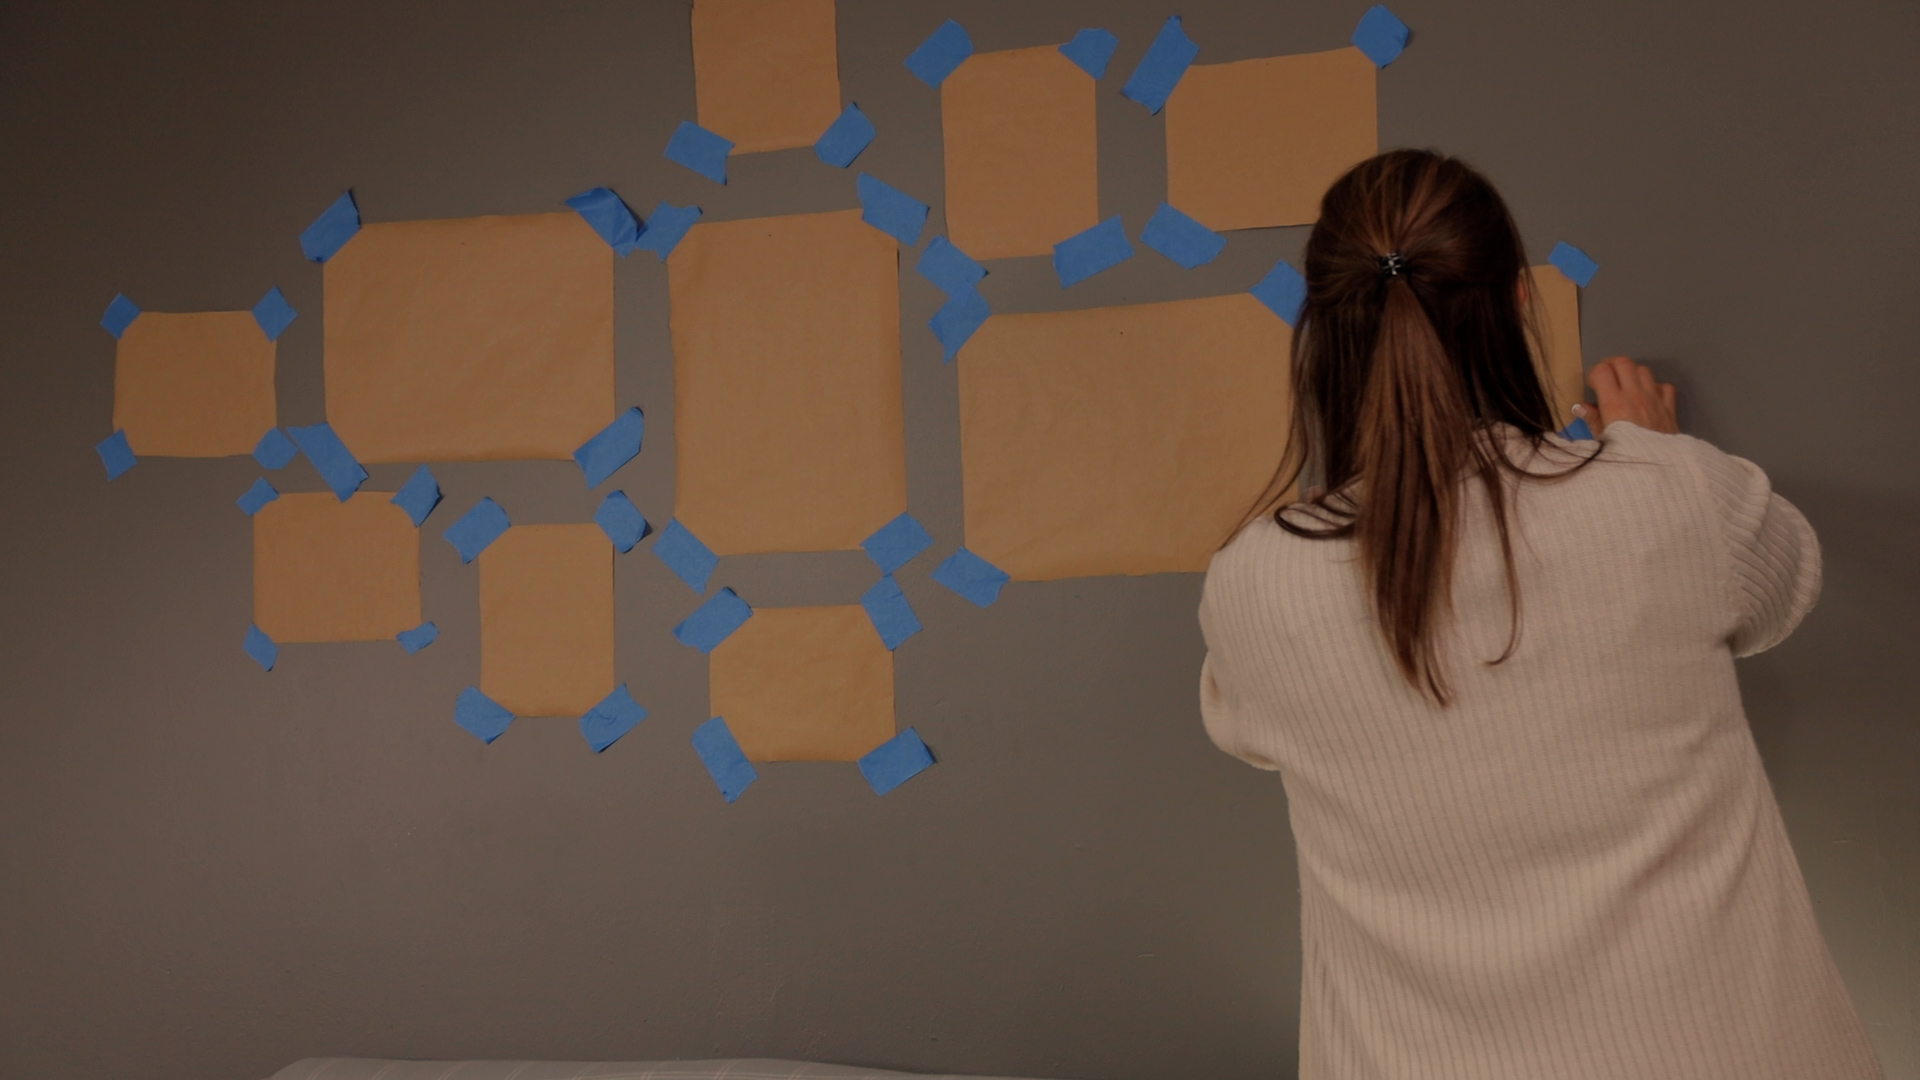
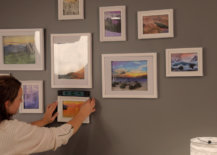
Step 6:

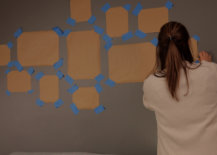
Now it’s time for you to tape the templates to the wall you’ve chosen.

taping up the templates for gallery wall

Step 7:

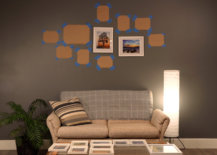
Once you have all the templates taped up, it’s time to grab your hammer and nails. Nail in your hardware using the markings you made on the craft paper templates.

PRO TIP: To give your photos extra support, hammer your nail on a downward angle.

Step 8:

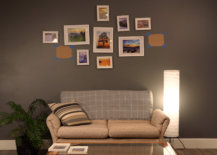
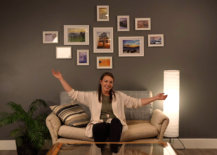
Your final step is to hang all of your photos in the spots you’ve laid out. To ensure that your photos are lined up just right we recommend using a level.

placing pictures over gallery wall templates


Now that you’ve created your DIY gallery wall, your true final step is to share your new home decor with us! Show us the final layout for your photo wall by connecting with us on Facebook, Instagram, or Pinterest.

choosing photos for gallery wall
tracing frames onto crafting paper
lining up template with picture frames for hardware
taping up the templates for gallery wall
placing pictures over gallery wall templates
nearly finished gallery wall with templates
using level for gallery wall photos
the finished DIY gallery wall display

We know that photos can be an amazing source of design inspiration, so this article may contain affiliate links that will direct you to a particular decor item. Clicking on a link may result in a portion of proceeds being paid to www.decoist.com

You’re reading How To Make The Perfect DIY Gallery Wall For Any Home, originally posted on Decoist. If you enjoyed this post, be sure to follow Decoist on Twitter, Facebook and Pinterest.

Similar Posts

  • Kahua Kuili Residence

    The Kahua Kuili residence is a modern interpretation of the classic Hawai’i summer camp. In keeping with the firm’s design philosophy, the warm yet spacious retreat was designed with longevity in mind. Kahua Kuili incorporates centuries-old indigenous design elements paired with contemporary attitudes to create a residence that will remain relevant for generations to come. Located within the dry portion of the Kona Coast at the base of the large cinder cone Pu’u Kuili, the property offers expansive views of the Pacific Ocean and Kua Bay as well as mountain views of Hualalai. Previously the site of a working ranch, the transition to residence became an opportunity to return the majority of the landscape to its natural state: a mix of lava and bunch grasses. Inspired by traditional Hawaiian architecture, the 5,590-square-foot residence is composed of multiple structures that simultaneously provide privacy through their scattered arrangement and community through the open spaces between them. The camp-like retreat’s focal point is the main hale (Hawaiian for house), which provides a central gathering place for family and friends. The main hale opens to ocean views and the central, protected courtyard, enabling activity to flow easily between indoor and outdoor space, including to the adjacent pool and tiki bar. The bar/lounge area spills over into the pool, complete with multiple lounge chairs and breathtaking ocean views. A barbecue/luau area allows for gatherings of family and friends who can picnic under the comfort and shade of a magnificent kiawe tree. Deep roof overhangs define the transition between inside and outside and offer shelter from sun and rain. Outdoor spaces link the separate structures—guest quarters, studio, wash house, garage—to one another. The use of simple, durable materials, such as board-formed concrete, western red cedar, large sliding doors, operable wood ventilation louvers, and rope lashing help reinforce the camp-like aesthetic. Western red cedar was selected for its resistance to termites and dry rot as well as for the beautiful way it patinas with age. Natural stone cowboy walls surrounding the property help create a sense of privacy from nearby houses. The interiors, by Marion Philpotts, were designed in a comfortable, contemporary aesthetic with bright colors and retro elements that tie into the modern theme of the structure. The expansive cedar-clad kitchen features a breakfast bar, dining table, and state-of-the-art appliances. Tall ceilings, large windows, and grand sliding doors that open to the courtyard contribute to the casual ease of the house. Intimate spaces, which include cozy reading nooks and relaxing sitting areas, are scattered throughout the home. Kahua Kuili is the quintessential destination for relaxation, where one can unwind comfortably and in style, all while enjoying the natural climate and landscape of Hawaii. Project team
    Architect: Walker Warner Architects
    Interior Designer: Philpotts Interiors
    Landscape: David Y. Tamura Associates
    Builder: Maryl Construction
    Photography: Matthew Millman