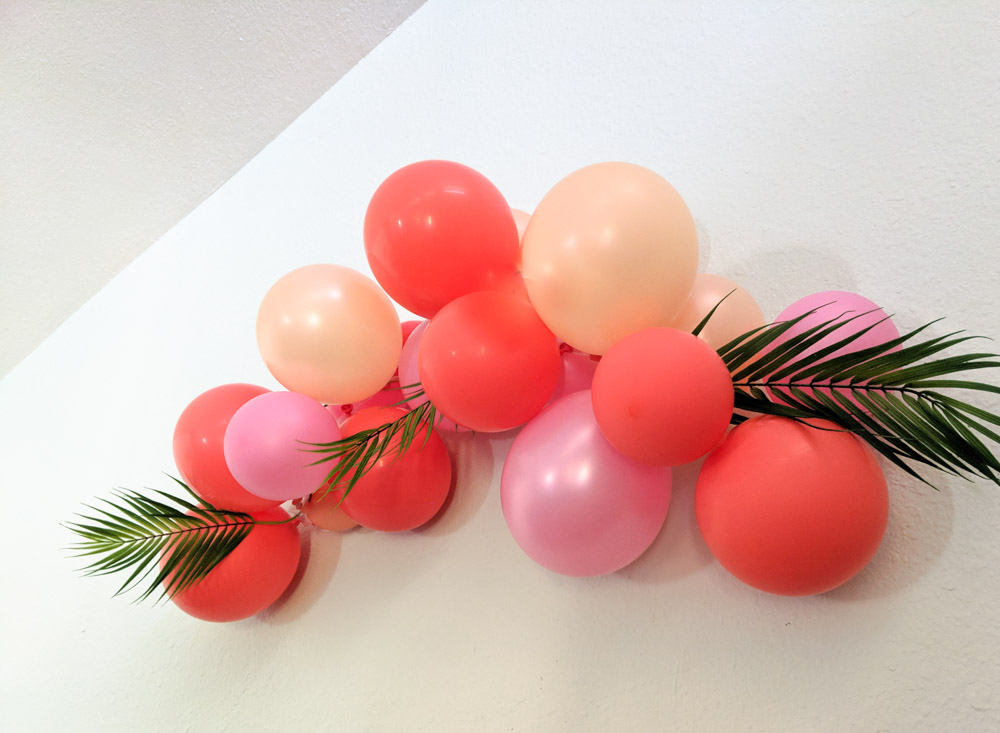
Balloon arches are becoming increasingly popular, especially when small helium tanks, balloon decorating strips and other conveniences make party planning so easy! Today’s DIY project can be created in well under an hour, and you can craft the finished product into an arch or a garland formation. Add more balloons to create an epic wall statement, or keep it simple. You decide! While some arches are created using helium, this project involves adhering the arch to the wall rather than creating a floating finished product. That way, you can enjoy it for many days! For details on how to create this easy balloon arch, keep reading…


*Photos and styling by Kate Simmons for Decoist
Balloon Arch Supplies
Creating your own balloon arch is a piece of cake! Here are a few items you’ll need to get the job done:
- balloons
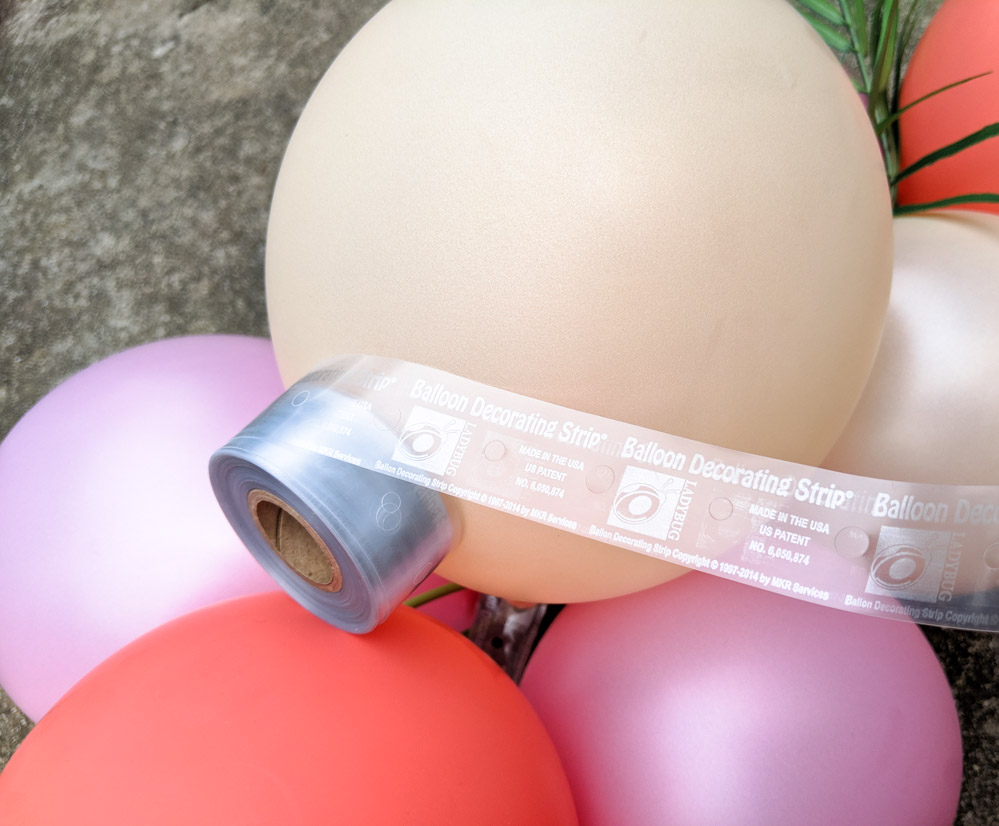
- balloon decorating strip
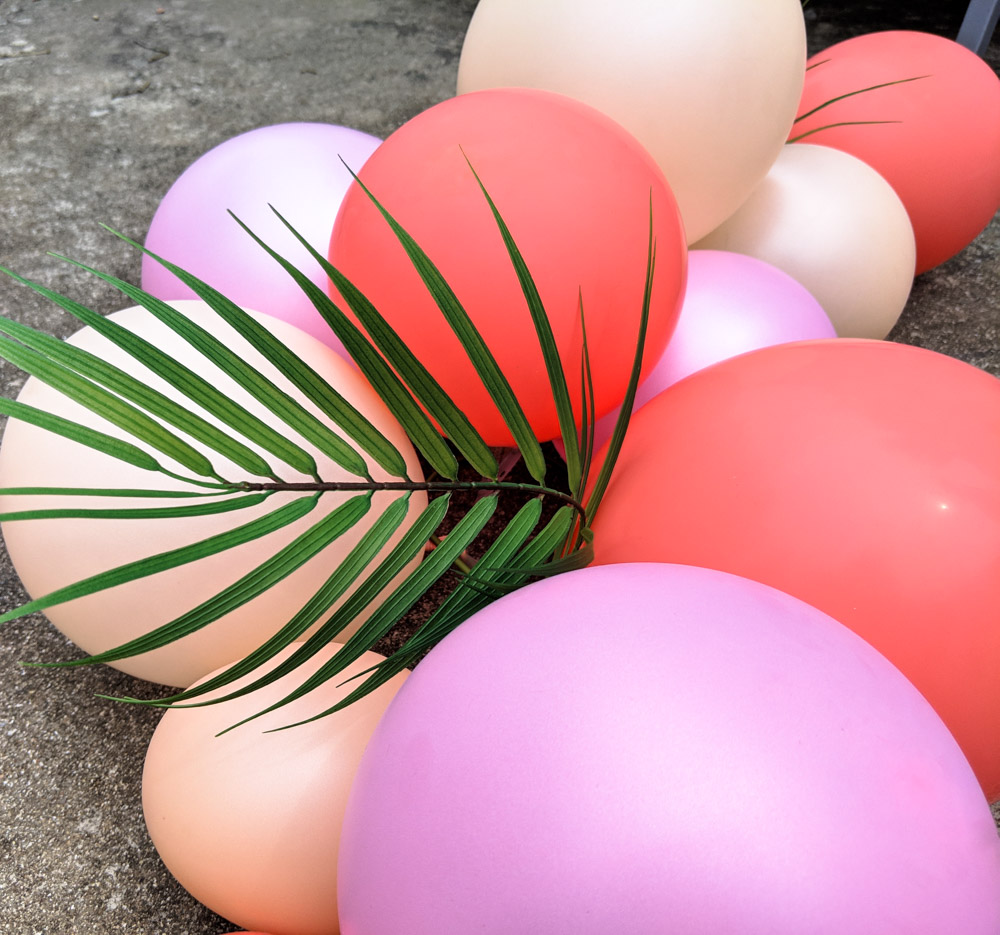
- real or faux tropical greenery
- push pins
- balloon pump (optional)
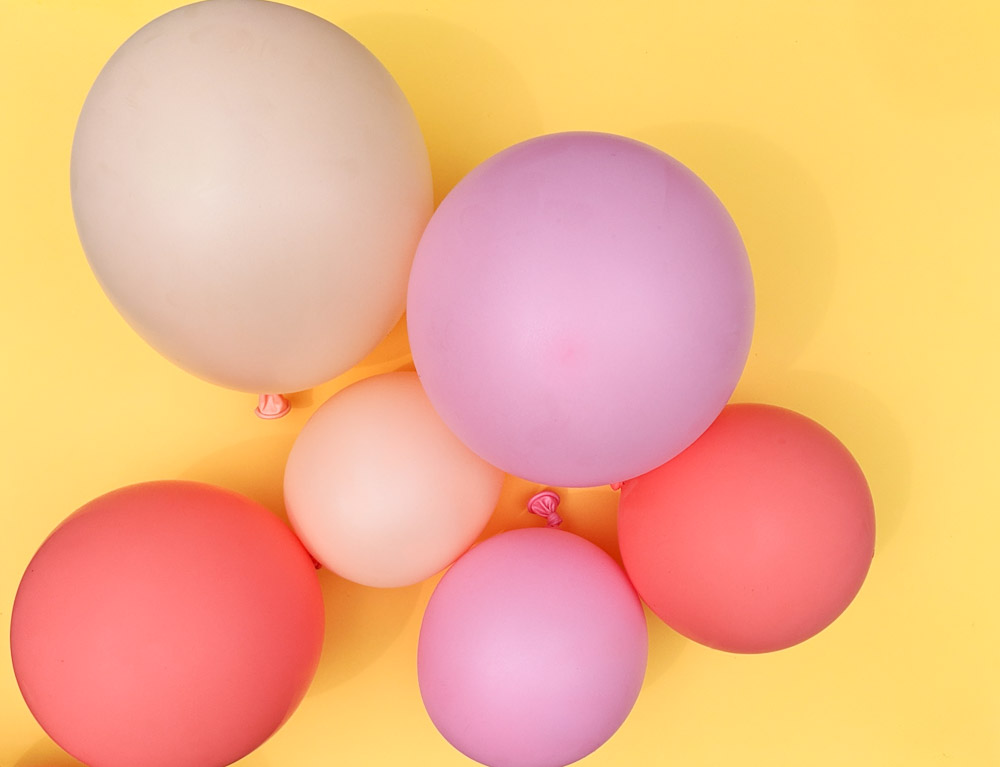
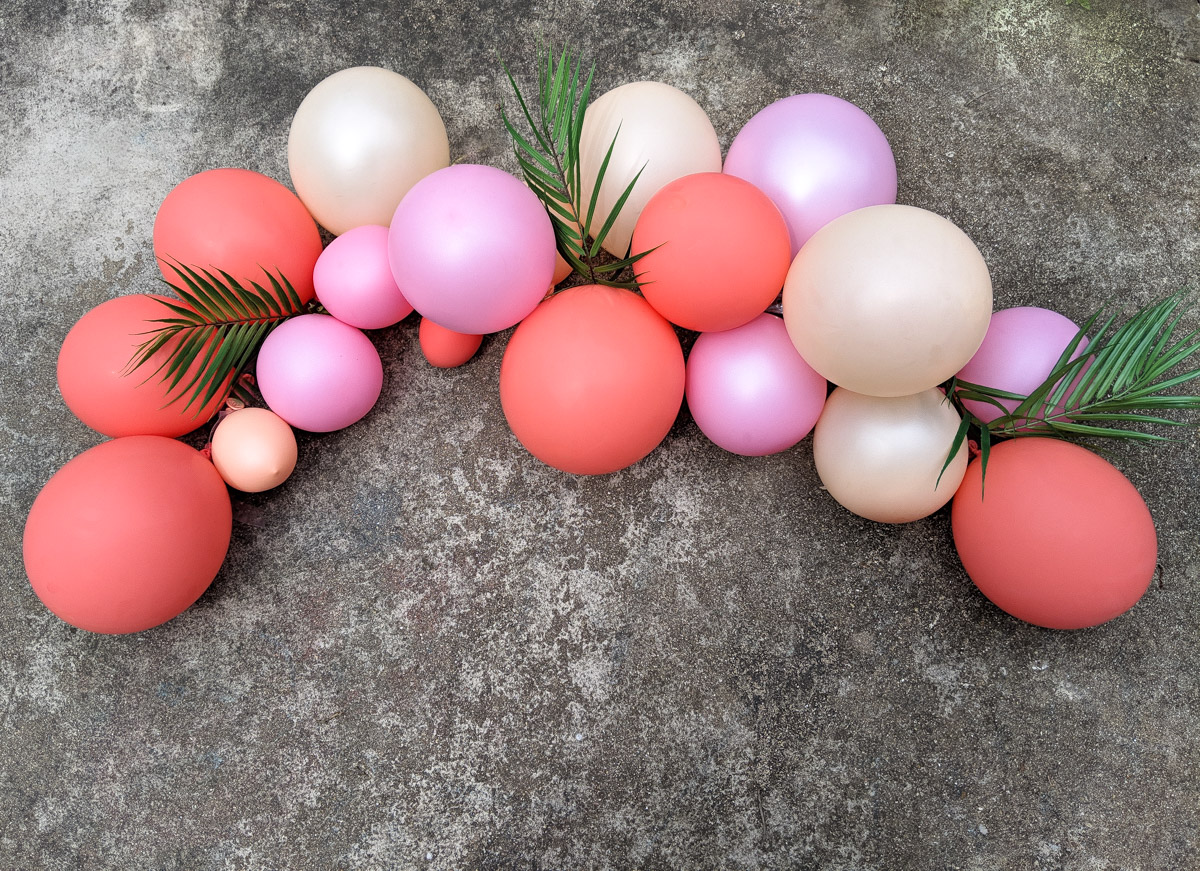
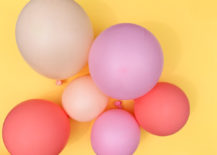
I used around 20 balloons in peach and pink tones, including these eye-catching coral balloons. Pinks and corals are perfectly on-trend in today’s design world, and so is tropical greenery! I wanted the option of leaving my balloon arch up at least a week past the party, so I opted for faux tropical leaves. Once I took them down, they became a nice summer centerpiece with the help of a tall vase. Not bad for an $8.99 set of tropical stems!
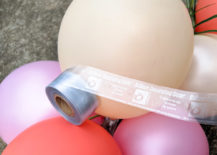
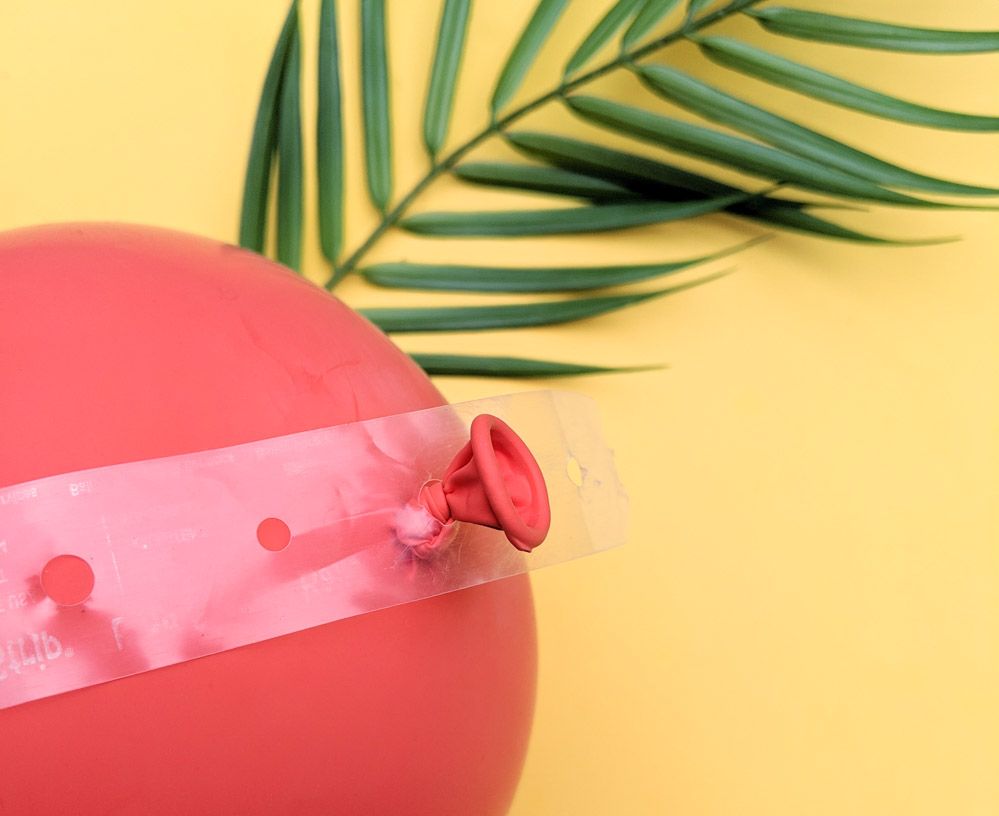
The real secret to the success of your arch is a balloon decorating strip, which will help hold all of the balloons together and make it easy for you to create an arch formation. Once again, you get a lot of value and product for the price!
Now that all of the supplies are in order, it’s time to get crafting…
Putting It All Together
To create your balloon arch, follow these simple steps:
1. Inflate your balloons, creating a range of sizes for variety. As mentioned above, this project does not involve balloons inflated with helium, but you can use a balloon pump to save your breath. It may be easier to limit the number of balloons you inflate to the fullest (keep a lot of them on the smaller side, folks). It will be much easier to attach your arch to the wall if the balloons aren’t at top capacity.
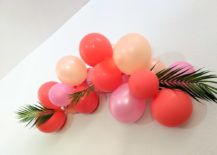
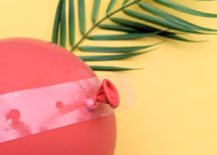
2. Push the knotted ends of your balloons through the holes in the balloon decorating strip. It’s that easy! Try skipping a few holes in between balloons to avoid a crowded blob effect. Since your arch will be flush against the wall, it will be best to push balloons through the same side of the strip, rather than going for a 3-dimensional effect.
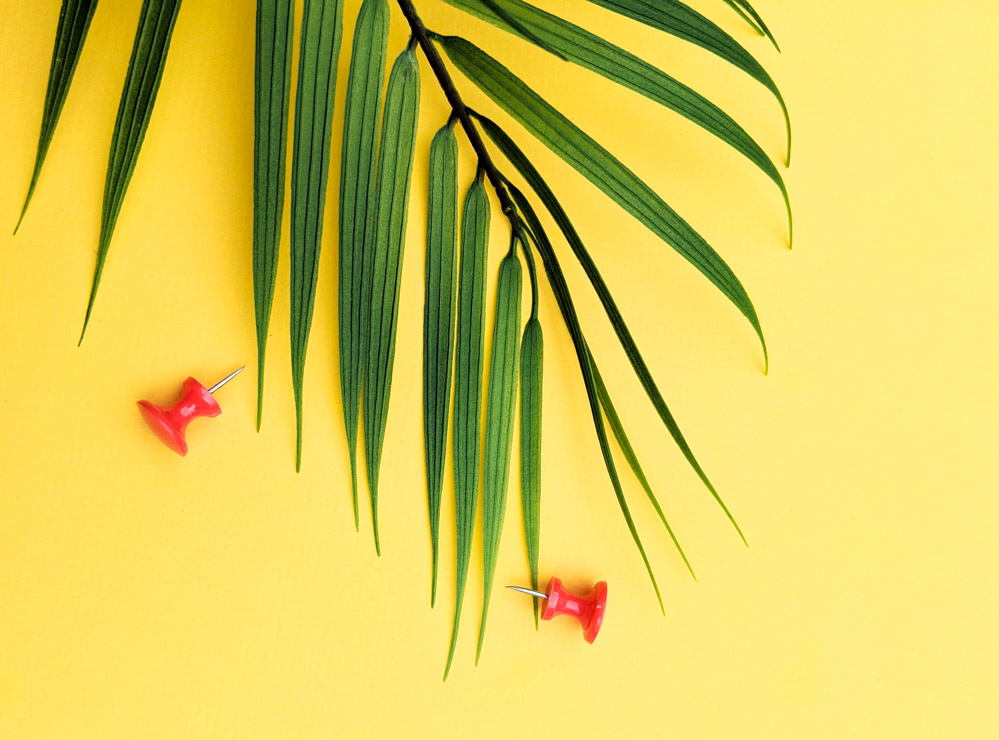
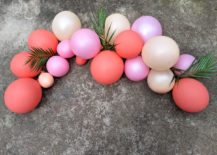
3. Use push pins to attach your arch or garland to the wall. Push pins come in handy as you create the formation of your choice and attach it to the wall. You can also try tying string to the balloon decorating strip first, and using the string to tie the arch or garland to the push pins (already in place in the wall). An arch is a festive form, but this project knows no limits. Some balloon garlands are massive and flow down the wall in a large diagonal form. Have fun and get creative!

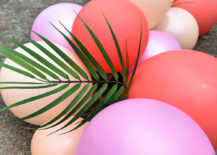
4. Tuck your tropical greenery into the arch. You can even push the stems through the holes of the balloon decorating strip. Trim the stems if need be, or if they’re faux, you can bend them to hide the excess length.
Once you’re happy with your arch, it’s time to enjoy the party! Cheers to a festive spring and summer ahead! Thanks for reading.
You’re reading How to Create a Festive Balloon Arch, originally posted on Decoist. If you enjoyed this post, be sure to follow Decoist on Twitter, Facebook and Pinterest.